


 Reply With Quote
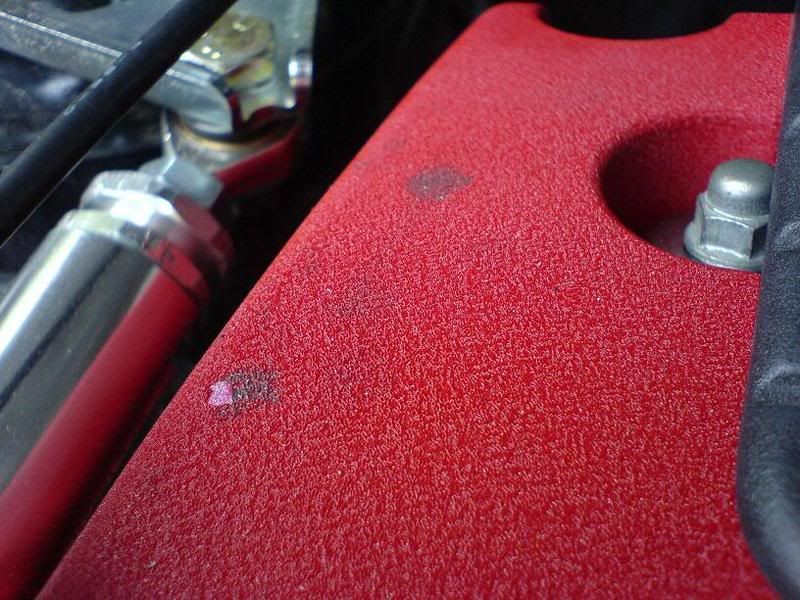
ahh a little too late. I tried using my finger nails and I took some of the paint offOriginally Posted by thaseint

The paint came off easily too. You think I installed it too early? I let it dry for about 24 hours, then I installed it. Drove it 15 miles to school, while still hot, I tried removing the smudge and bam


Bookmarks