


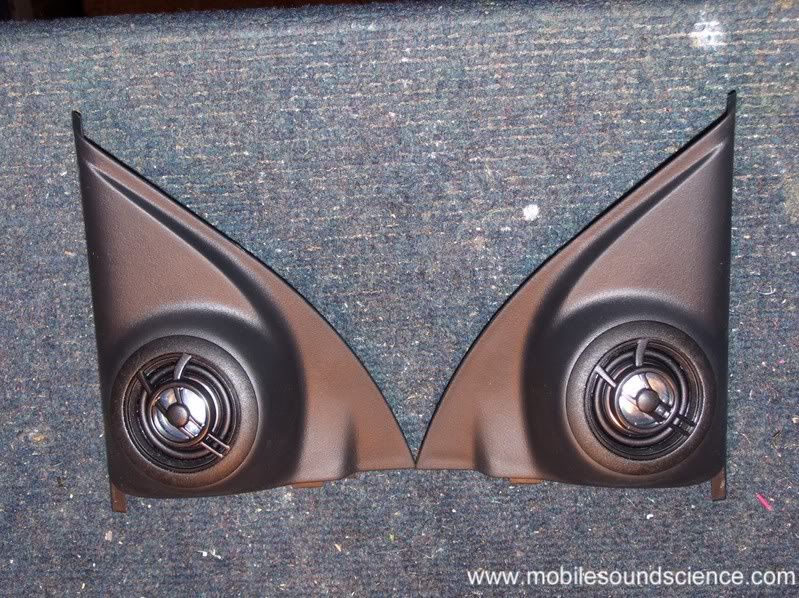
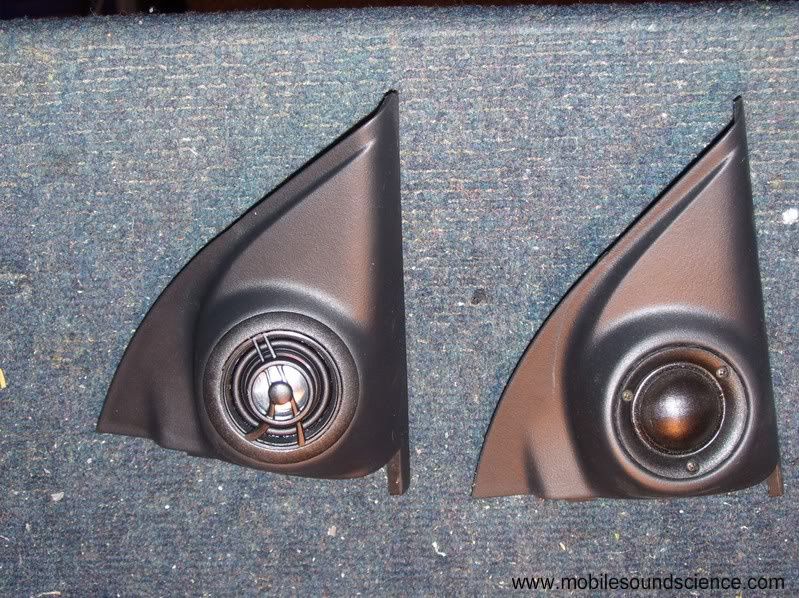
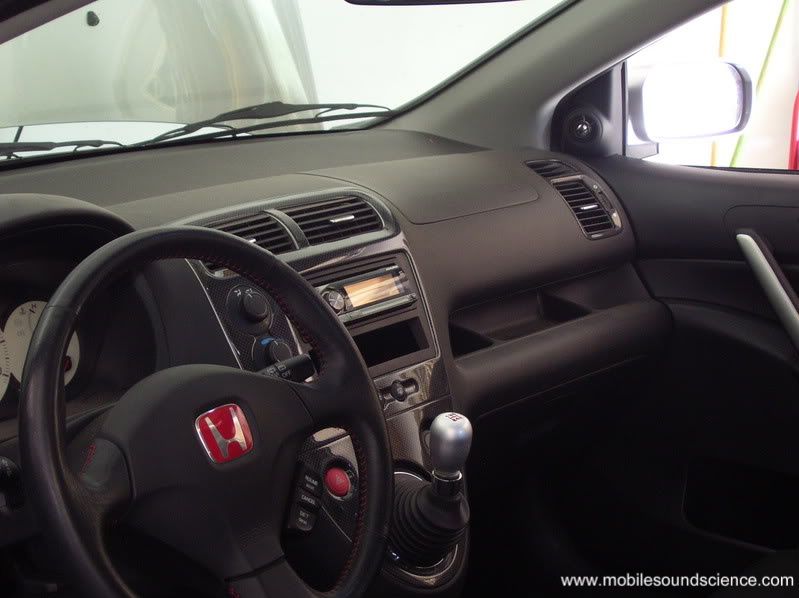
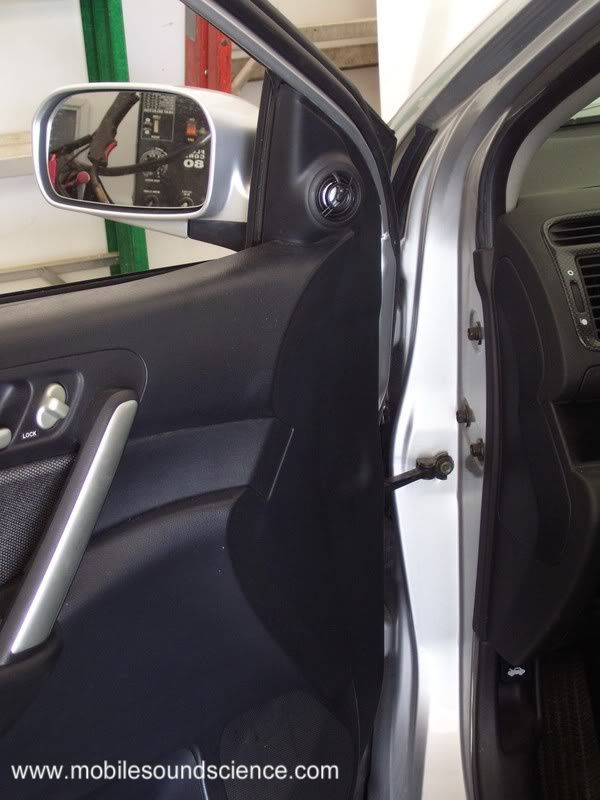
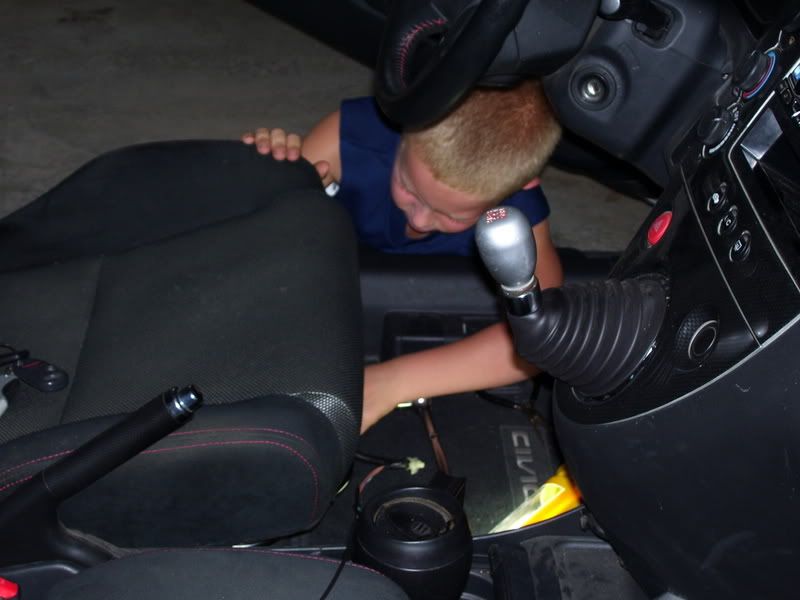
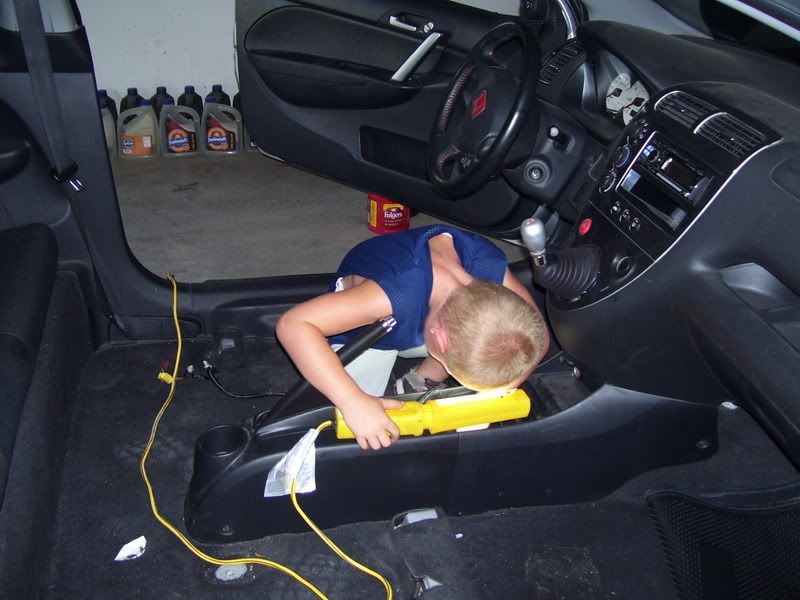
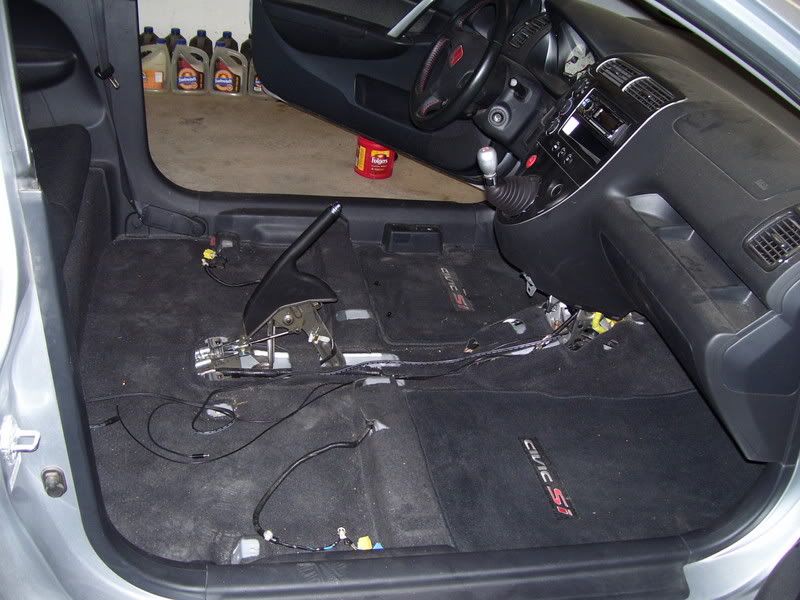
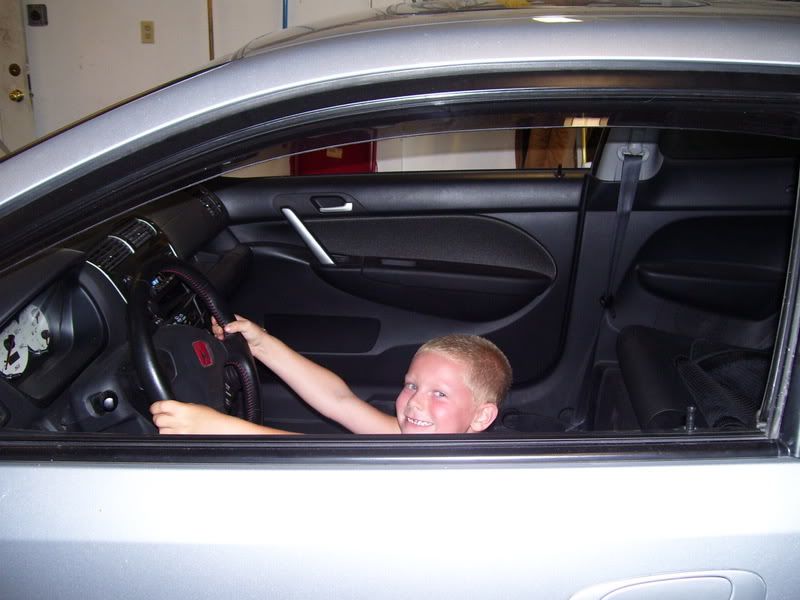
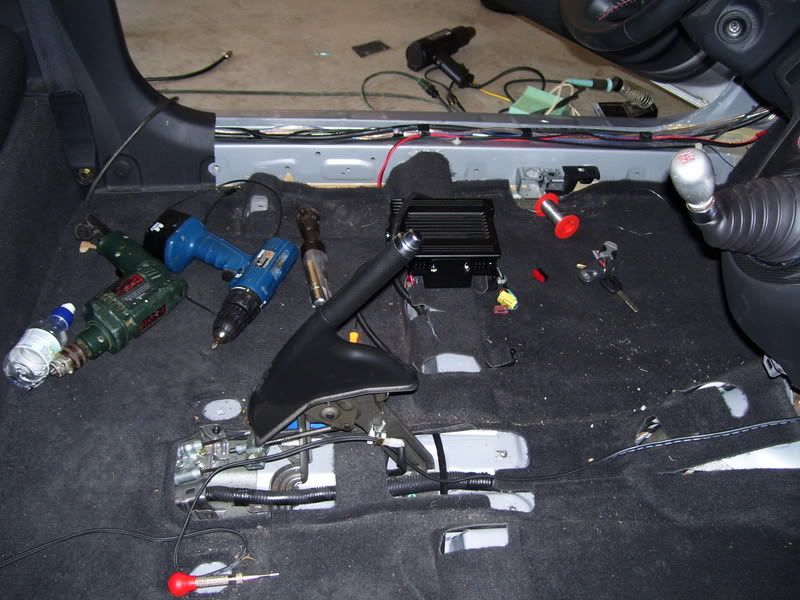
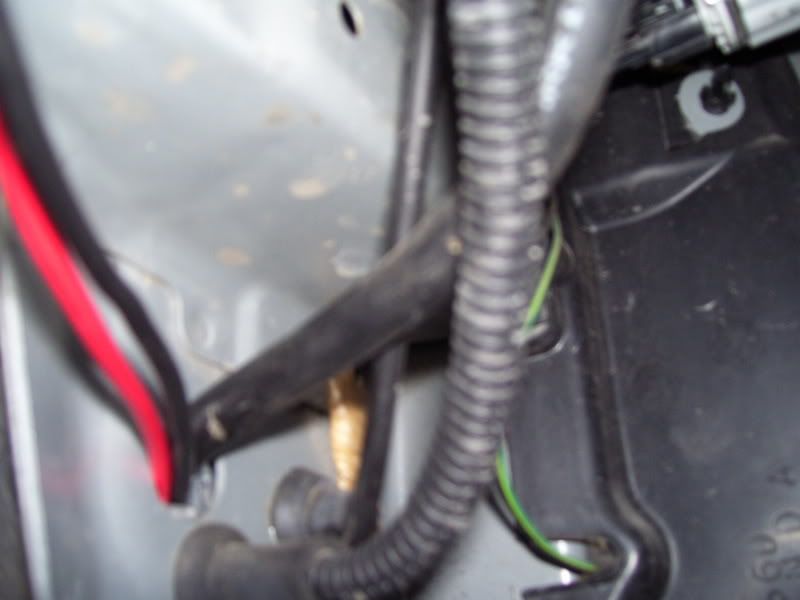
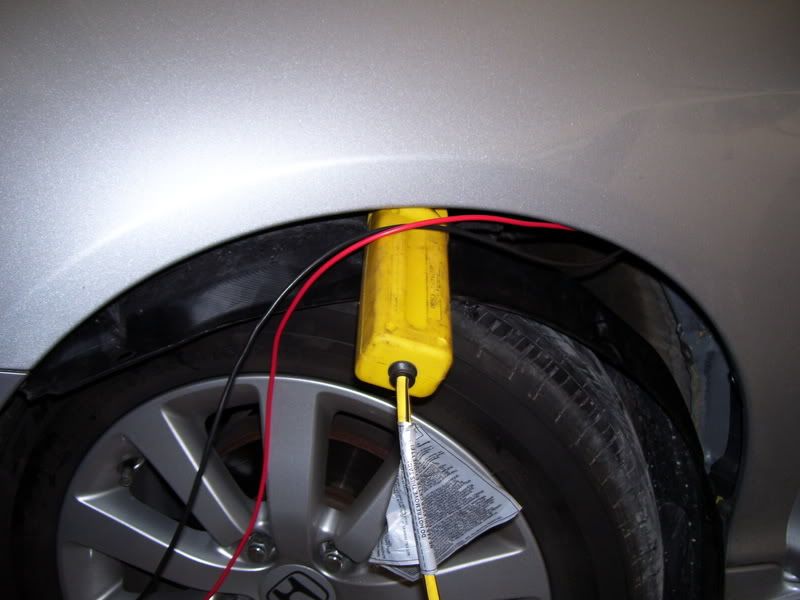
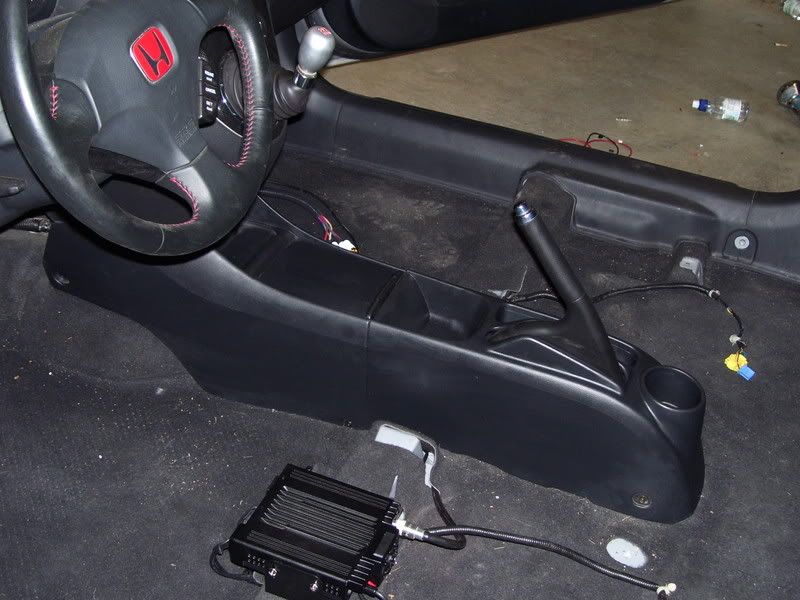
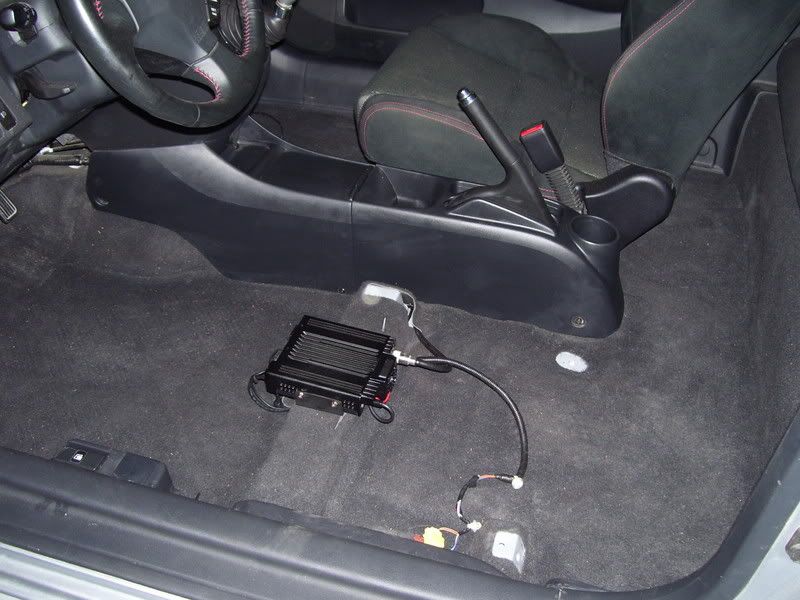
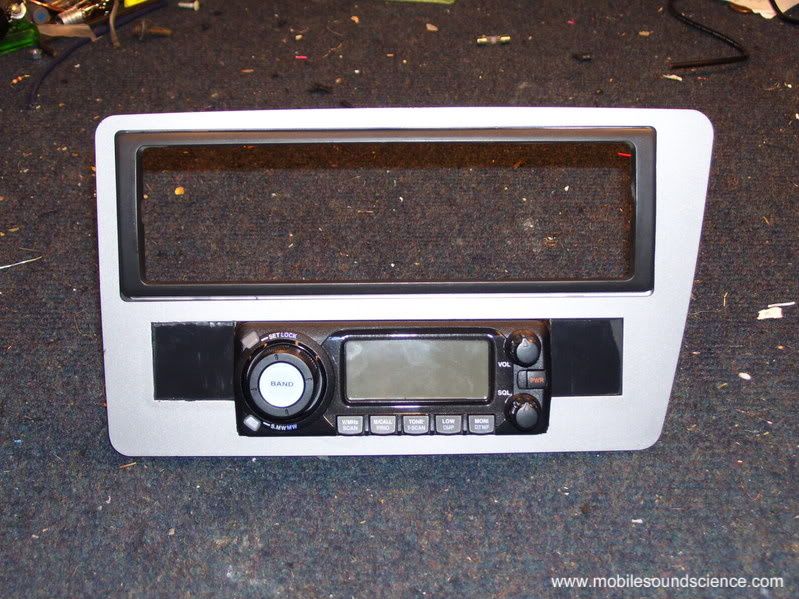
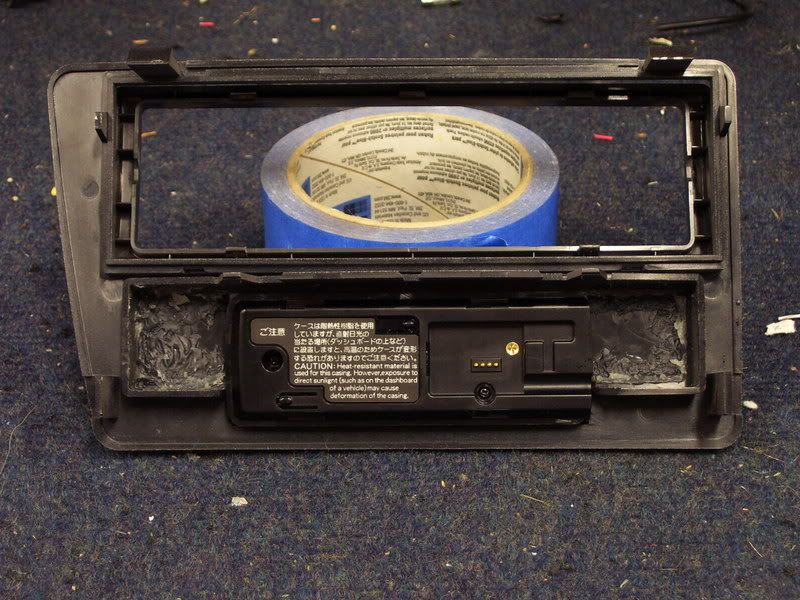
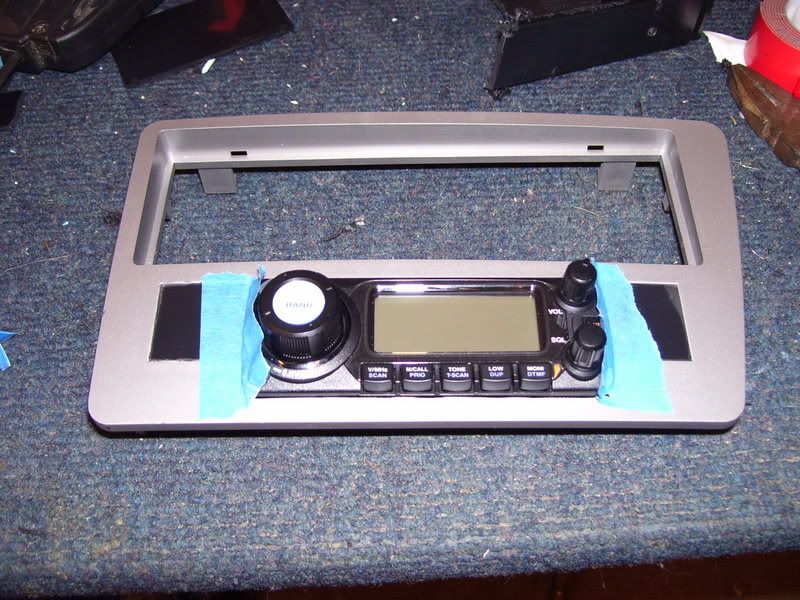
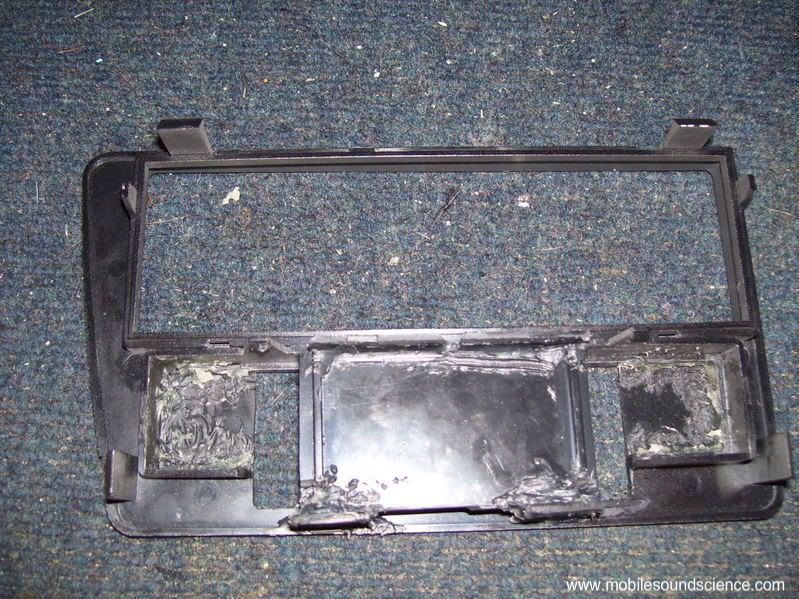
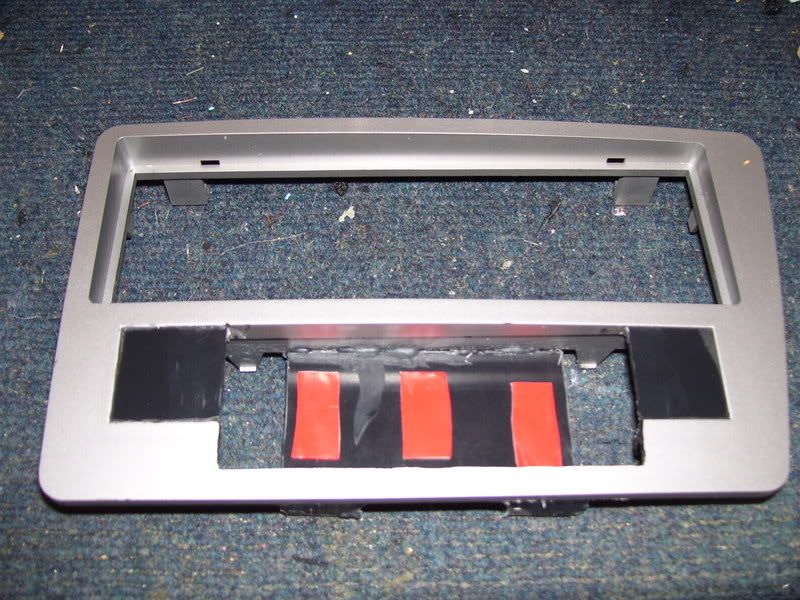
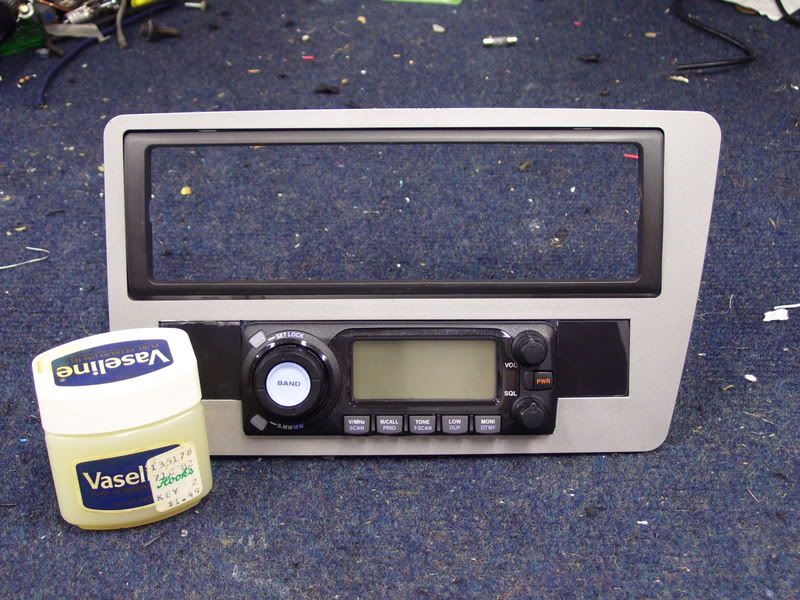
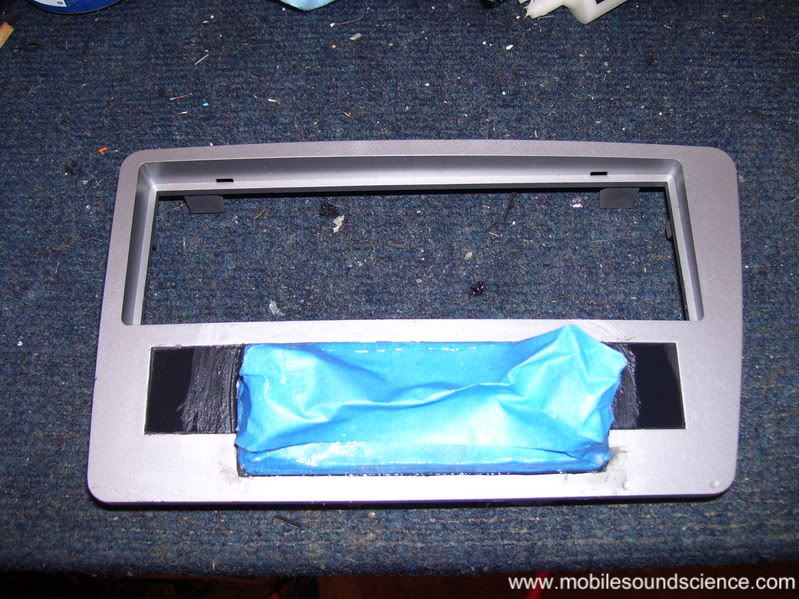
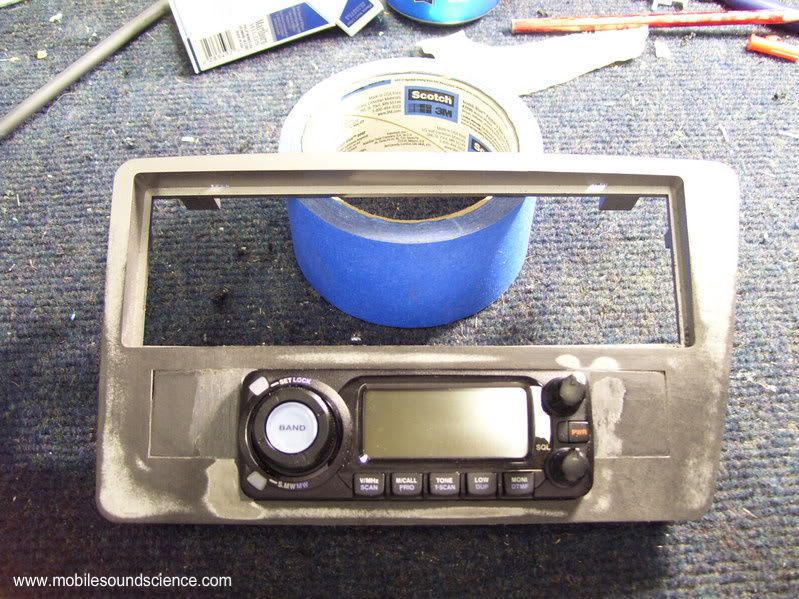
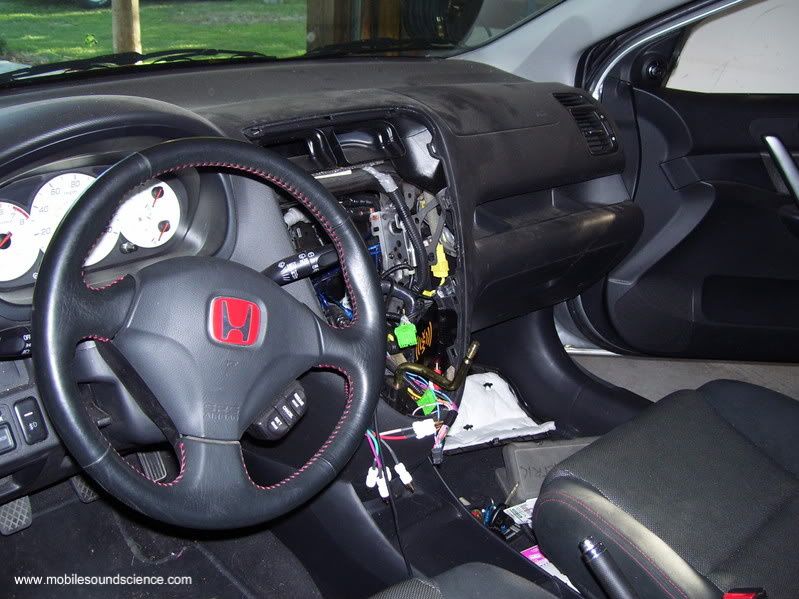
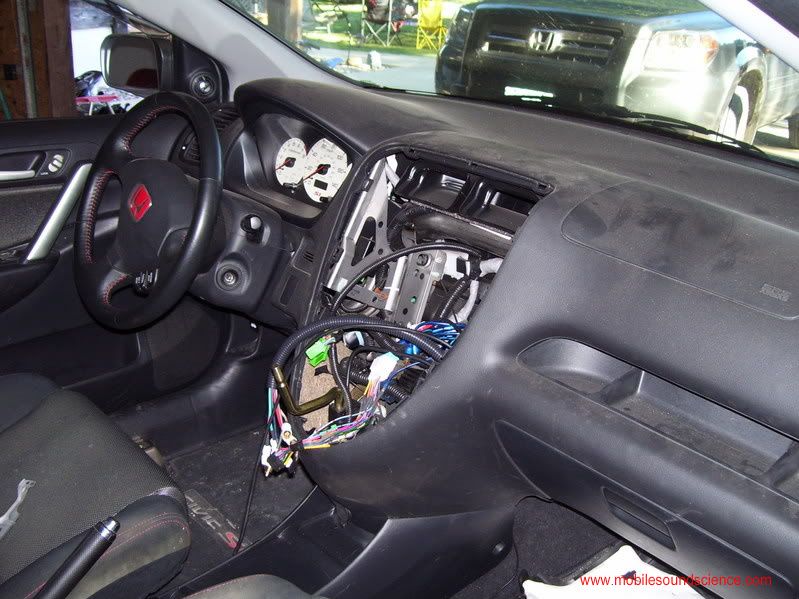
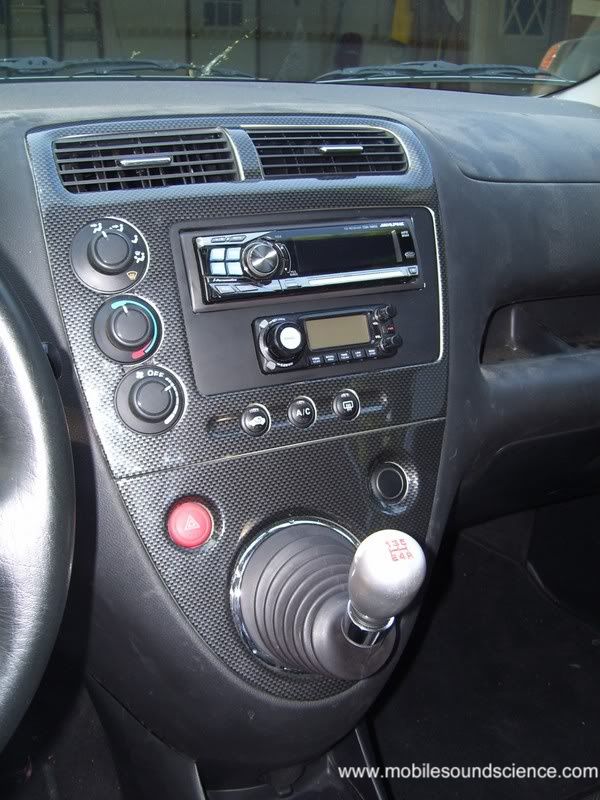
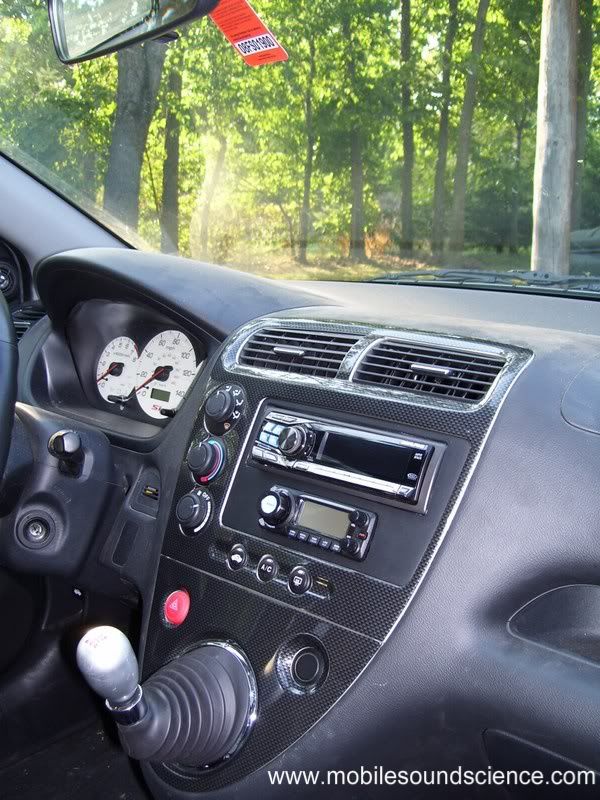
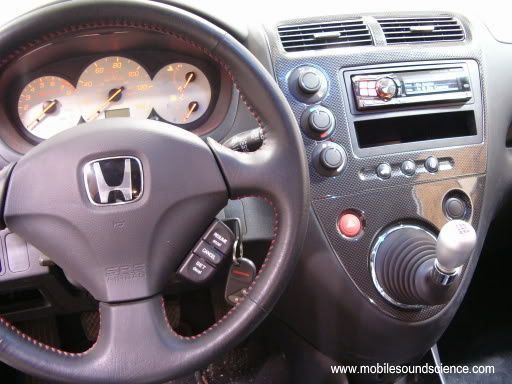
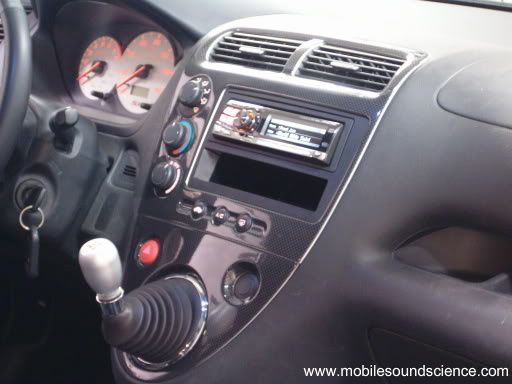
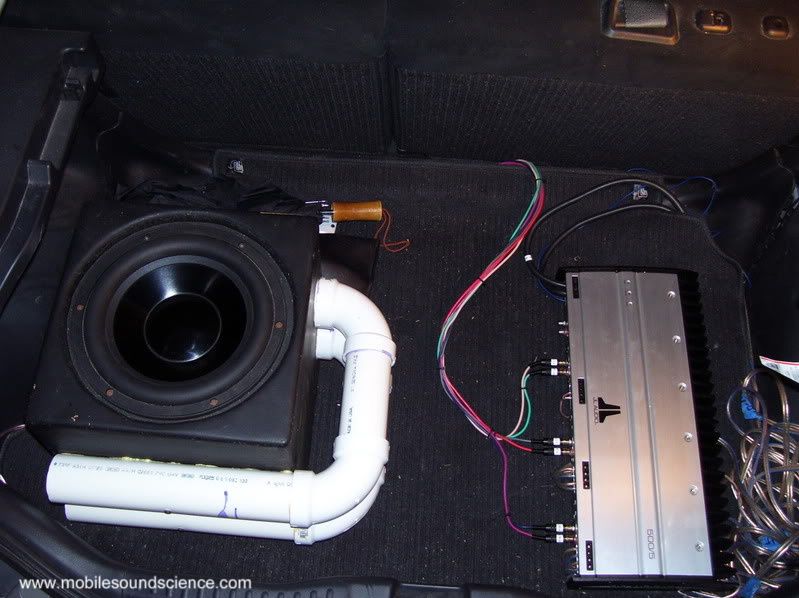
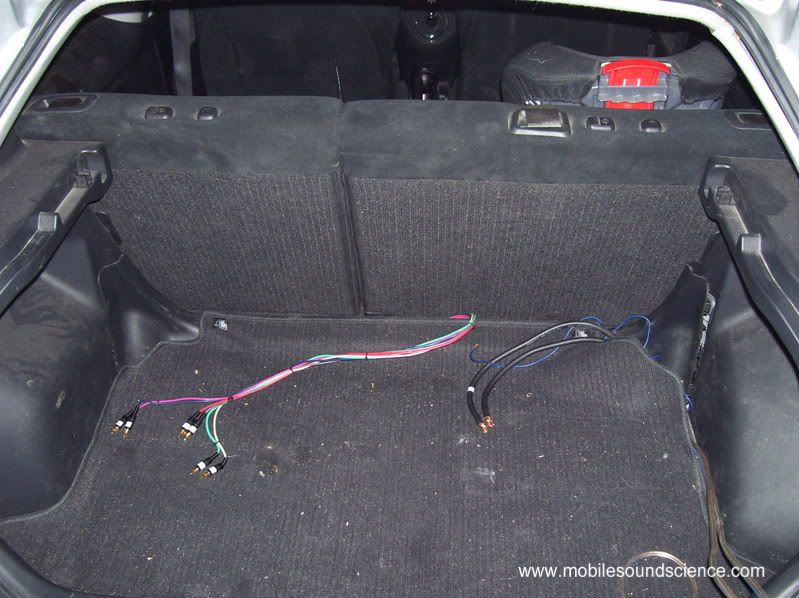
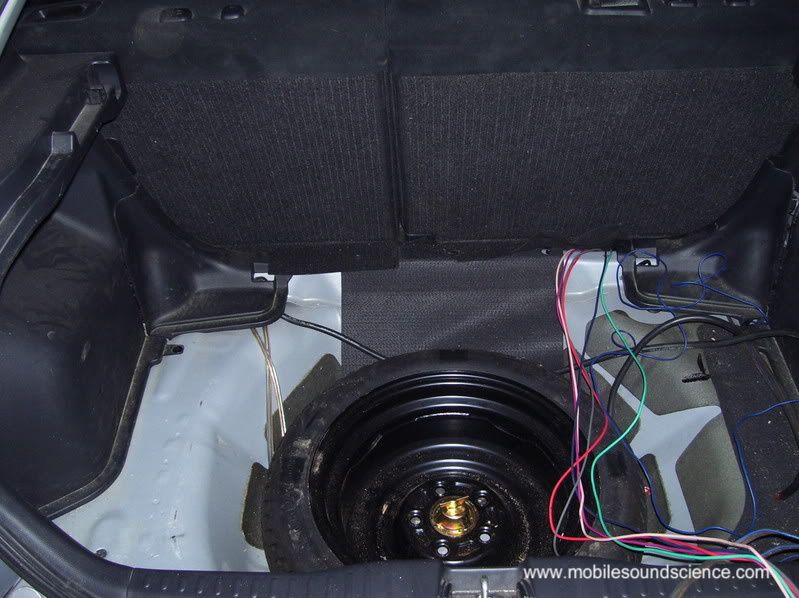
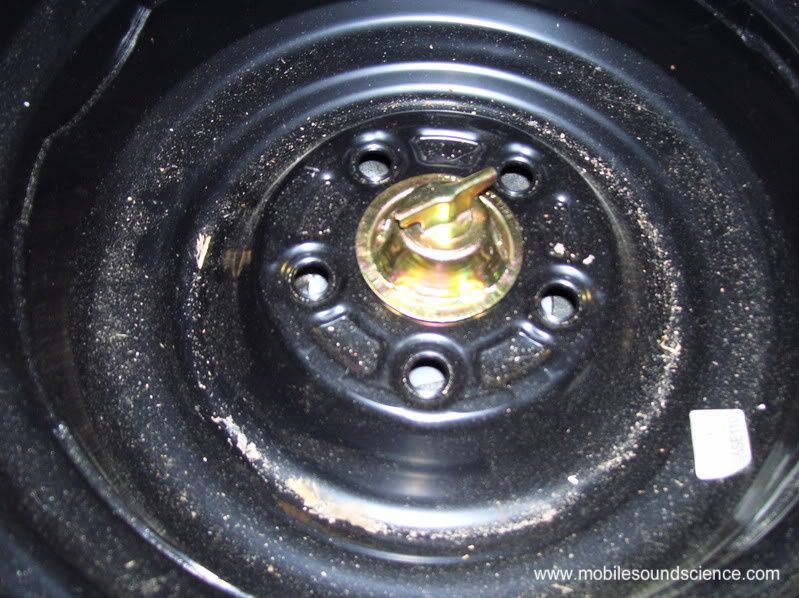
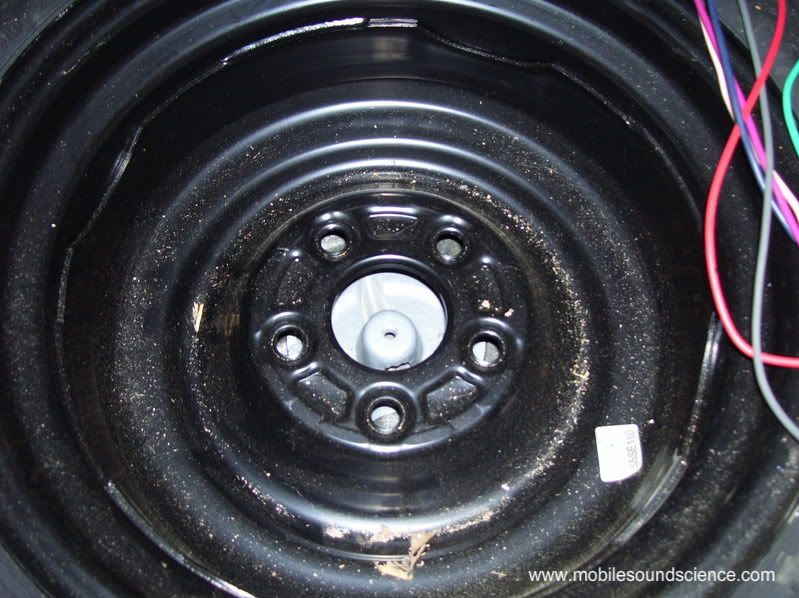
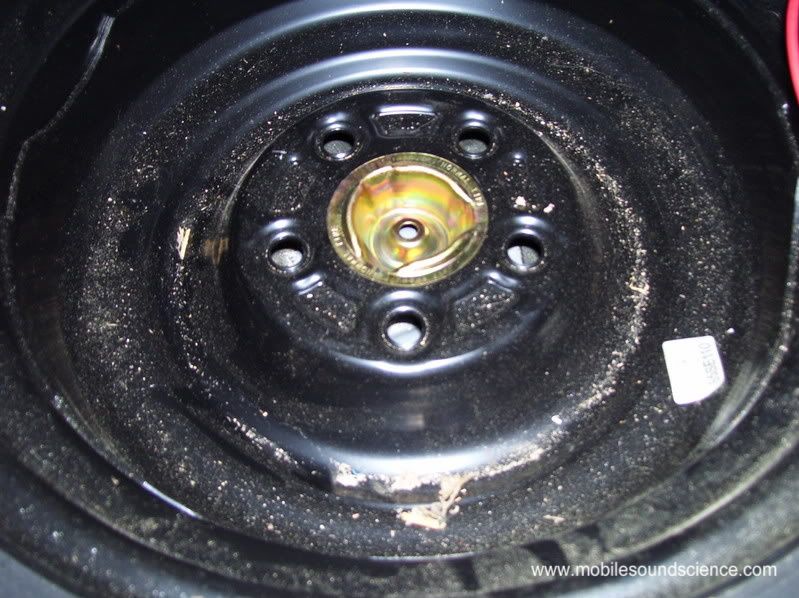
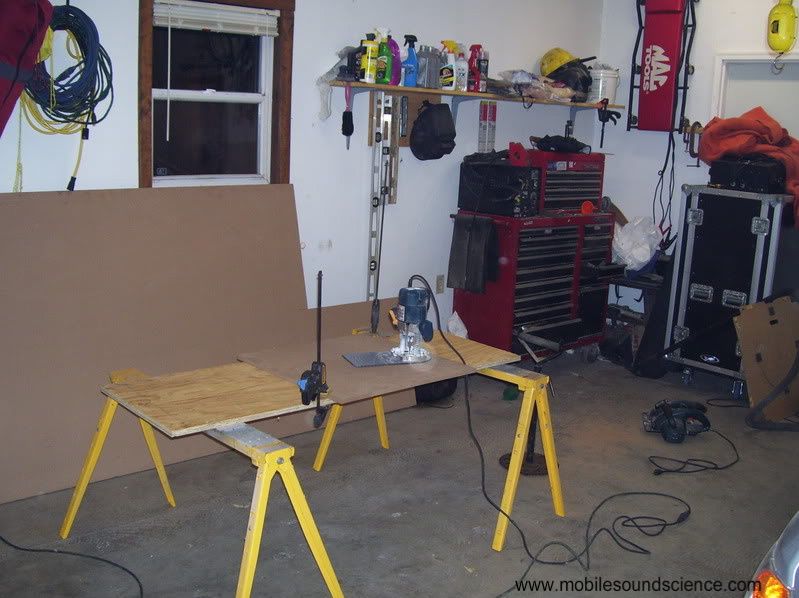
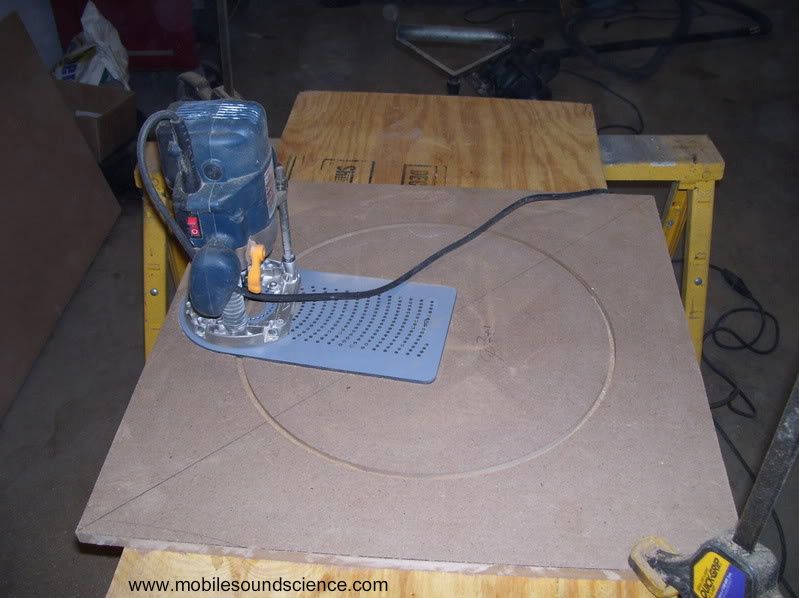
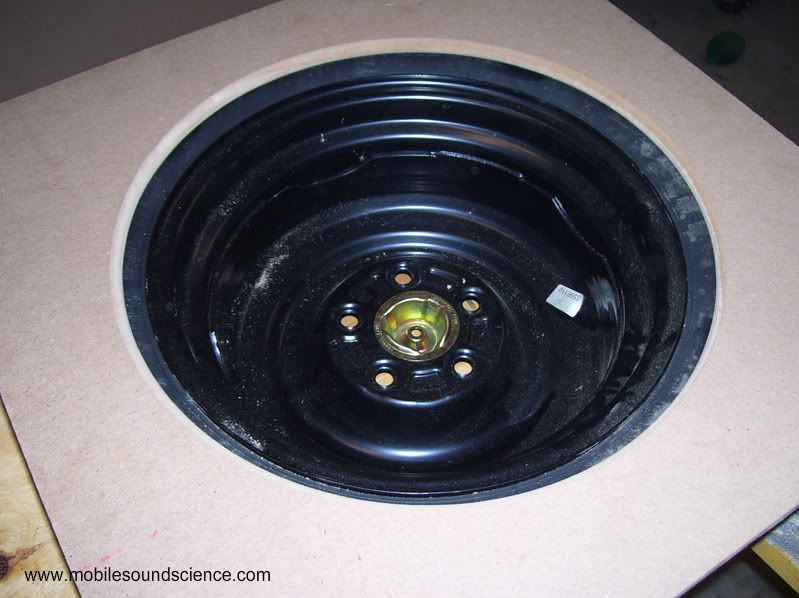
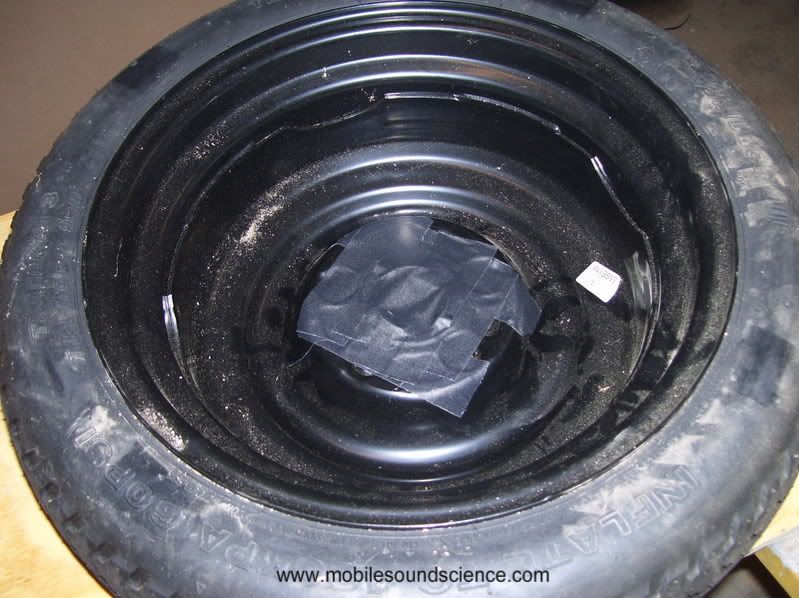
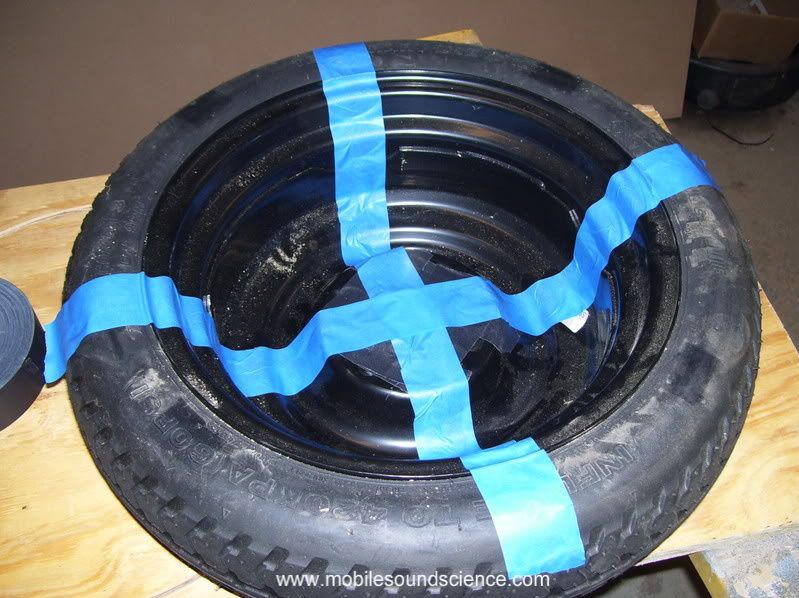
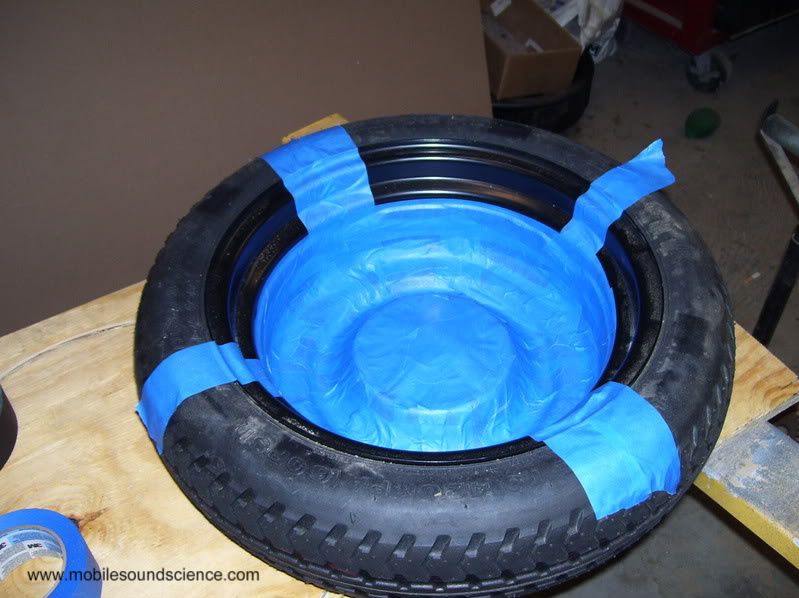
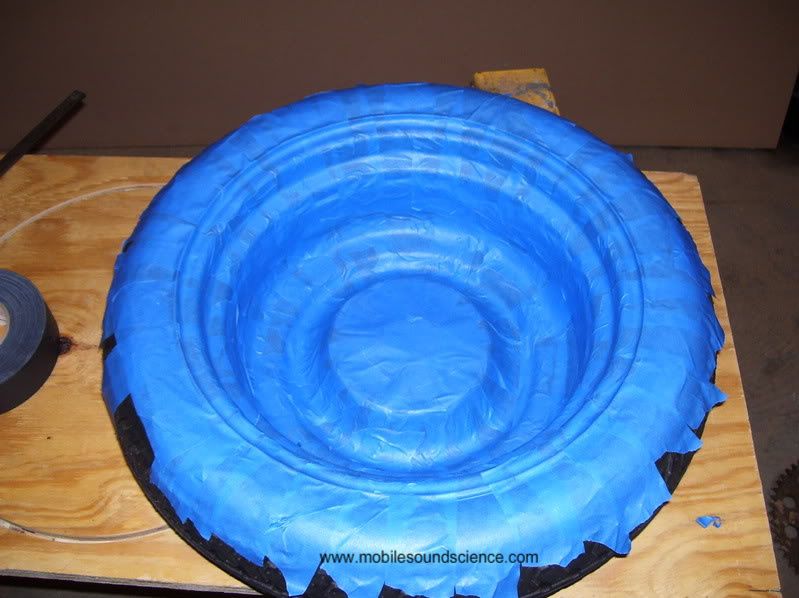
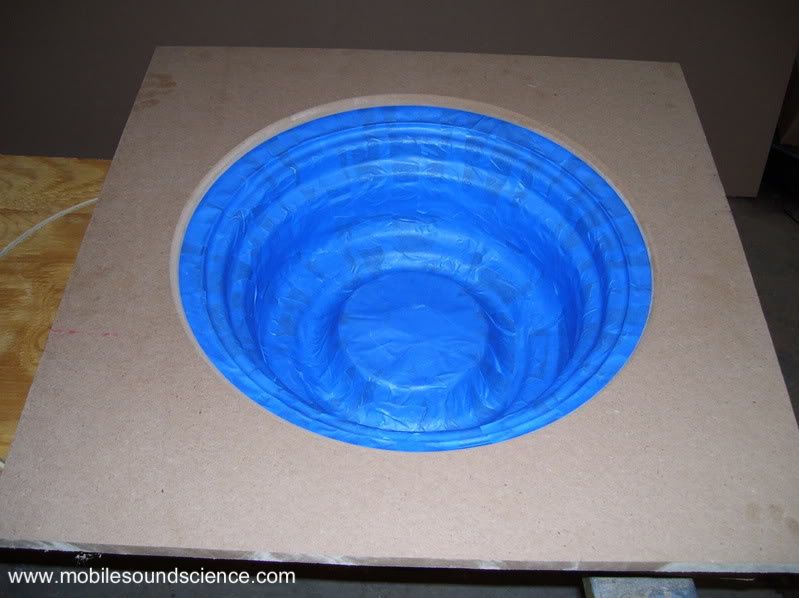
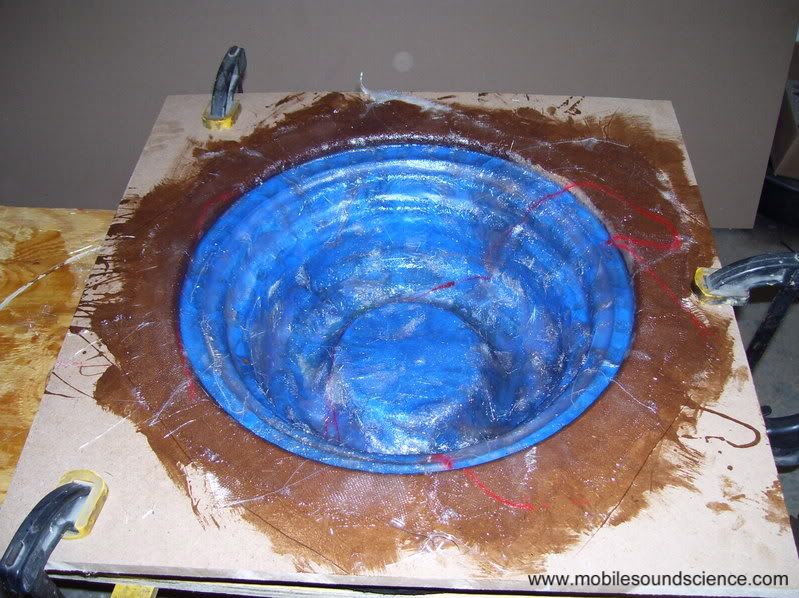
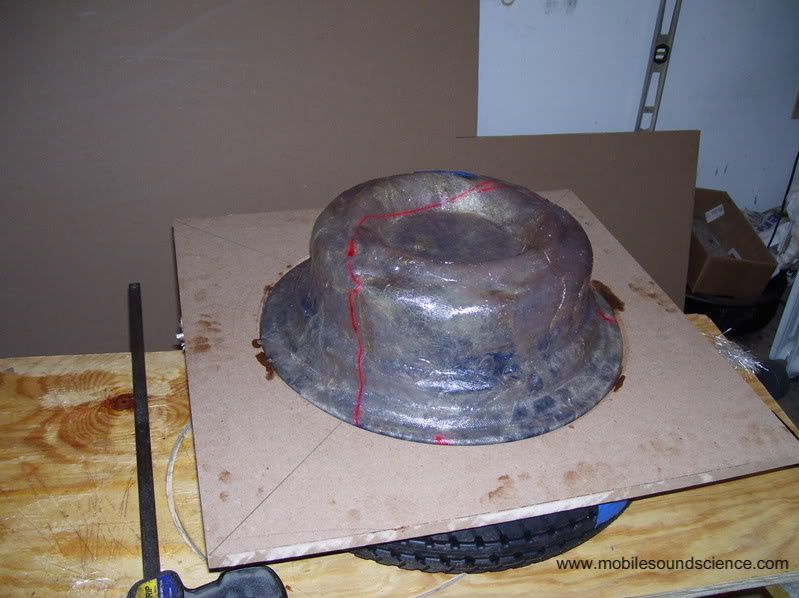
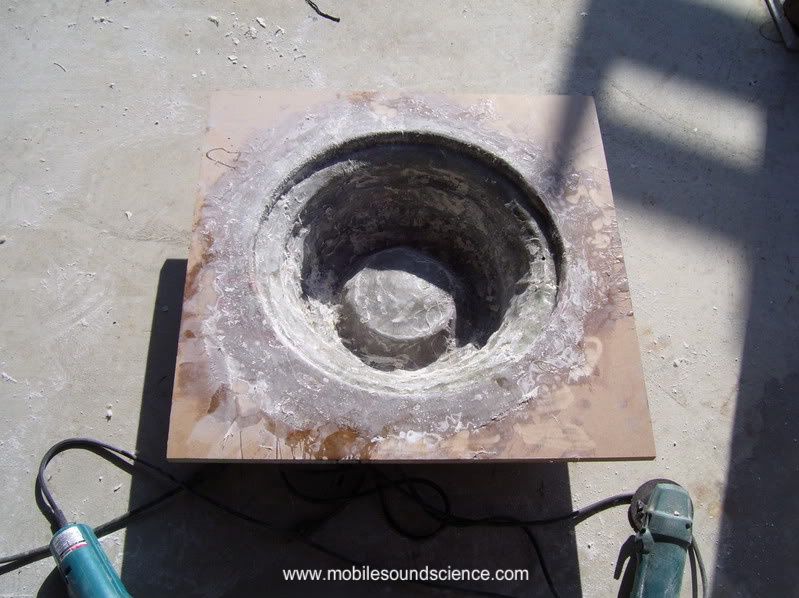
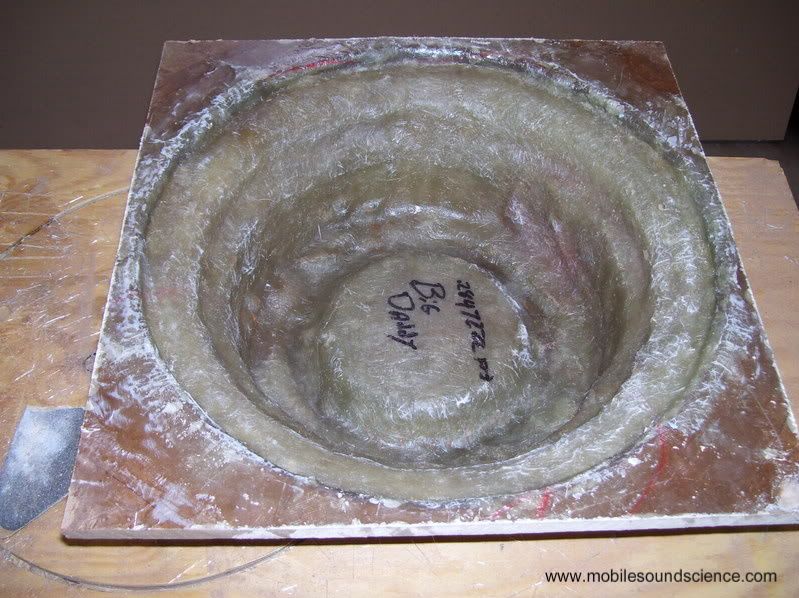
I copied my install posts over from DIYMA, I tried my best to make them as understandable as possible given they were posted over a 6 week period (at least) and in between MANY pages of discussion. it's obvious we lost all of the EP specific discussion here so if anyone has comments or questions go ahead and discuss. It's been completed for 6 months now and I'm still loving it.
Chad

 Reply With Quote
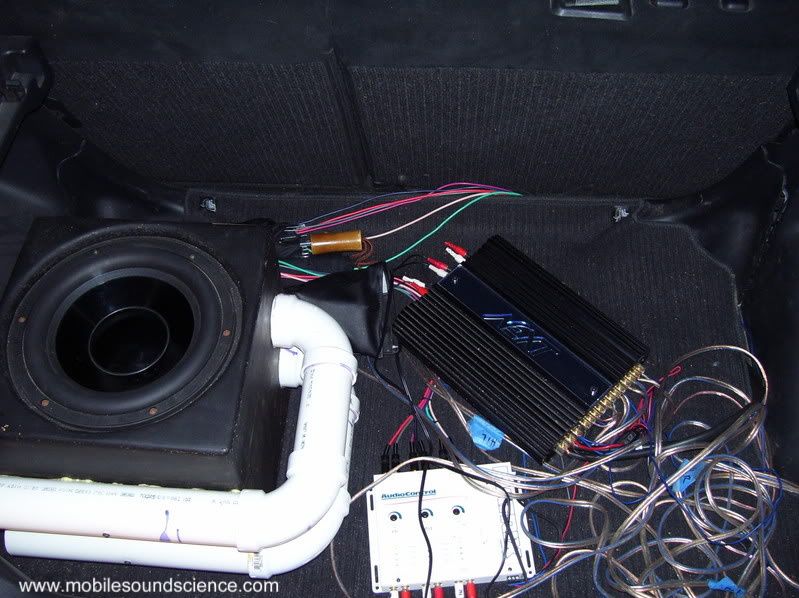


Bookmarks