Close

Page 1 of 3 123 LastLast
Results 1 to 15 of 66

Hybrid View

Previous Post Previous Post   Next Post Next Post
  1. #1
    One cool duck, with a hat Heitzke's Avatar
    Join Date
    Oct 2002
    Location
    Nashville
    Posts
    1,168

    DIY: Window Channel Replacement

    Pretty easy install, but figured I'd do a little write up while I was replacing the driver side channel.

    Tools Needed:
    10 mm socket
    long(ish) phillips head screwdriver
    magnetic picker (possibly)
    smaller flat head screwdriver
    small allen wrench, no real specific size is needed


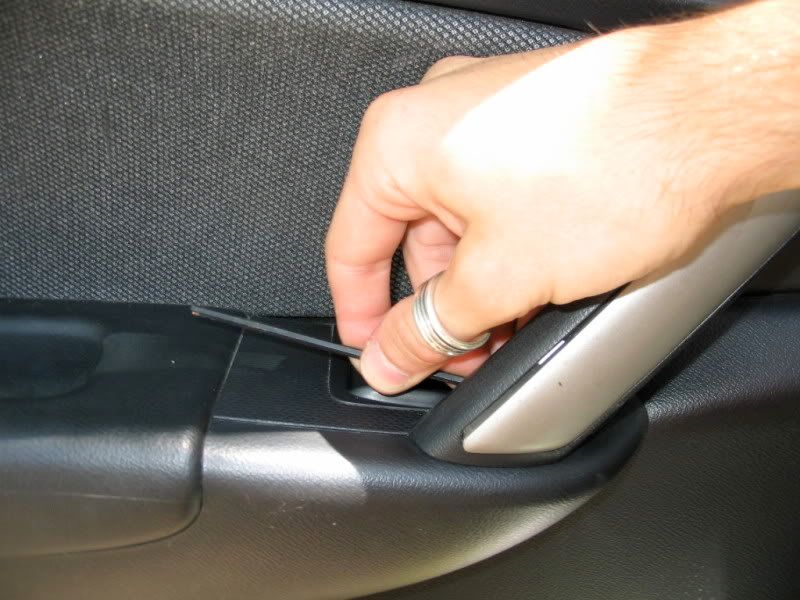
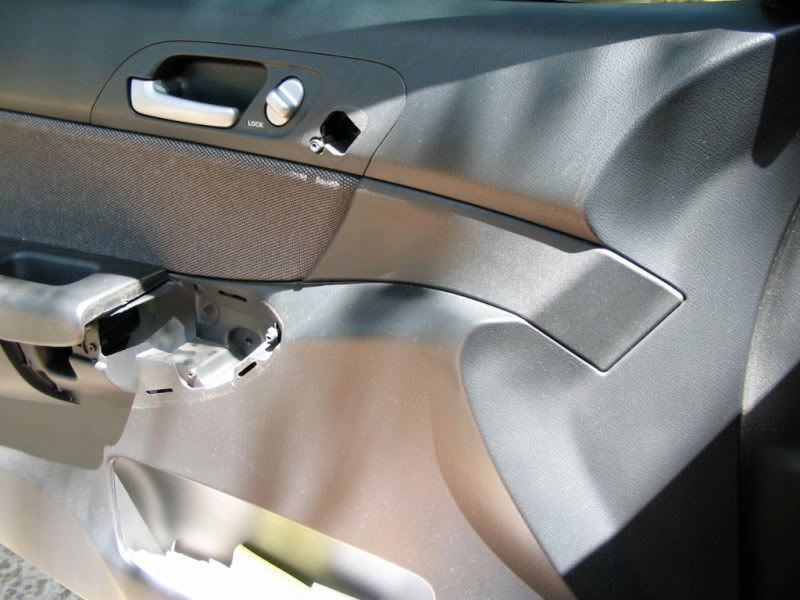
    First, use the allen to put in the little hole behind the door handle to pop out the silver cover.


    Sans door handle cover


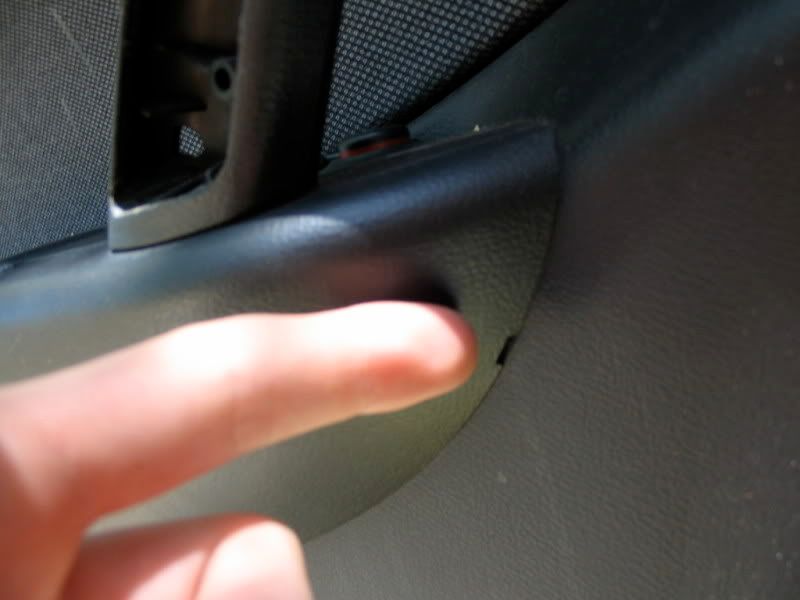
    Use a smaller flat head screwdriver to stick in this small slot to pry off the lower door handle cover. The plastic is pretty soft, so be careful if you're really OCD.


    Sans Cover


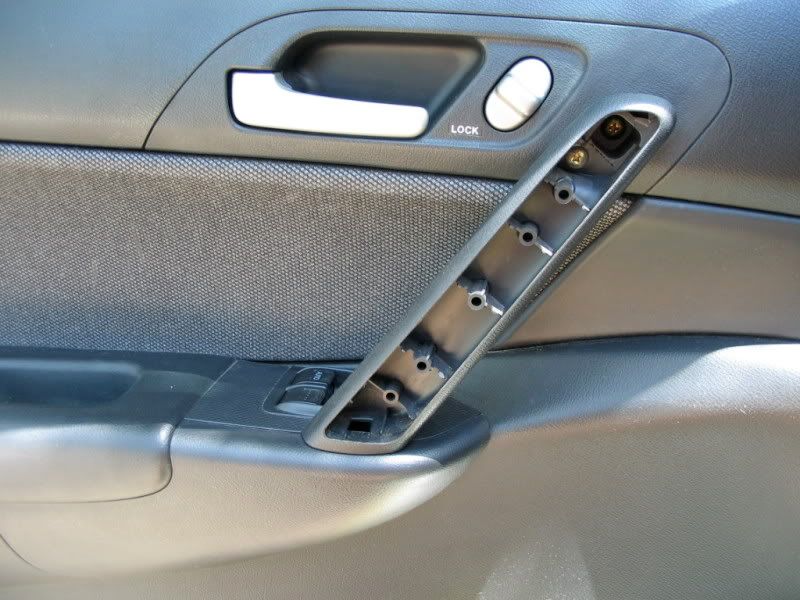
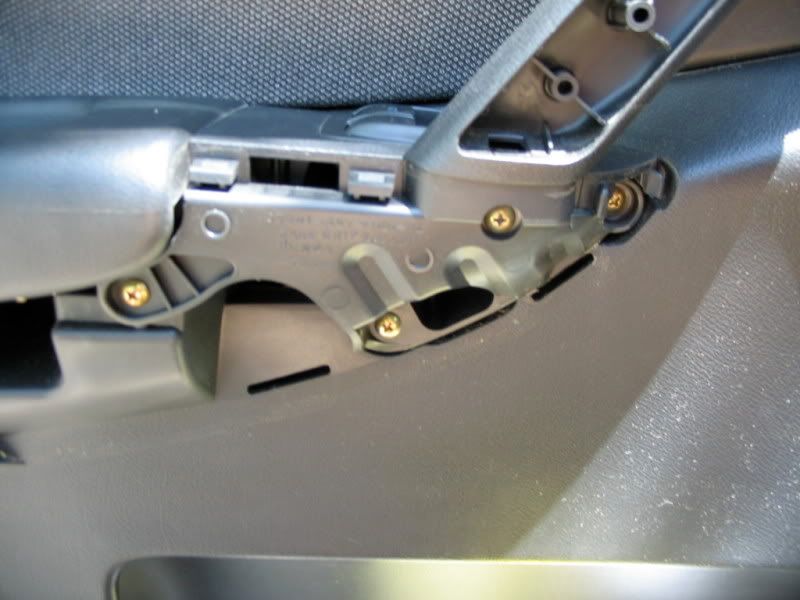
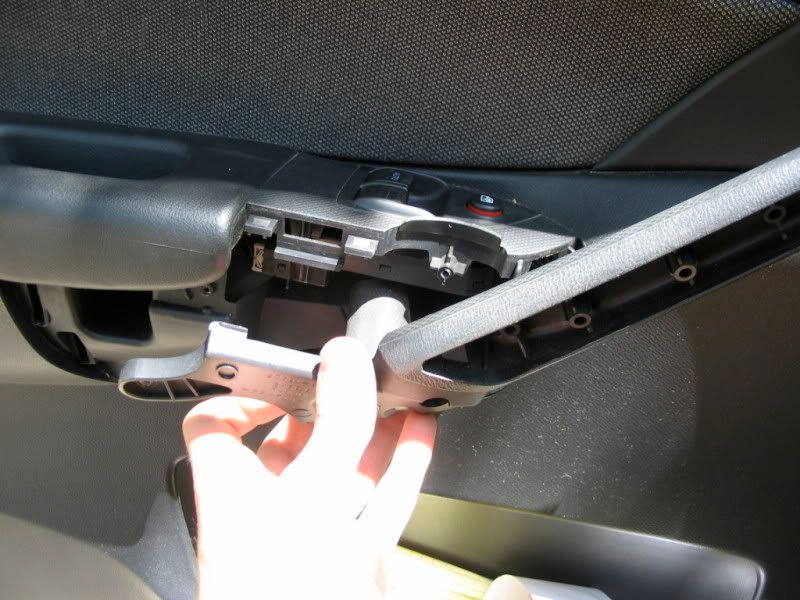
    Pretty straightforward, just back out the visible screws to pop the handle off. There are 3 screws that are recessed pretty far in there, so if you can't pull everything apart you probably missed those.


    Handle off


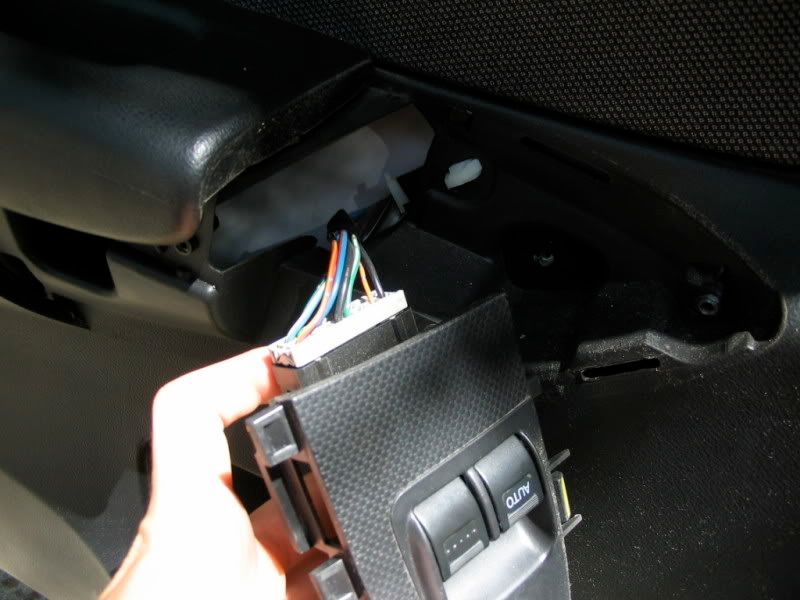
    Pull out the switch panel and detach the wiring from the back. There is a little grey tab to push in so it releases.


    Free door panel


    Sort of tricky, but now the panel is just being held on by those stubborn plastic clips. I just grabbed up by the tweeter and slowly worked my hand behind the panel and gave it a good yank. Don't go apeshit on it because you'll break some clips, but the panel should pop off pretty easily.

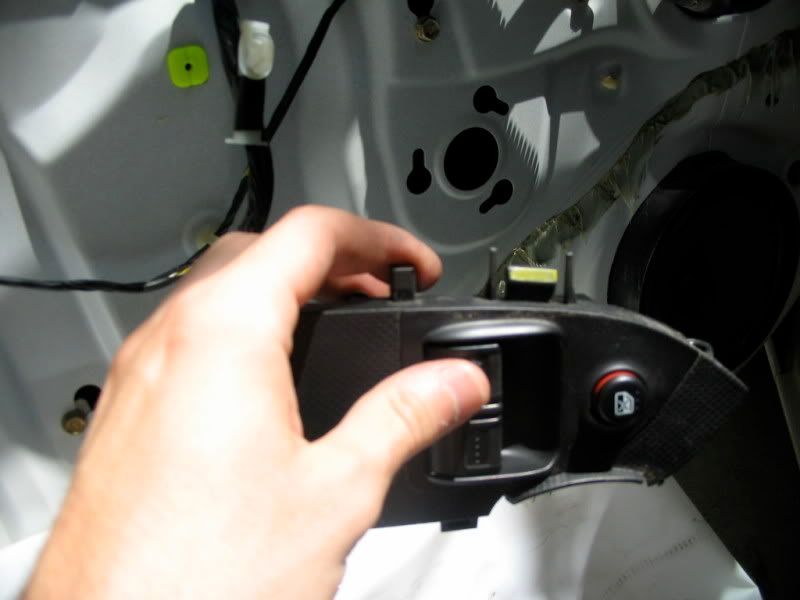
    Once the panel is free (from the clips anyway) it will be hanging by the release cable and the power lock switch wiring.

    Picture of the lock switch.


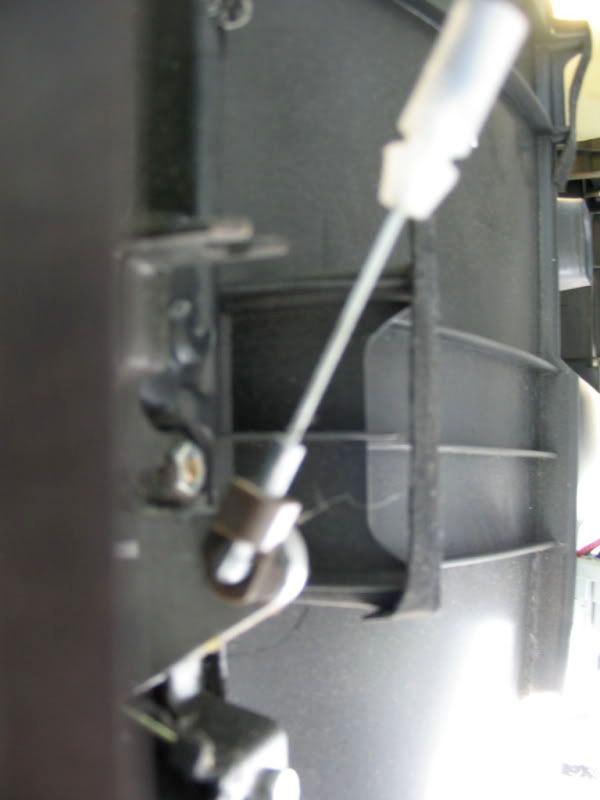
    This is the door release. To take this off, slip the white piece from the collar on the door panel then twist the end of the release out of the grey collar and it will pop out. It's confusing to put into words, so I might make a little illustration if my directions weren't clear.
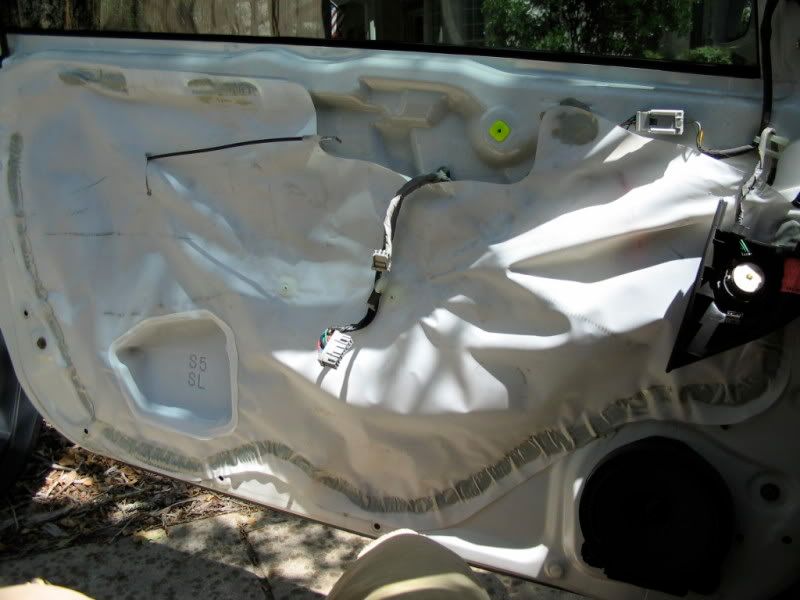
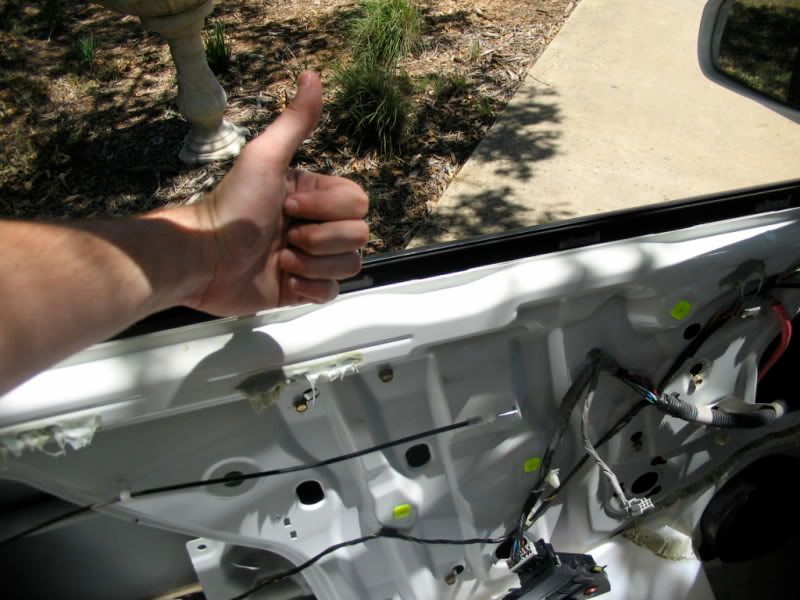


    Naked door


    Now pull down the white plastic, but be aware of the sticky gook stuff. It might be the stickiest shit on the entire planet.


    Now clip the window switch back up so you can put the window down a little bit.


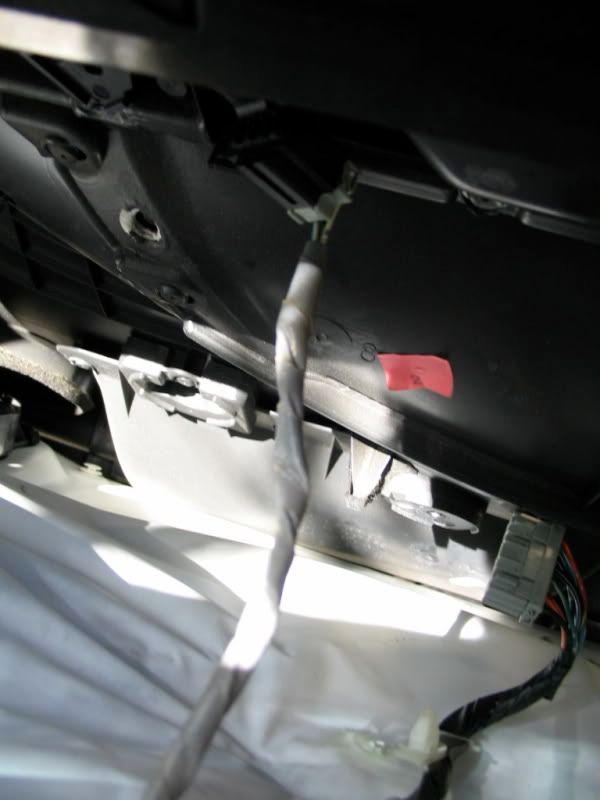
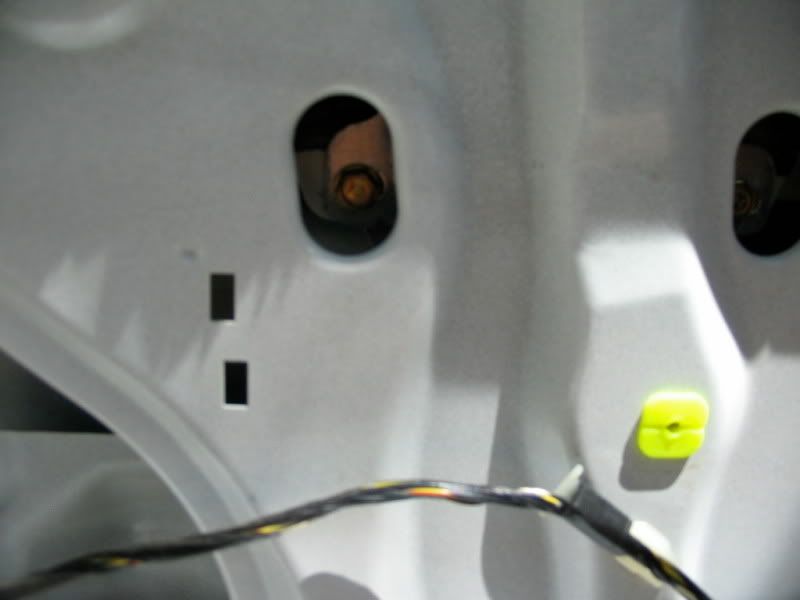
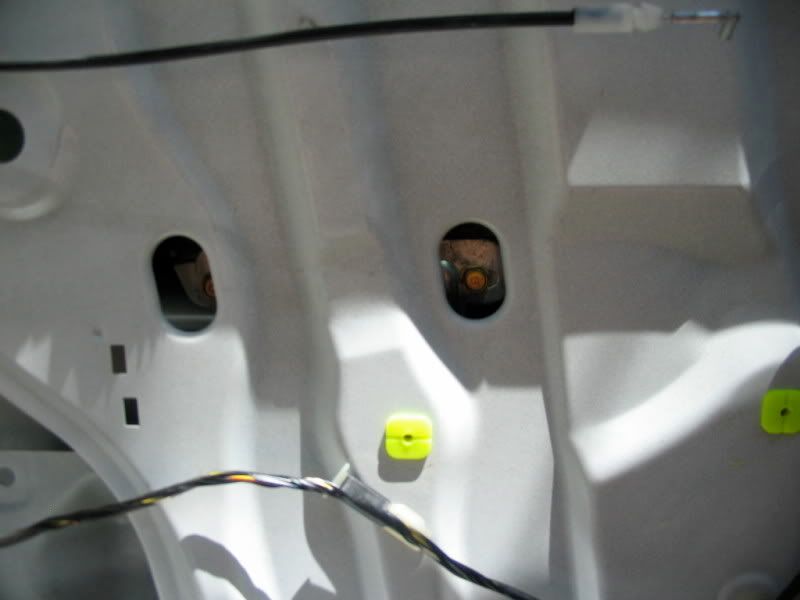
    If you notice the two holes in the middle of the door panel; this is where the two bolts holding the window on the regulator will be removed from. Lower the window down about half way, and you will see the two 10mm bolts.


    Now removed the two 10mm bolts, but be careful so that you don't accidentally drop the window while doing this. I couldn't take any pics of this part since I was working by my lonesome.

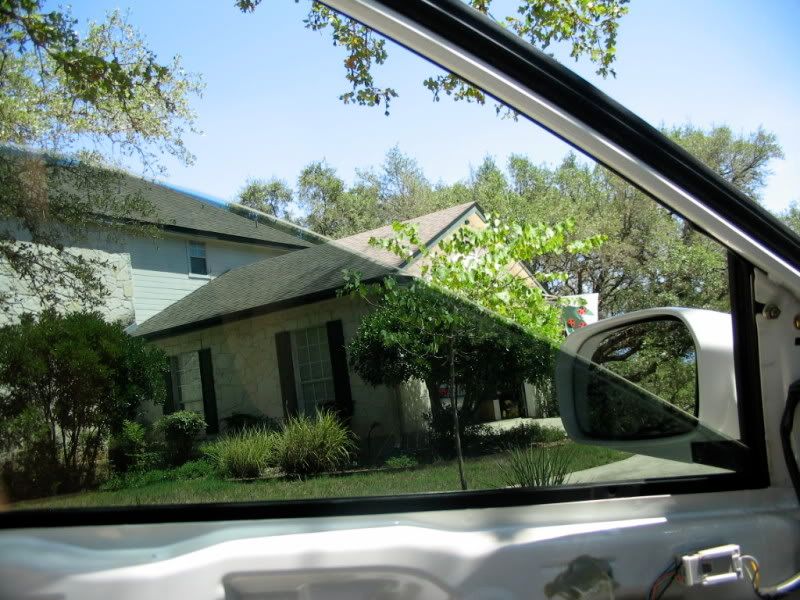
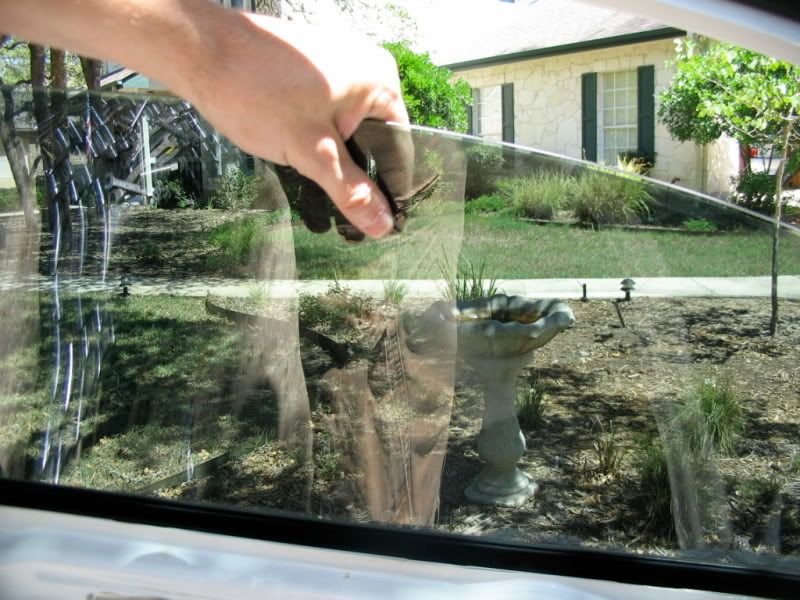
    Once the window is sitting freely, just grab it and pull it out from the top.


    I always drop a bolt in the door, so a magnetic picker comes in handy.


    windowless!


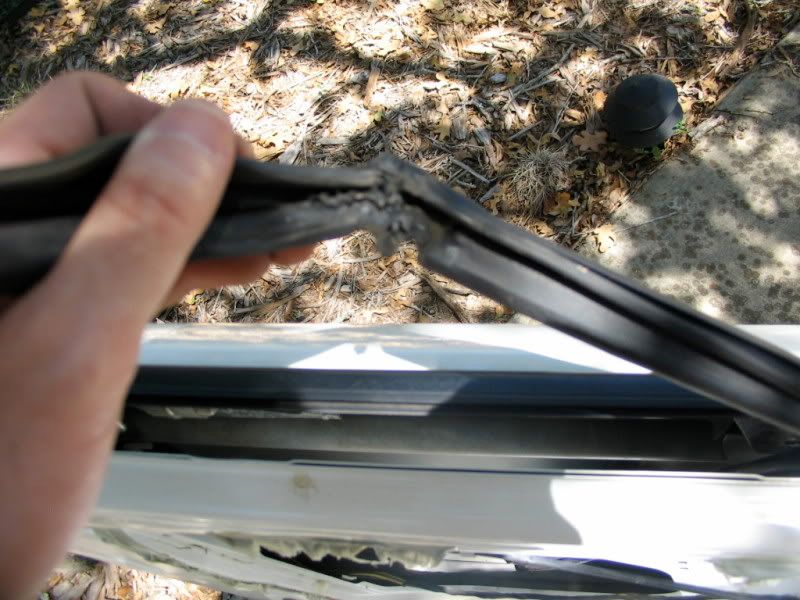
    Now you can reach into the bottom of the channel and just rip the pos rubber piece out of there.

    Look how trashed mine was.


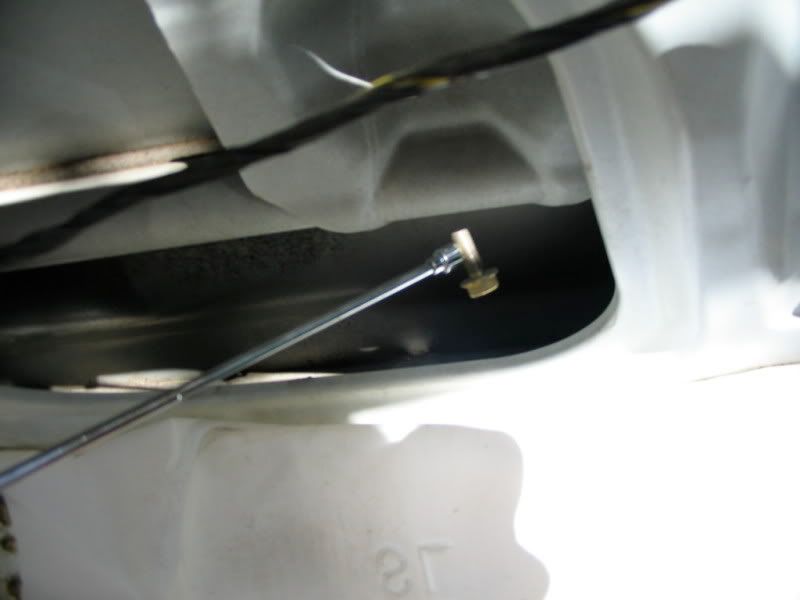
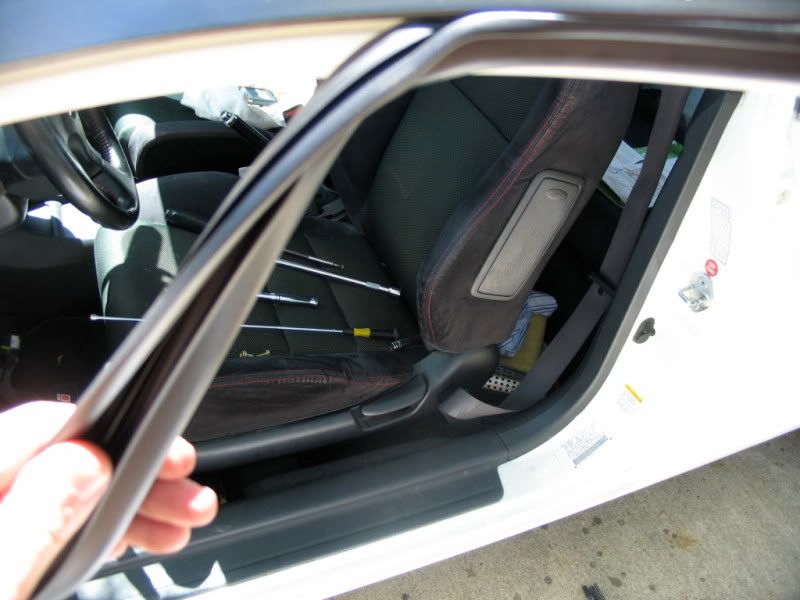
    Here is what the channel looks like while installing.


    Installing is very straightforward, you just pinch it a little and jam it into the channel.


    Make sure you don't pull forward on the channel in the direction you are installing. The rubber is very stretchy and you will find it not lining up correctly once you get to the opposite corner if you pull on it.

    Say you started with the back edge of the window, while working your way to the front, push back on the rubber when you are putting it into the channel.

    Again, it's harder to describe this than show someone.

    After this just install everything in reverse. There's really no trick to getting it all back together, just take your time.


    The install is rather easy, just thought this might help someone because of how many EP's have a problem with the channel.
    Last edited by Heitzke; 07-28-2008 at 08:14 AM.

  2. #2
    RIP ALep3's Avatar
    Join Date
    Apr 2008
    Location
    Alabama
    Posts
    623
    I need to do both you gonna help?

  3. #3
    One cool duck, with a hat Heitzke's Avatar
    Join Date
    Oct 2002
    Location
    Nashville
    Posts
    1,168
    Quote Originally Posted by ALep3 View Post
    I need to do both you gonna help?
    Yeah for sure, we need to have another little install day whenever I get back.

  4. #4
    Registered User lordofthesiths's Avatar
    Join Date
    Apr 2008
    Location
    Tulsa, OK
    Posts
    246
    Great write up.
    we need more like this.

  5. #5
    Registered User
    Join Date
    Aug 2002
    Location
    Edmonton, AB
    Posts
    615
    I've been waiting for this DIY. Thanks!

  6. #6
    NerfHerder heyvortek's Avatar
    Join Date
    Apr 2008
    Location
    Orlando, FL
    Posts
    379
    nice write up....or u can jus pay 300 for the dealership to do it.....FUK THAT....good write up...i jus got my channels in today

  7. #7
    R.I.P car locoep3's Avatar
    Join Date
    Apr 2008
    Location
    209 T-Town
    Posts
    336
    Nice diy

  8. #8
    Registered User
    Join Date
    Apr 2008
    Location
    a2z
    Posts
    35
    nice write up...you can also do it w/o taking off the door panel, just need alot of patience and lube to slide the channel in...ive done it both ways

  9. #9
    Team ANGRY NINJAs wizDUMB's Avatar
    Join Date
    Apr 2008
    Location
    7 1 RAW
    Posts
    121
    nice write up

  10. #10
    try and try again frm_808's Avatar
    Join Date
    Apr 2008
    Location
    las vegas, hawaii
    Posts
    1,461
    nice thumb ring buddie:tehehe:

  11. #11
    itsa me MARIO! Soprano21's Avatar
    Join Date
    Apr 2008
    Location
    Glenside,PA
    Posts
    2,470
    good write up mang....just did my passanger a week a ago

  12. #12
    ephatch member rspjean's Avatar
    Join Date
    Jun 2008
    Location
    Kissimmee, FL
    Posts
    107
    good diy i need to do this since i trashed mine with a coat hanger when i locked my keys in the car

  13. #13
    ephatch member
    Join Date
    Oct 2009
    Location
    ZzzZ
    Posts
    101
    Is the channel the reason why I get ridiculous amounts of wind noise on the highway?

  14. #14
    ephatch member bearcat91's Avatar
    Join Date
    May 2010
    Location
    Cincinnati
    Posts
    150
    which is the part that runs up the back side(towards the back of the car) #5 or #10? thanks

  15. #15
    Registered User
    Join Date
    Jun 2011
    Location
    Maryland
    Posts
    9
    I just bought the parts to have this done at the dealer because I didn't want to eff up my windows, lol. May have to give this a shot. I'm bitter about the prices though, they charged me $180 for the parts...

Page 1 of 3 123 LastLast

Thread Information

Users Browsing this Thread

There are currently 2 users browsing this thread. (0 members and 2 guests)

Bookmarks

Posting Permissions

  • You may not post new threads
  • You may not post replies
  • You may not post attachments
  • You may not edit your posts
  •