

 Reply With Quote
great DIY!
thanks man!!


This DIY is for those of us who refuse to spend hundreds of dollars on the OEM Type-R door panels, or who don't want to scour the internet for weeks and/or months to find a good deal.
I am by no means a professional, and as you can see it was my first attempt at this and is not perfect. However, I believe that following this DIY you yourself can make some improvements and enjoy a new look to brighten up your interior.
Materials:
1. Fabric. Some people get the alcantara suede from Joann fabrics, others find other means. Personally, I purchased the precut authentic Recaro fabric off of club ep3/rsx.
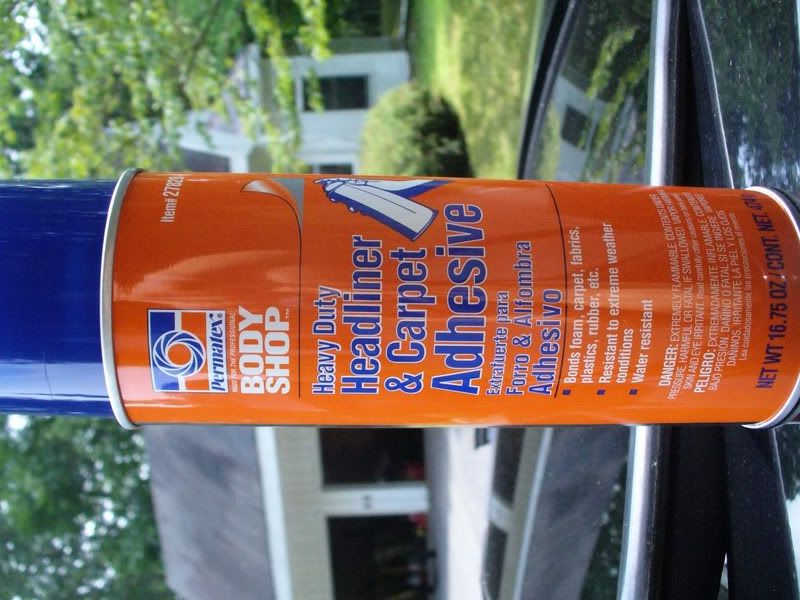
2. Fabric adhesive.
3. Masking tape
Tools:
1. A means to tuck the fabric - screwdrivers, chisels, spatulas, etc.
2. Phillips head screwdriver
3. Flathead screwdriver (to pop off one of the panels on the doors)
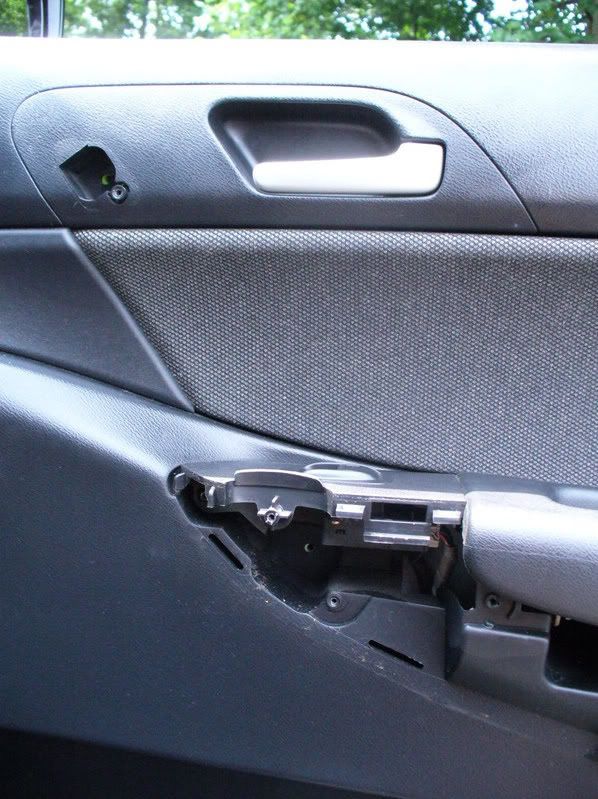
Step 1:
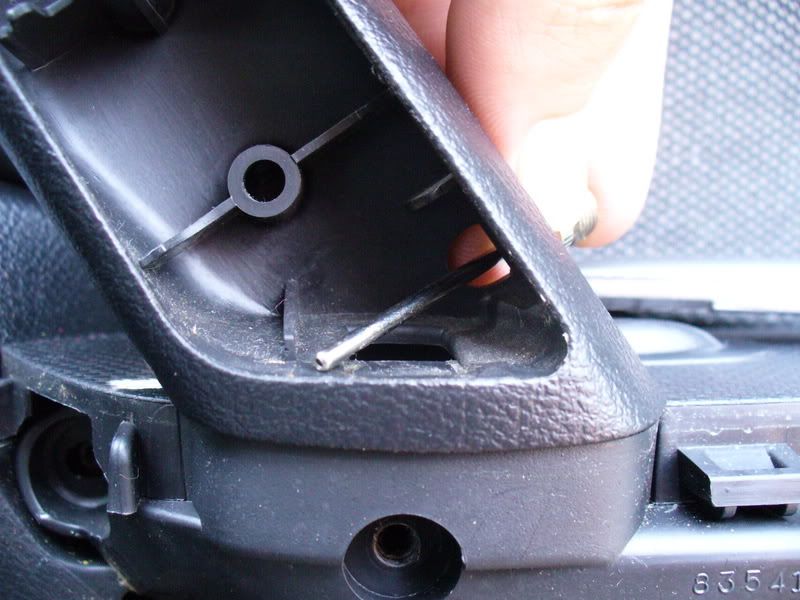
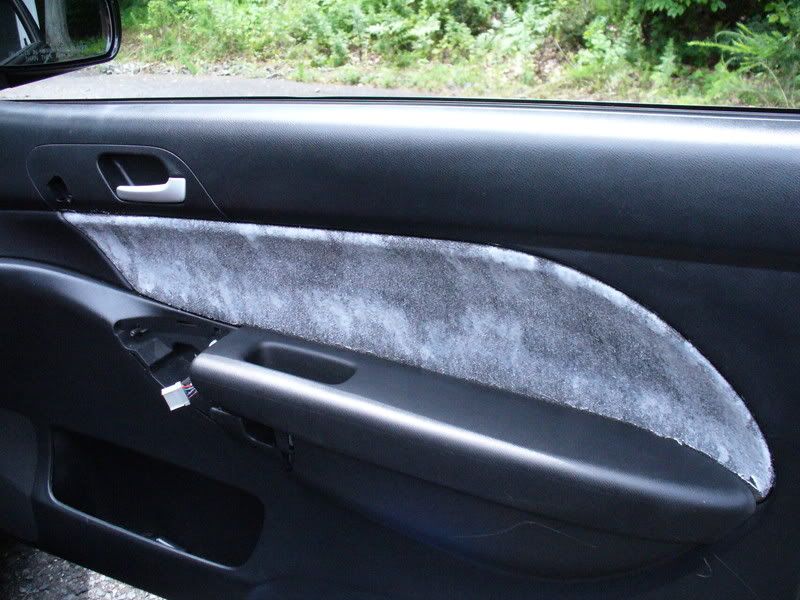
Using the flathead screwdriver, pop the small panels shown out. There is a small recess made specifically for a flathead. Be careful not to tug too hard and break a clip.
Step 2:
Remove all of the screws that you see, there are a few so don't miss any!
Step 3:
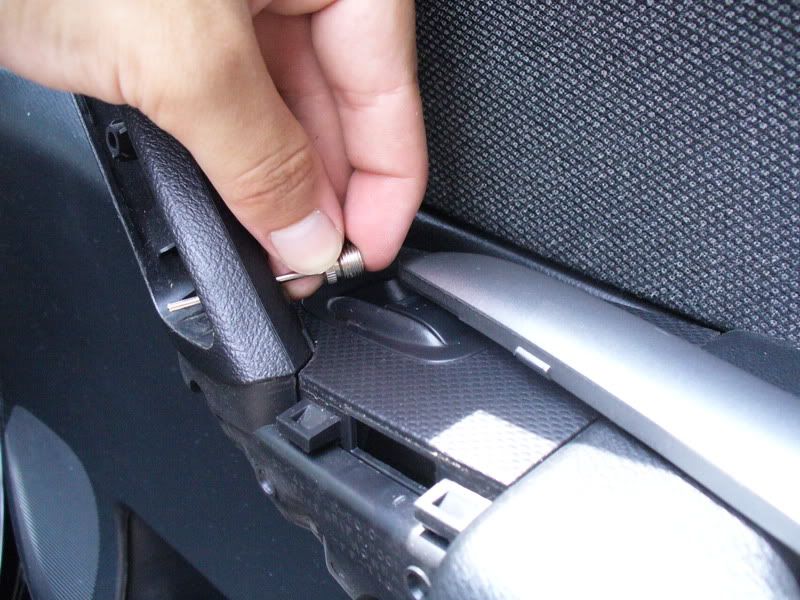
Remove silver insert in door handle. There is a small hole in the back of the door handle. Push something in the hole to pop out the silver door trim insert. I used a needle for pumping air. Once the trim piece is popped out, there are a couple more screws that need to come out.
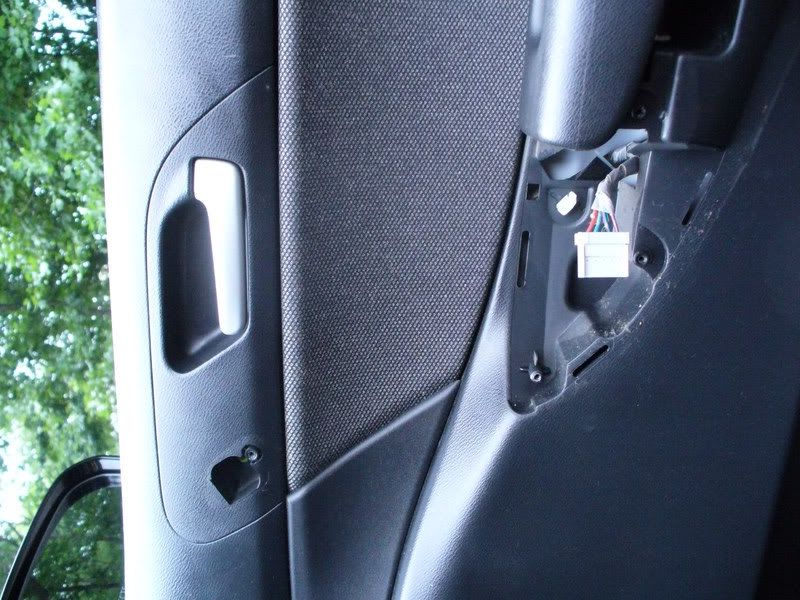
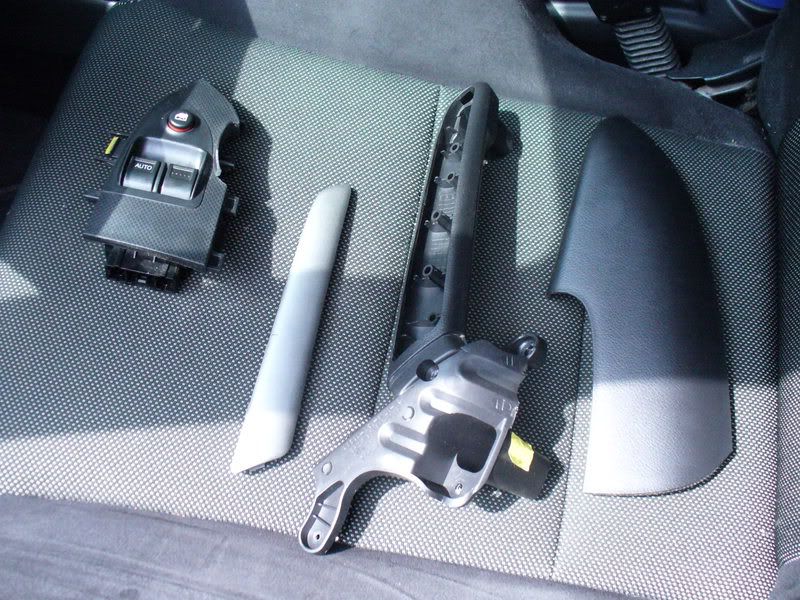
Step 4:
Remove the door handle and the triangular portion with the window controls on it. The control piece has a wire attached to it, so unclip it from the system.
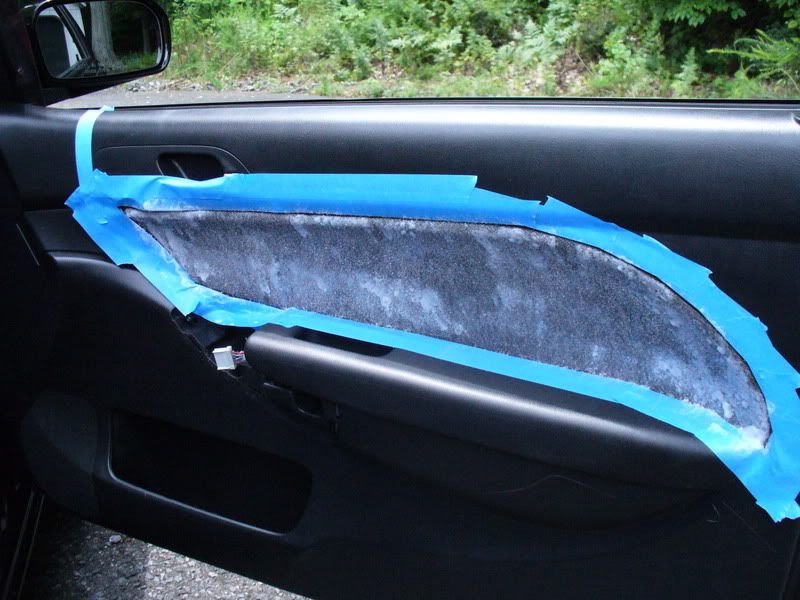
Step 5:
Mask off the area you will be spraying with adhesive. It is a wise idea because the spray isn't entirely controllable, and it cuts down on cleanup time. No mess, no fuss!
Step 6:
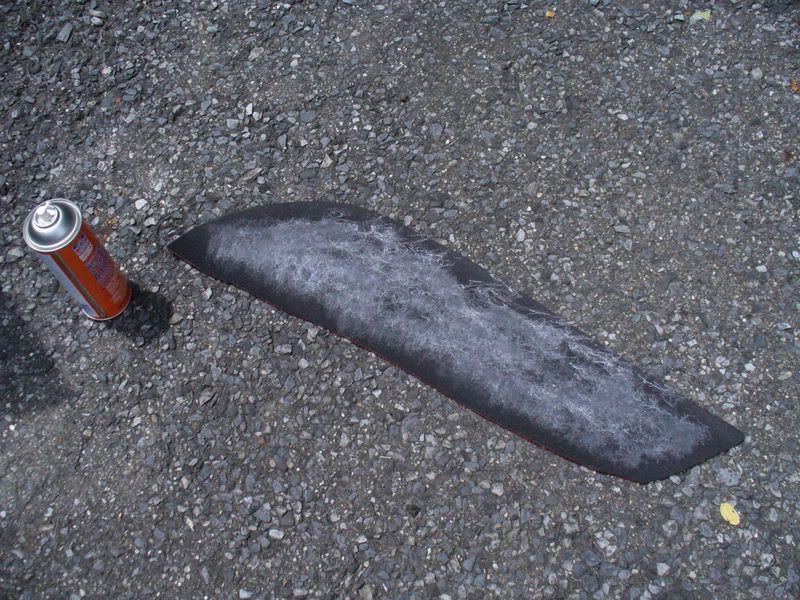
Now it's time to start applying adhesive. Follow the instructions on the can. My can said to apply 2 to 3 coats, allowing a 5 minute dry time between coats. Each coat should be applied from the opposite end of the previous coat. Additionally, as the third and final coat was drying in the 5 minute period, i sprayed a single coat on the fabric, which ensures a stronger bond.
Step 7:
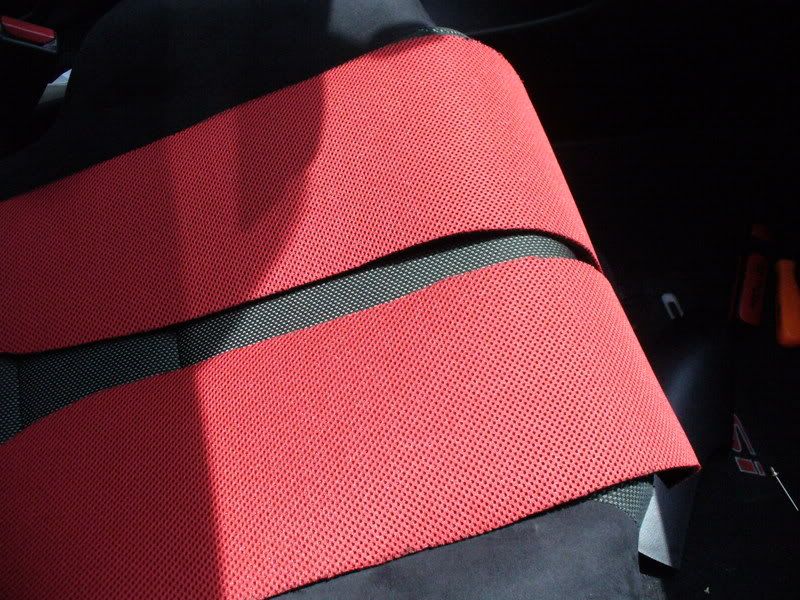
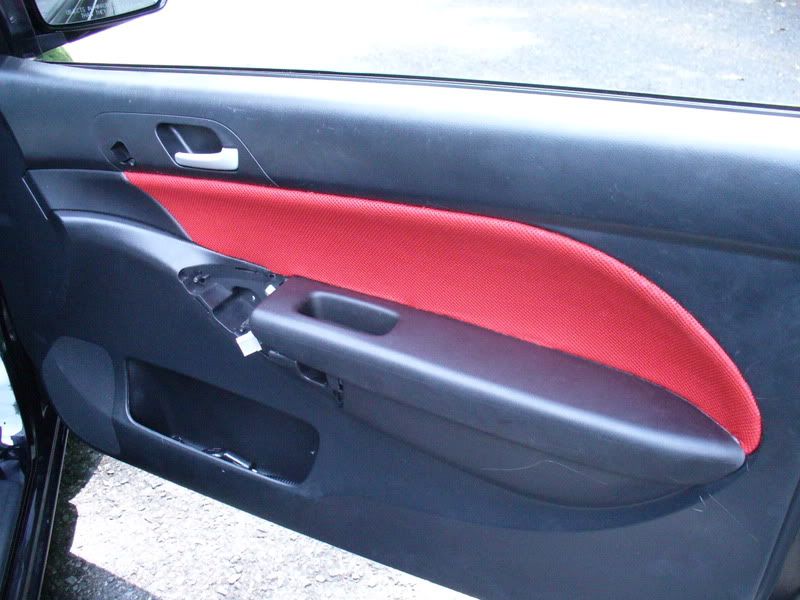
Here is the tricky part, a huge PITA if I may say so myself. Apply the fabric to the door panel, but align it so that there is even overlap material all the way around the existing grey panel. I thought that I had aligned it pretty well, then realized I hadn't. I didn't want to take off the fabric, fearing it would be ruined (which it probably wouldn't have), but I wanted to be sure. Because it wasn't lined up perfectly, I had too much fabric at the top and had to trim it, and too little at the bottom, so I didn't have quite enough to tuck it as well as I wanted to.
As soon as you have the fabric aligned and applied, get to work on tucking the overlap material into the panel gaps. THIS IS TIME CONSUMING AND RATHER FRUSTRATING. I didn't have any professional materials, so I was using a flathead screwdriver, and a thin garden trowel. Someone had suggested using a pizza cutter, and that may be a golden idea, something I will be using on the driver's side panel as soon as I finish this DIY.
Be sure not to get any wrinkles in it. Using the screwdriver I couldn't get an even tuck, so I have a fold or two on the bottom, and it doesn't look that bad, but I'm obsessive and I can tell lol.
Step 8:
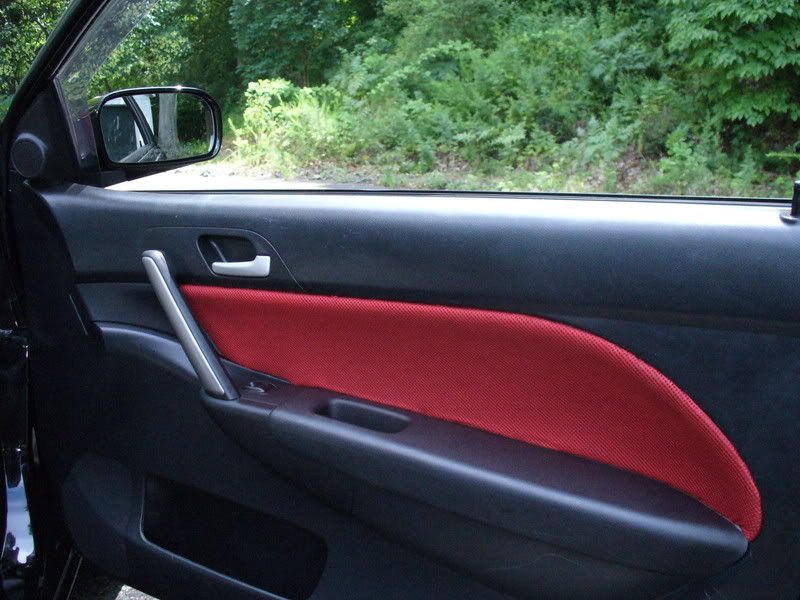
Once you finished applying the red fabric and have sufficiently tucked it in, start reinstalling the door panel pieces. Clip in the window button, screw everything back together and you're done! Just repeat the process for the other door.

great DIY!
thanks man!!

cool, hows it holding so far
it's holding great! cure time is 24 hours, and i definitely used a liberal amount of adhesive so i don't think it'll be coming off any time soon.
just an update: i used a pizza cutter the second time around on the driver's side door to get the larger swatches "initially" tucked and that made it a LOT easier (and quicker) to finish up with a flat head screwdriver or other tool.

looks good chaz!

Looks good. I haven't had any luck with spray glue in a can (I'm a 4th generation upholsterer). I stick to industrial trim tac that you need an air gun to apply. You can use a butter knife as a tucking tool around the edges to help get a nice tight edge.

nice nice! i'll probably try this once the laziness from me goes away.
hmmm now where to find and old recaro seat laying around?......

Looking good Charles!
Any chance we can throw this in the DIY section also? Maybe make another thread or let me move it up there?
Become a Sponsored Member. Only $20 for an entire year!!
Need a service manual for your K-series?
Ep3 Service Manual DC5 Service Manual CL7 Service Manual
yeah totally, i was going to make it there, but i figured i'd pique some interest in the interior section firstOriginally Posted by MugenReplica


where did you buy material???

your final product looks good. have you had 100 degree days on the glue yet.

you didnt take off the stock grey piece ???

It looks really good bro!

Did a great job for your first time, very Nice
There are currently 1 users browsing this thread. (0 members and 1 guests)
 Posting Permissions


Bookmarks