

 Reply With Quote
Woo that looks good! Nice write up with picsBut that buffer works a lot better than the typical wet-sanding.


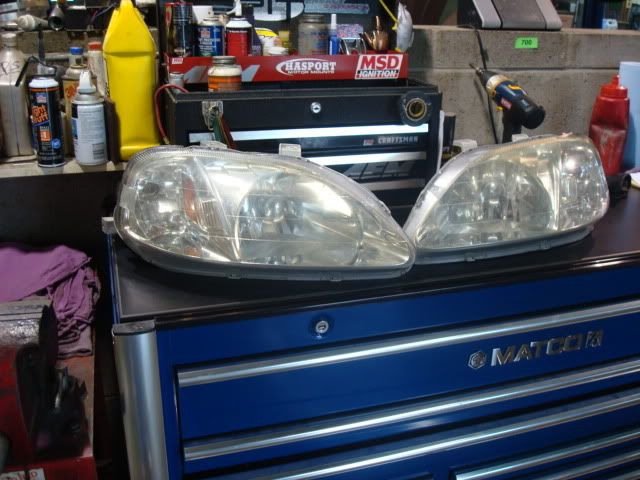
well i have read a few threads asking how to get the "shiney" back into OEM headlights. so here it is!
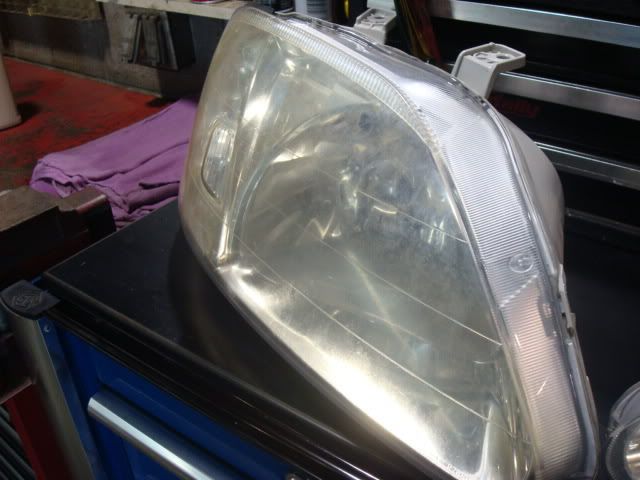
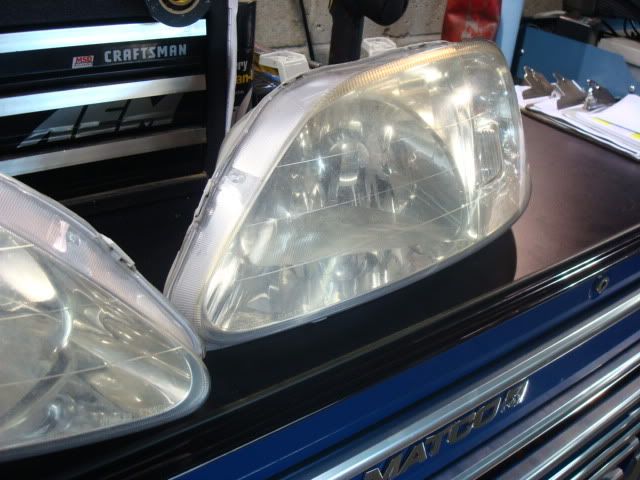
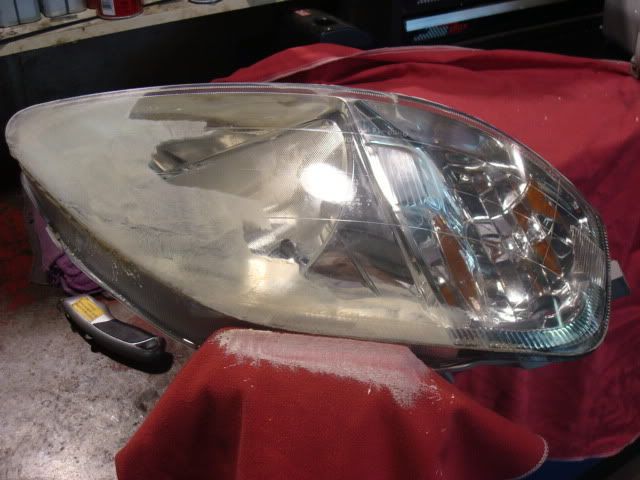
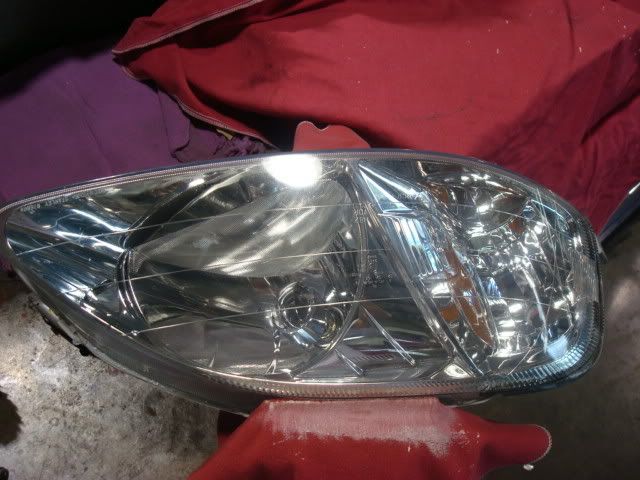
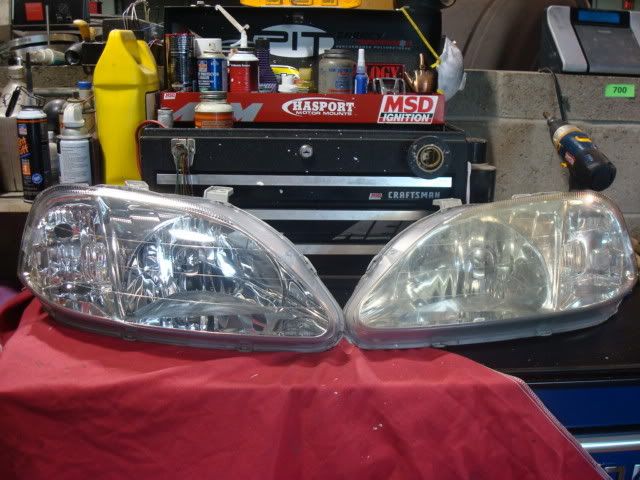
first step is hazey headlights.
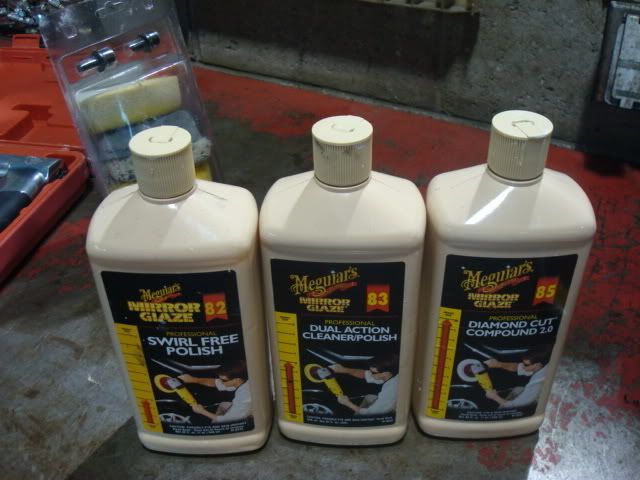
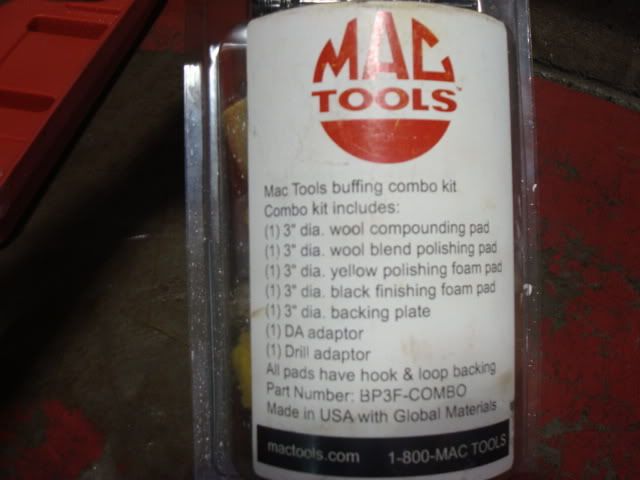
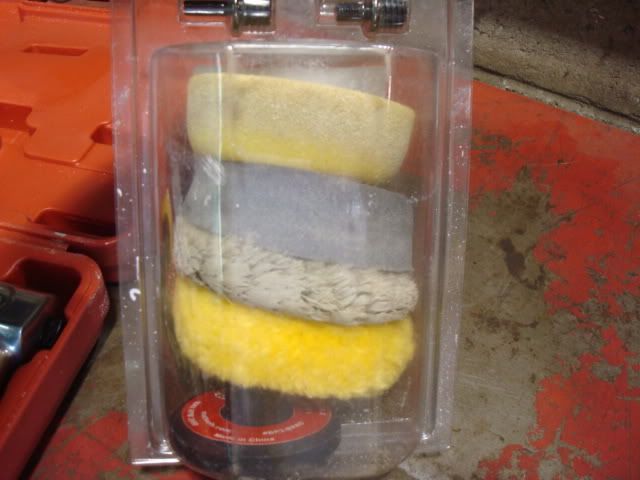
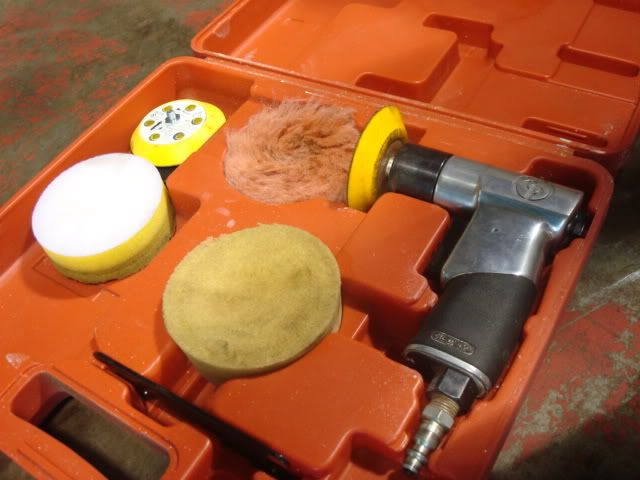
step 2 is polishes and buffing tools. i have never tried this by hand im sure it would work but wow it would be tough lots of hand work here, but here are the tools and polishes i used.
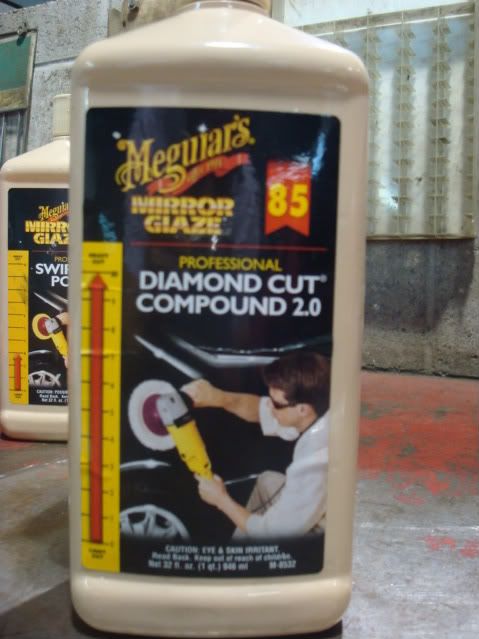
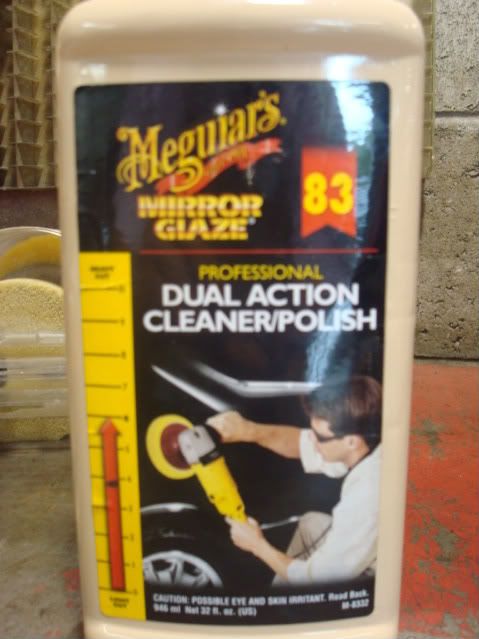
step 3 is actually step 1 in the process use the heavy cut (85 in this case)
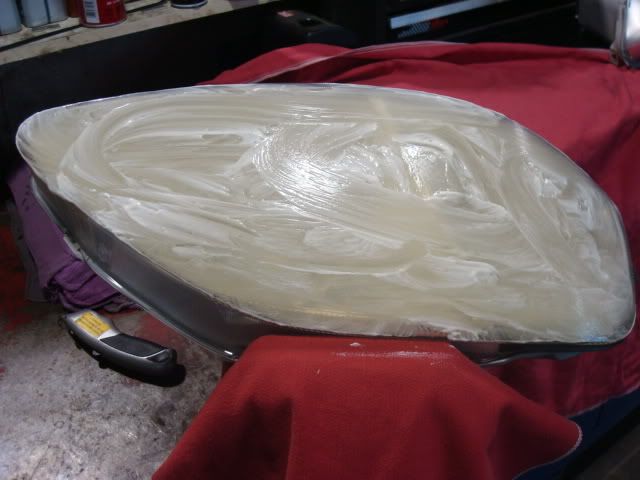
apply this to the headlight surface and spread around semi evenly
use the course pad in the buffing kit and buff till polish is gone off the light.
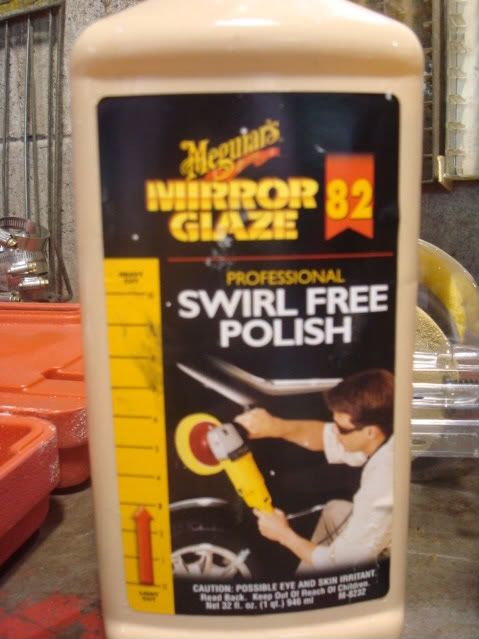
the first cut will take 98% of the haze off the housing steps 2 and 3 are for polishing to shine. you will use this
than this
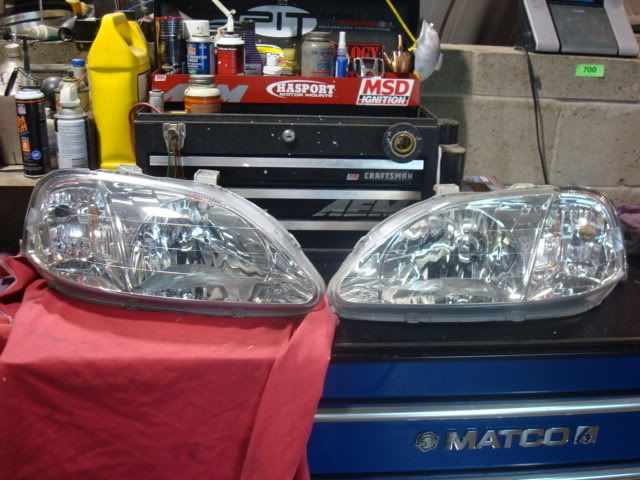
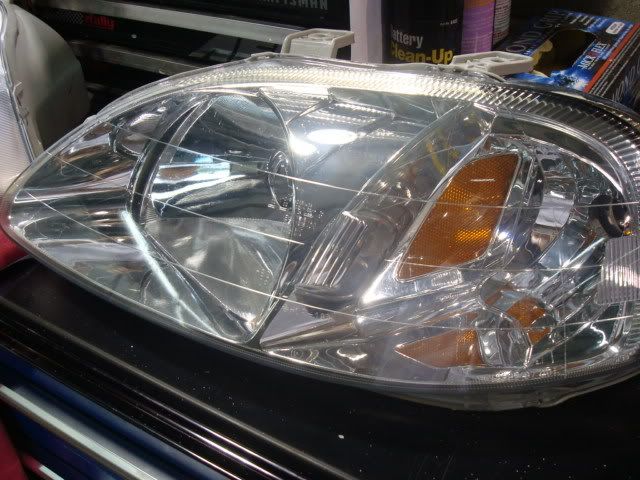
buff the same way that you did on the first cut with the heavy 85 and then you will have this in the end.
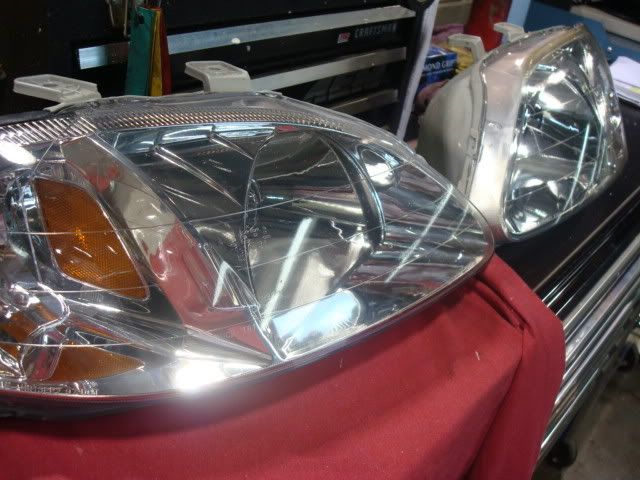
and here they are after about an hour of buffing and polishing.
have fun and i hope this helps out anyone with the same problem that i had. any questions just post up and i will be glad to help anyone out.
Last edited by pynikal; 09-15-2008 at 05:02 PM.

Woo that looks good! Nice write up with pics

I was going to try wet sanding, but I may actually give this a try. I believe my dad has a buffer that I could borrow..

wow...this is good...I need to do this but I don't have a buffer...

holy crap that looks brand new
the buffer i used was not that expensive. i think that the 3 bottles of polish cost more than the buffer did.

Very nice, I need to do something with mine for sure.
Thanks

nice! i'll try this. though my buffer is not as heavy duty as yours. still it should work fine.

Awesome write-up here and nice job on the results!
I just did this yesterday but wet-sanded by hand as opposed to using the buffer. Mine turned out great as well and am amazed at how refreshed the lights look.
One last step that is very important is to seal the finished product with a UV inhibitor. Since you are essentially taking off the top layer of plastic in order to remove the cloudiness and scratches, you are also removing any UV protection that was on the headlight. I had a hard time finding a UV inhibitor so I just used a good wax with UV inhibitor in it. I laid down two coats of wax to minimize any yellowing of the lamp. It also helped to put a nice finishing shine on there as well.

I dont if it just me but,
I did the same thing, but with different brand of compound.
It was pretty good..
However, after 2months, it became worst than before, and i have to apply it every other time to keep it shining

You need to put a uv protect on it and sealer

This is not true for oem headlights.Originally Posted by Ygrene

If you are refinishing OEM headlights you are not removing the UV protection by sanding/polishing off a fraction of a mm. The UV protection or "light stabilizers" are added into the raw PC material before the lens is molded. This is how you can remove the yellow-ness that the dirt and oxidation creates over time by just taking a little off the top. Other wise the plastic lens would be discolored throughout the plastic A side to B side.
I work for a global producer of outdoor power equipment and the clear and colored plastic material that we get from BASF, GE Plastics, and others has the UV protection added into the resin mixture that is sent to out to our molders. So basically the light stabilizer that helps keep the plastic from changing colors in the sun is not only on the surface. Having a UV coating applied after the molding process would require a secondary process which is usually avoided a much as possible in large volume production scenarios (more processes = more up front production cost = higher product selling price or less profit). Plus having the UV molded in is much more robust and effective.
Now if you have AFTERMARKET head/tail lights, I mean the very cheap ones, they MAY not have the UV protection molded in only applied after the fact. And they would have to be some major El Cheapos! I'm sure the major aftermarket players have the UV molded in.
Probably the most important thing to keep the foggy/yellow-ness from coming back so soon is to get as smooth of a surface finish as possible when you are done. If the lens surface is not as smooth as glass [or still porous] it makes it easier for dirt and crap to get in and mess things up again. You will need some sort of sander/buffer or drill attachment with a fine compound to get a good surface finish. 2000 grit and rubbing compound by hand will probably not be good enough (I've done this before w/o a buffer and the restore didn't last long.) Hope this helps.
Last edited by vtecDave; 07-27-2010 at 10:09 AM. Reason: added content
04 Civic Si - nhbp
12 Accord EXL v6 - cbp
----------------------------------------------------------------------

Nice DIY. This was exactly what I was looking for. Thanks.

woops.
Last edited by PatrickJamesYu; 07-24-2010 at 09:54 PM.
How much does a good buffer cost and whats the proper technique in using it? I would assume not to press down too hard on it.
Also, how the results & cost with your method compare to using 3M/Headlight lens restorer kit or Mothers PowerBall 4Lights Headlight Restoration Kit?
Last edited by White02CivicSi; 07-24-2010 at 11:07 PM.
There are currently 1 users browsing this thread. (0 members and 1 guests)
 Posting Permissions


Bookmarks