

 Reply With Quote
damn dude, that turned out pretty good. and it doesn't kill your trunk space. I like it...


Well, I've been working on this off-and-on for about 2 months now. I'm not quite done yet, but I feel like I'm at a point where I can show the progress.
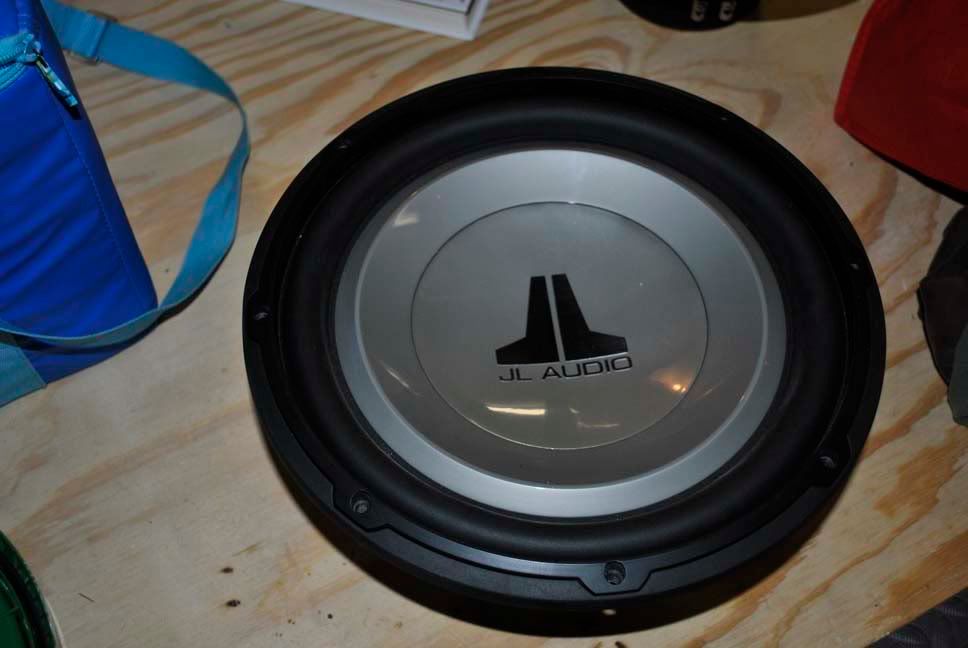
So first the backstory. Someone at work had 2 of these JL 12W1v2 subs for sale for a good price. They were in great shape, barely used. I had been wanting to get rid of the little 10" I had that was mounted in a small wedge box. It didn't sound that bad, but I didn't like the box taking up my trunk space. I always carry stuff back there, and it was just getting on my nerves. I guess I didn't strictly have to buy a new sub to make a new box, but it certainly made me more motivated so that the money I spent on the 12"s didn't go to waste.
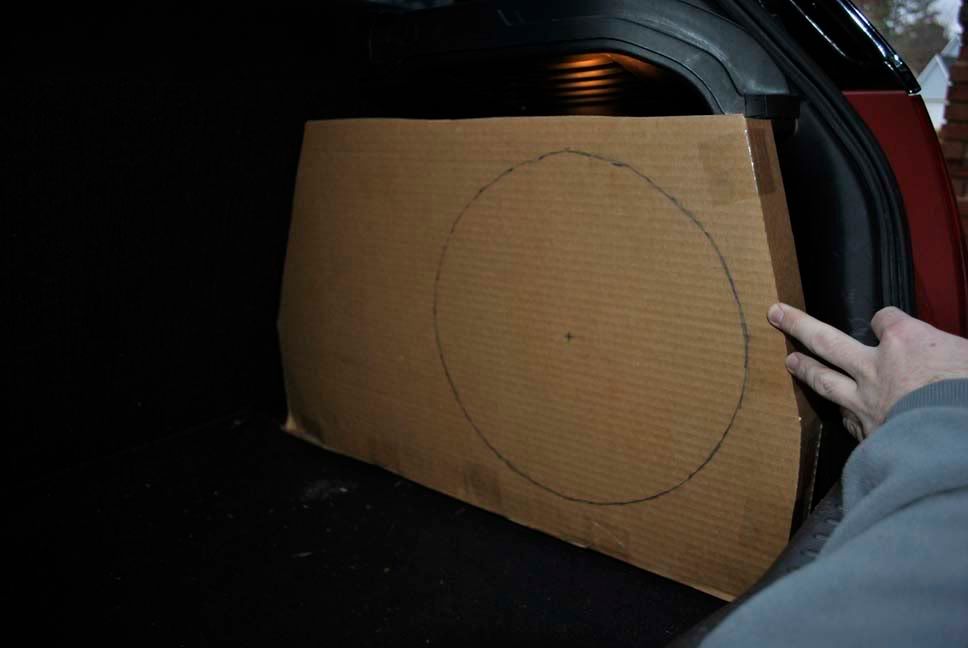
So my first step was to mock up what I wanted with a bit of cardboard. It didn't turn out like the mock-up in the end, but it got me thinking about ideas. I was going to try to build it out of all MDF, and make it fit into the side cavity back there. After a couple hours of mocking and testing, I soon decided there was no way my carpentry skills could make a box to fit those curves. So I then decided to try my hand at fiberglass. My only experience with it was working with the UA Formula SAE team, building a seat. Which they already had a mold for. All I did was lay it flat in the mold and hand it off to the upholstery dude for finishing.
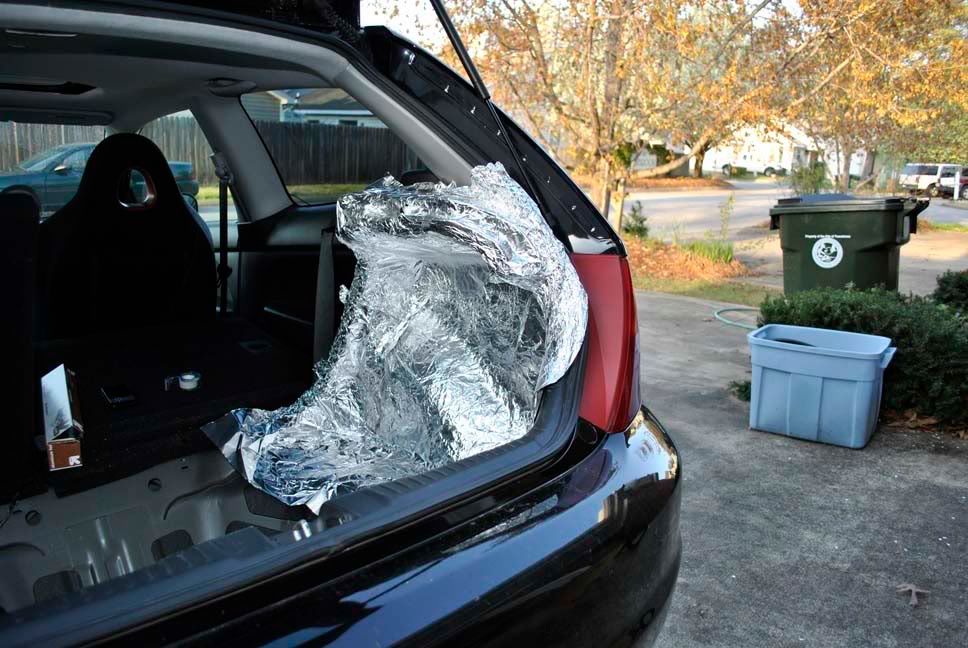
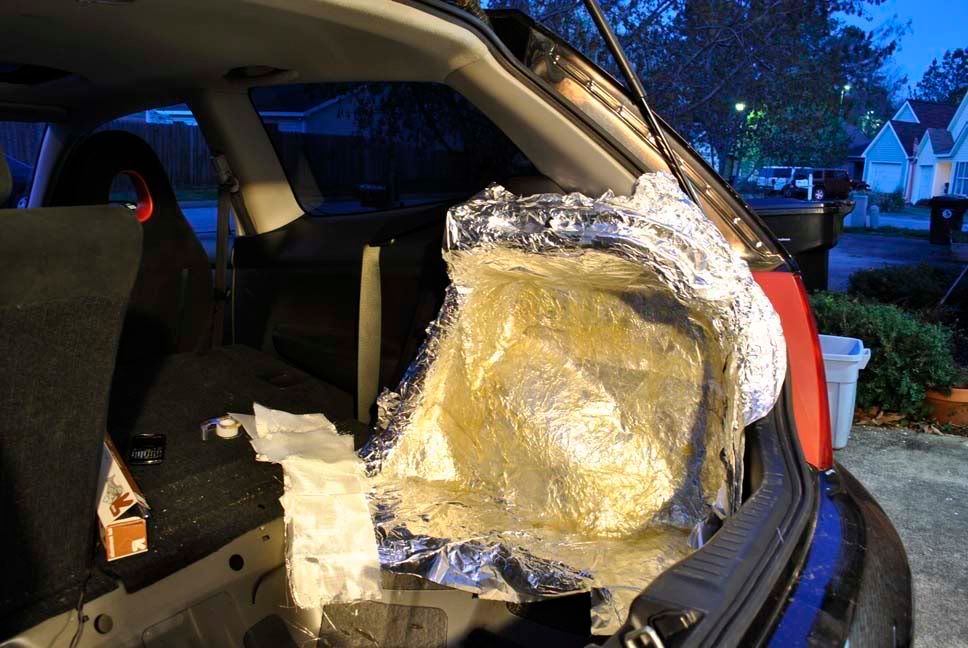
I probably should have read up on some instructions first, but I ended up just diving right in. I went and got some 'glass, resin, sponge brushes, and aluminum foil.
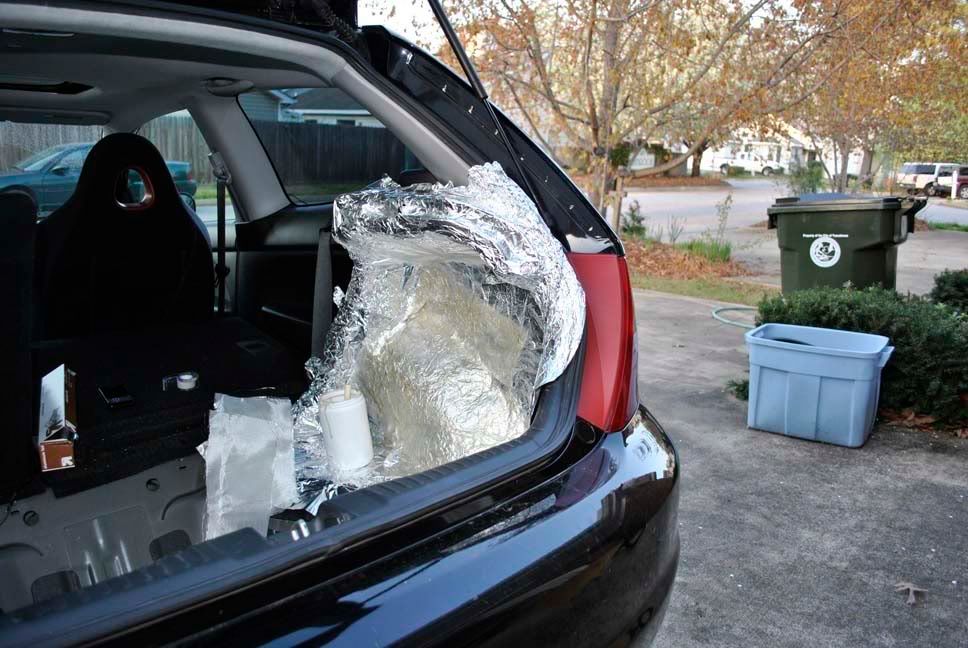
After I got all my foil in there, I just started laying the fg in, and sticking it up everywhere. If you've never used it before, it kinda works like paper-mache. In hindsight, I probably should have used some sort of mold release so that I didn't have to pick all that foil out of the back when I pulled it out, but oh well. I ended up spray painting over the first layer with black so you can't see it from the outside.
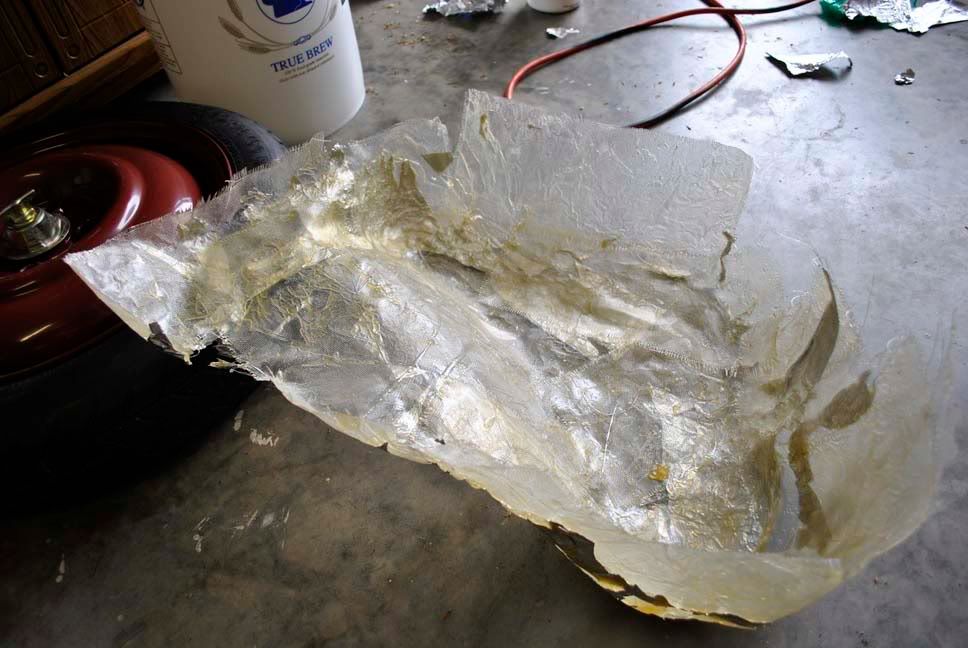
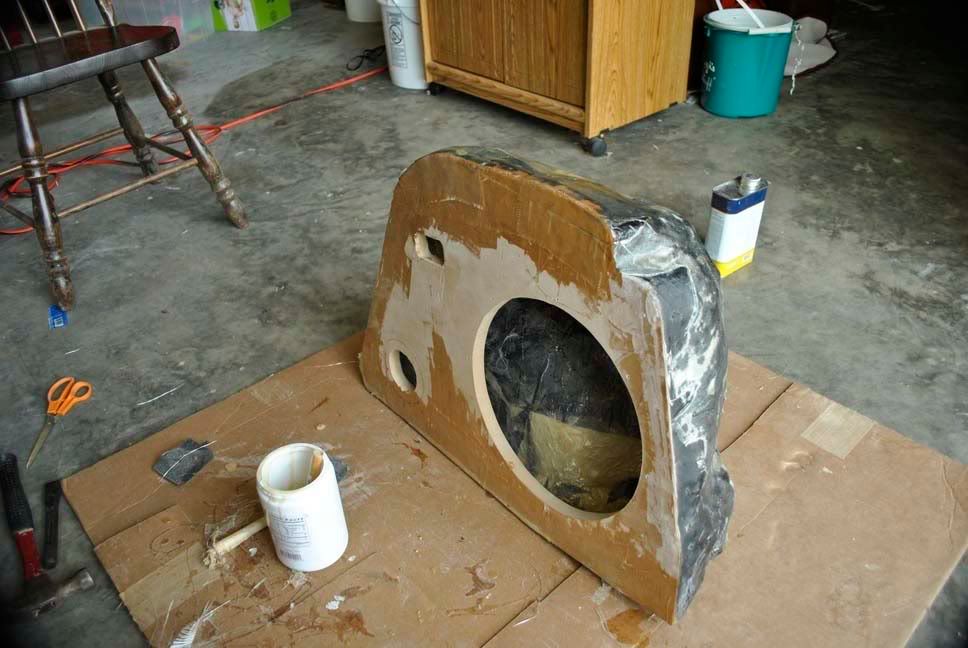
Once it got dried out, I just pulled the whole thing out.
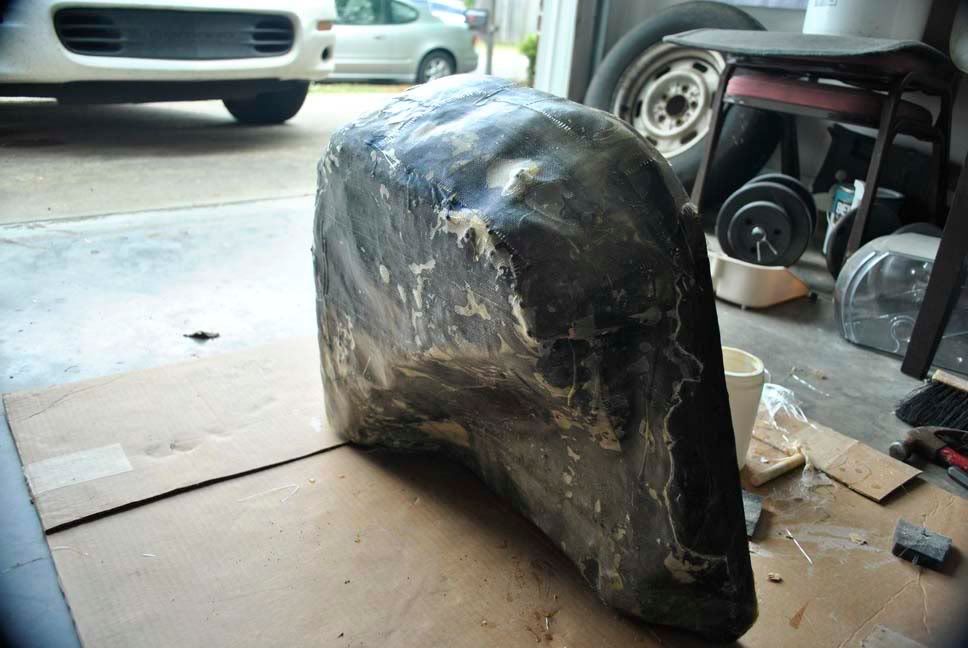
Now there are some missing pictures here, but basically next I just filled in the gaps and finished out the basic shape. Then I laid it out on my piece of MDF and traced the shape for the front piece. After cutting this out, I laid the glass out around the edges to secure the front and back pieces. I did this over several days, making sure all the holes were filled, and that I had a good seal around all the edges. Then I went back and laid another layer on the back to strengthen it up.
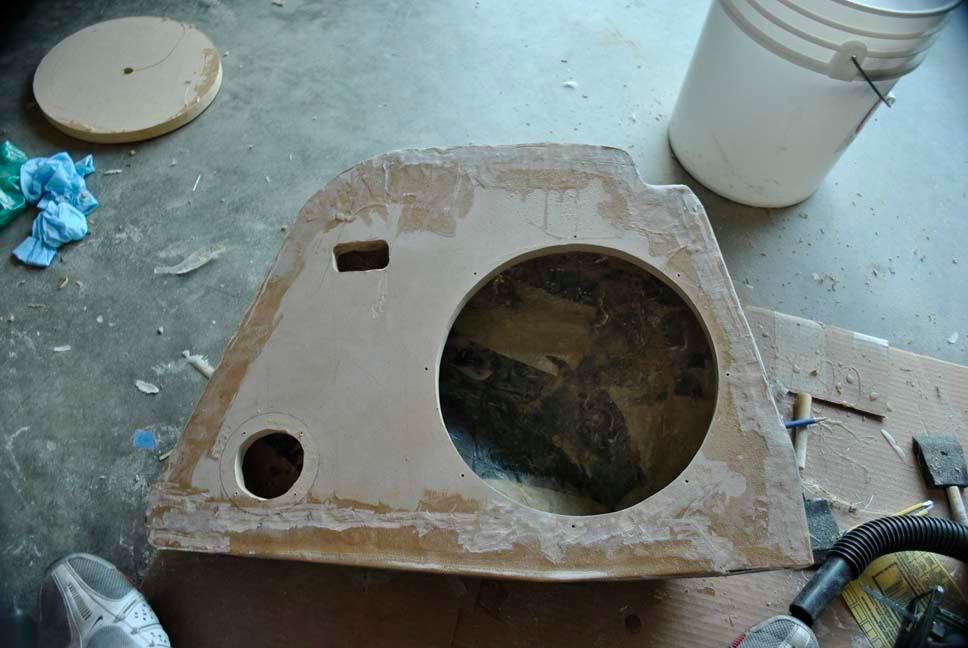
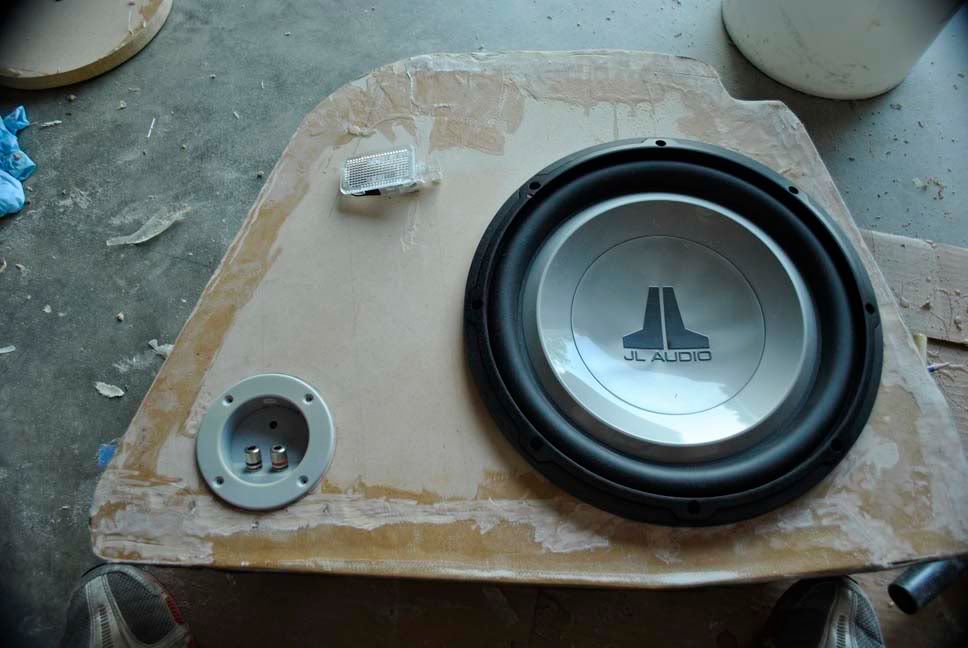
Then I went about cutting the speaker, terminal, and courtesy light holes. Oh, I wanted to keep my trunk light, so I made a hole for the original light to snap in there. I don't have it wired yet, that's one of the details I have to finish out here in the next few days.
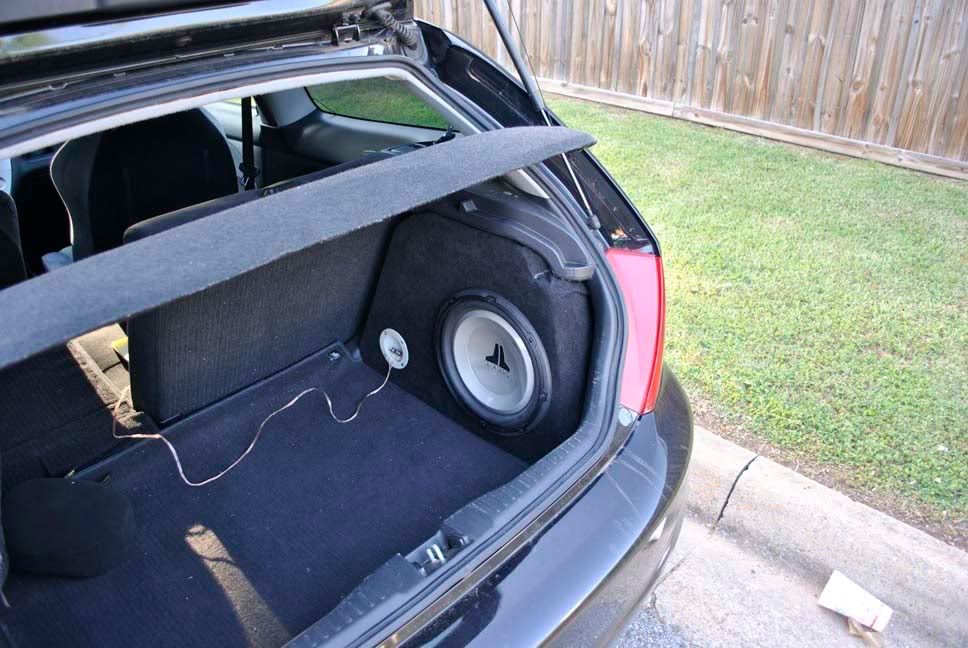
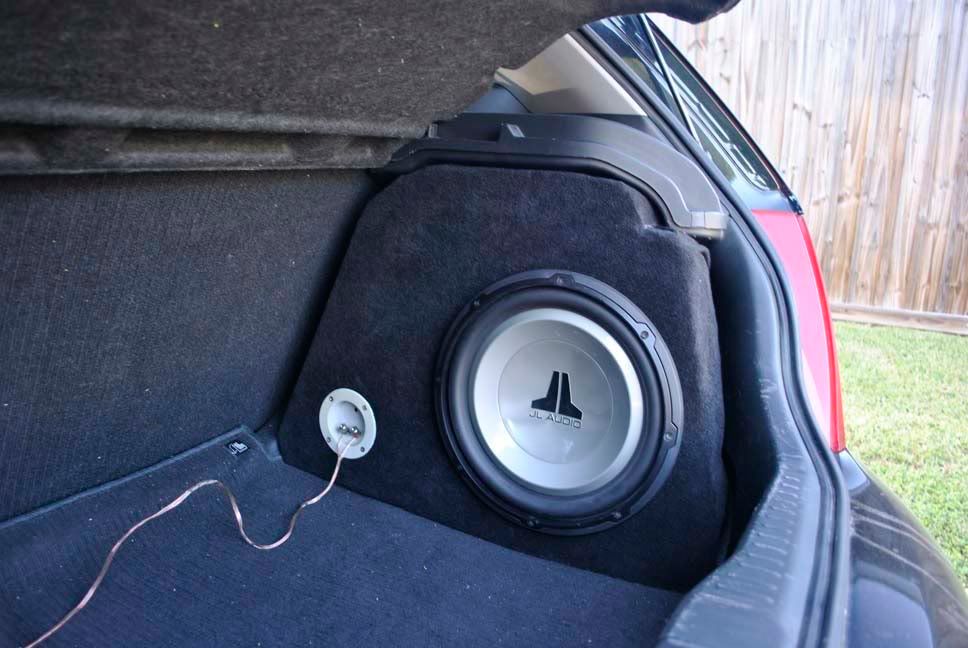
The carpet job I did here kinda sucks. I used 3M spray glue to hold it down, which I've used on several simpler, square boxes. This curvy thing was a bit of a challenge, and I really have no clue what I'm doing here, haha. I still have another equal-sized piece of carpet, so I'll have to take another whack at it. Also, I will probably paint that plastic terminal piece so it doesn't stand out so much.
The light hole is still under that carpet, I haven't cut a hole for it yet, so it's not really sealed yet. But anyway, I'll update when I actually finish it.
Any opinions?
Last edited by TTownEP; 04-29-2010 at 04:56 PM.

damn dude, that turned out pretty good. and it doesn't kill your trunk space. I like it...

looks pretty good. i like the idea of keepin the light... wouldn't have been the way i would have done it but that doesn't make it bad!
keep up the good work, looks great for your first attempt for sure.

good shit homie

Nice work! Been wanting to buy a box like that
Since I had the extra sub, my plan was to build 2 of these boxes, but after all that work, I dunno, haha. I was thinking about maybe using this one to make a mold. I have been wanting to try out vacuum forming. Perhaps if I were to build a vacuum table, I could make a few plastic molds to fit that space for people on here to use for boxes.Originally Posted by introvert


Good job... seal the shit out of that light once it's int here, it really does need a good seal to prolong the life of that sub.. it will also increase low end extension.
As for carpet, Parts Express sells un-backed carpet, I used it on mine and it's easy to work with... only issue is that if you use it on the floor like I did, it pills up easily.
Made with bits of real panther, so you know it's good.

i dont think vac forming would be the optimal way at recreating this piece.
look at this vid.
http://www.youtube.com/watch?v=tXlHpLb-9RY
that's totally kickass.
Made with bits of real panther, so you know it's good.
yea it is, just a simple 2 part mold to help. I mean vac-forming would be quicker but I just dont think it would work. It would be more expensive up front. You would need roughly a 3'x3' vac forming table with a source of suction strong enough to pull. This is mildly inconvienent but could be built just using pegboard. 1 or 2 shop vacs could probably provide the amount of suction required.
The big problem that you would come into is designing the heating element. No oven is gonna be large enough to handle this size of sheeting. One would have to build their own heating unit. You would have to build one using HardieBacker cement board. And you can't just build a rectangular box . Regarding the physics of heat distribution and transfer, the edges need to bevel up at a 45 degree angle in order to properly heat the edges of the plastic. Thats just the enclosure, for the actual heating element, you would have to a lot of coil pegs and get the coiling and properly distribute them on the base with some thinking as to their layout. Sorry for the noob terms, I havent looked into this in bout a year. I remember it not being very cheap it all. The structure has to be tall enough also.. to allow for sag of the plastic . And finally, HardieBacker cement board does break over time with repeated use. I promise it would cost hundreds of dollars to set this up not even counting trial and error expenses. Then also, finding abs or polystyrene sheets thick enough to accommodate the housing. I know nothing about audio enclosures, but shouldnt the box have some thickness to it for sound quality?
Again, not trying to be pessimistic, just trying to give some info where I have some knowledge of the process.
I wish you were local tho, I love making molds.
No no, thanks for the heads up man. I haven't done any research on this, I was just talking out my ass, haha.
That was a cool video. How do you get such a clean mold in the first place?
And apparently I should have used fiberglass mat, not cloth. That looked a hell of a lot easier.
well luckily, surface condition isn't as critical if you plan on using carpet. I mean if you wanted, you could simply spread some rondo onto the back of you original and then sand it once it is cured. That would take away all the fiberglass cloth showing through on the backside. Once that is done, you have to create a parting line on your box so that you can make yourself a 2 part mold.
Here is a video kinda showing the process from start to end. its a two part so watch the 2nd afterwards. http://www.youtube.com/watch?v=gzng9HeGNPE

damn! i want one now.
Wow, thanks for the links B. Awesome info.
no prob.. i have a soft spot for making things
There are currently 1 users browsing this thread. (0 members and 1 guests)
 Posting Permissions


Bookmarks