


Well the sunroof has been left open a few times, drinks have been spilled, windows left down, a leaking rear wiper hose and bad rear strut "O"rings has caused the carpet and padding to develop an odor and to have allowed some corrosion to form on the floor sheet metal. Not too mention all the salt stains and dirt, time to remove it!!!
I removed the seats and carpet today(disconnect the batt first!). There are a few spots in the corners of the seat pan and the rear of the door posts that have seen alot of dampness. I will use a wire wheel to get the loose rust off and then treat it with Chassis-Saver to stop the corrosion. http://www.magnetpaints.com/underbody.asp
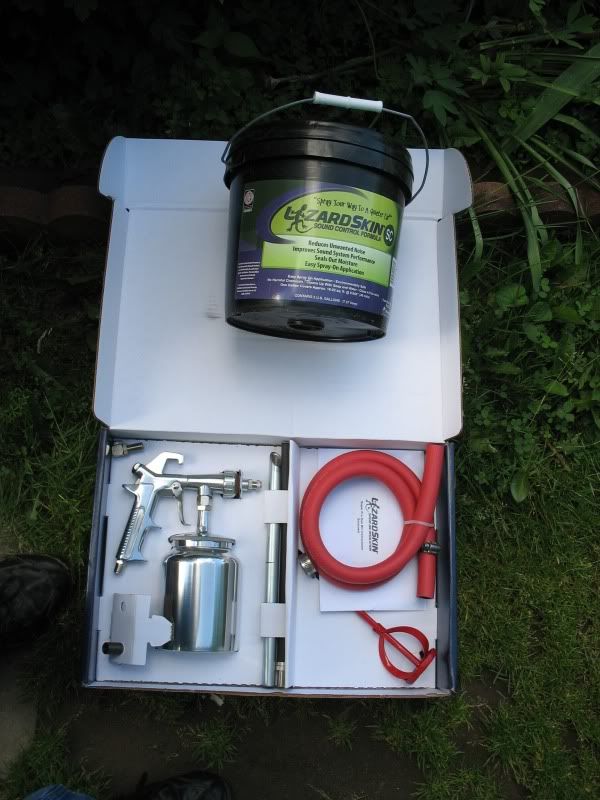
The plan is to then apply LizardSkin sound control and the heat barrier http://www.lizardskin.com/ , followed by Monsta-Liner http://www.magnetpaints.com/bedliner1.asp on the floor. But first comes the removal of the original sound deadener tar crap.
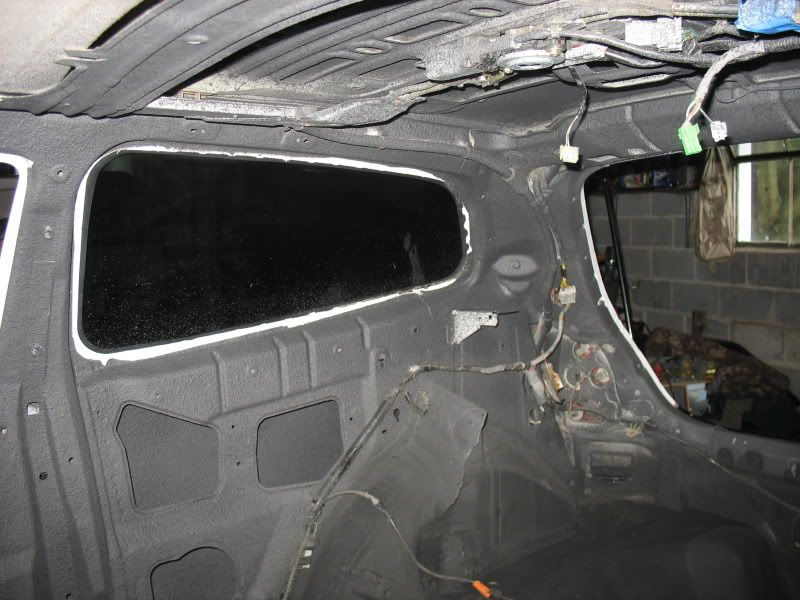
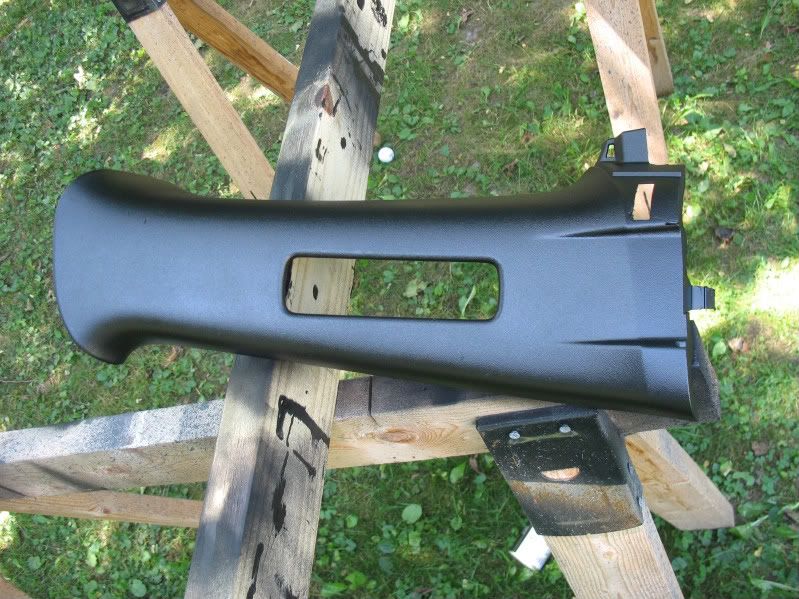
I havnt ever had to remove the rear seat side plastic, I have to remove it to get at the corrosion down in the corners as well as to apply the LizardSkin sound deadener to the back side of all the interior panels(eliminates squeaks and gives the car a solid sound), Proven aerospace technology enables LizardSkin® Ceramic Insulation to:
* Reduce engine and solar heat transfer by 25-30 degrees or more
* Reduce noise by 10-12 decibels or more
* Protect surfaces from moisture and corrosion
* Withstand temperatures to 500° F. (260° C.).
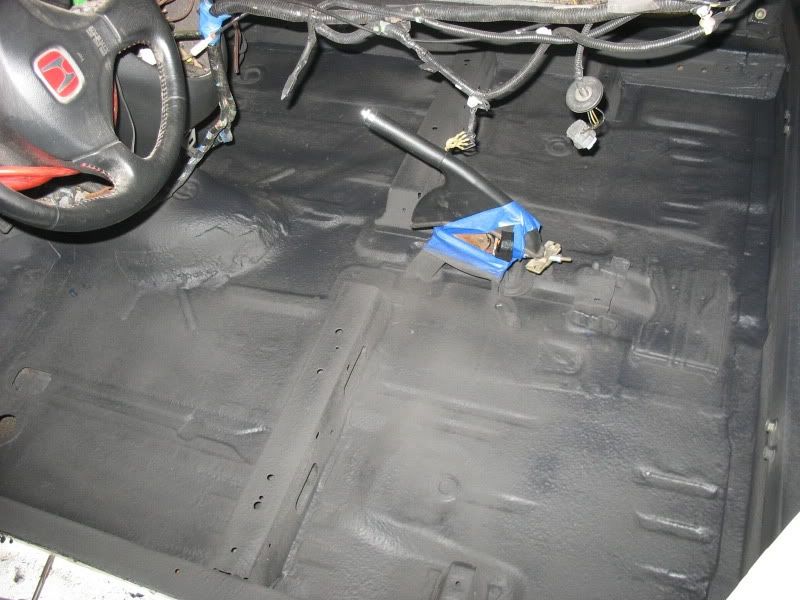
Update, pics so far
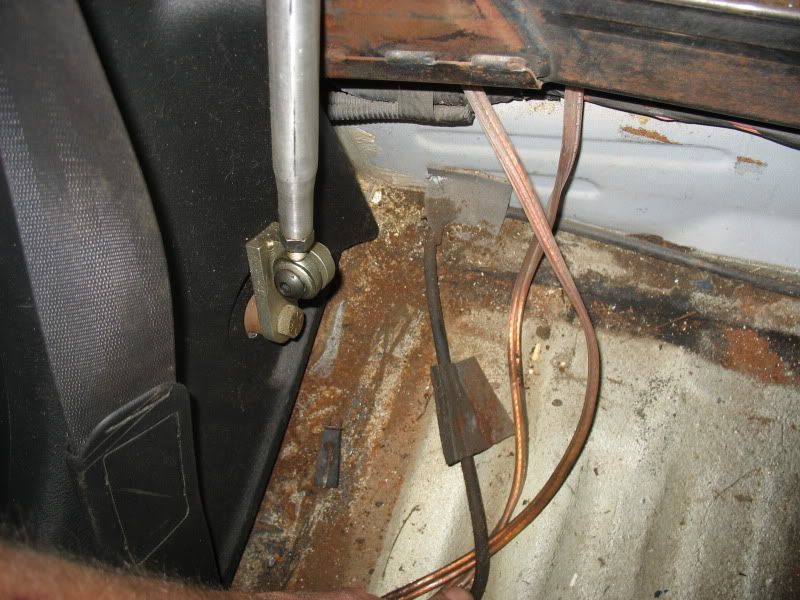
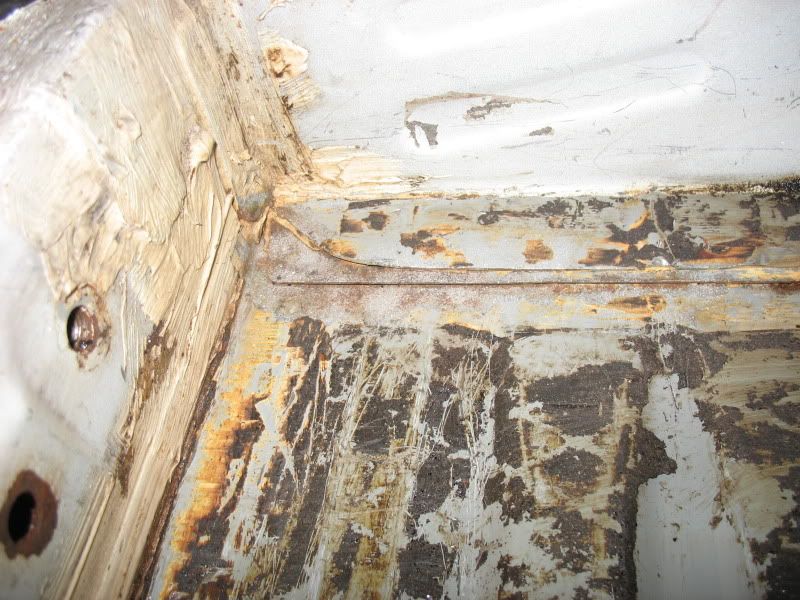
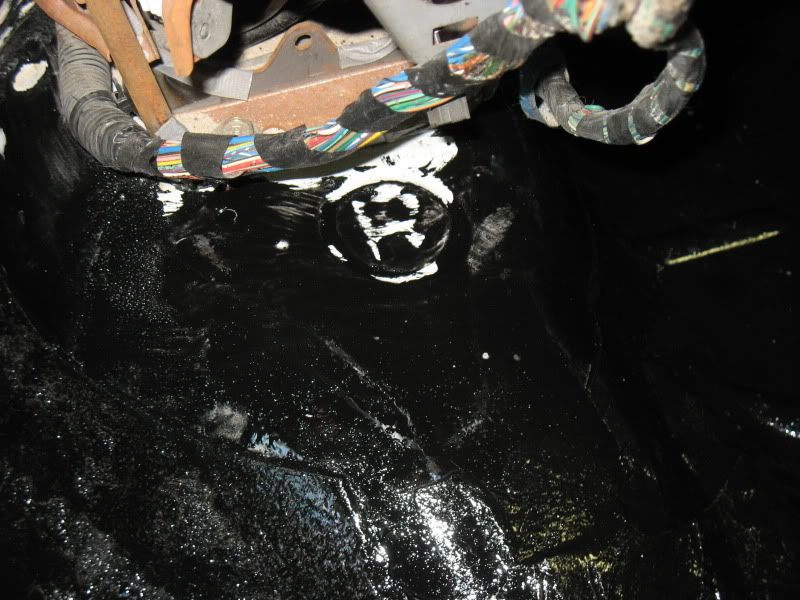
here you can see the corrosion, it is puzzling as it appears to be a powder on top of the factory sound deadener as well as a very thin surface rust on an exposed body seam
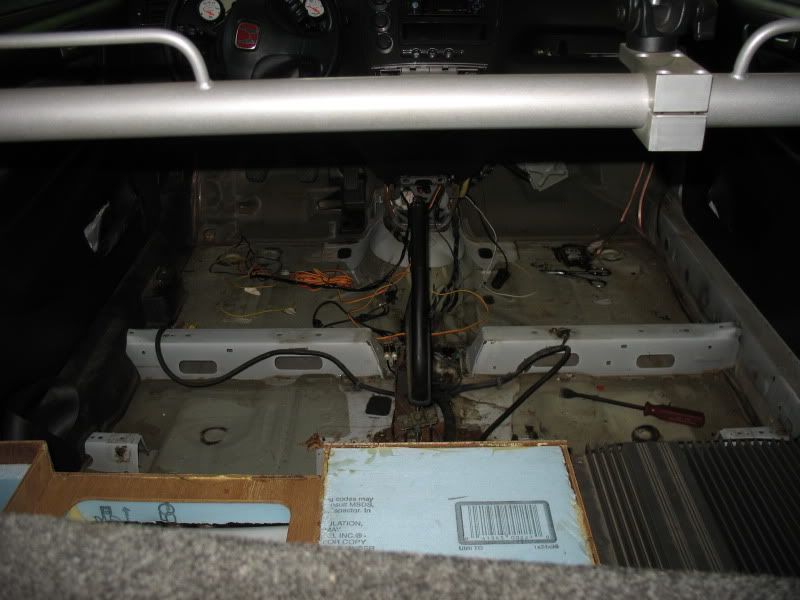
In this pic you can see where the water lay and changed the color of the sound deadener and caused the cover over the Ebrake cables to rust!
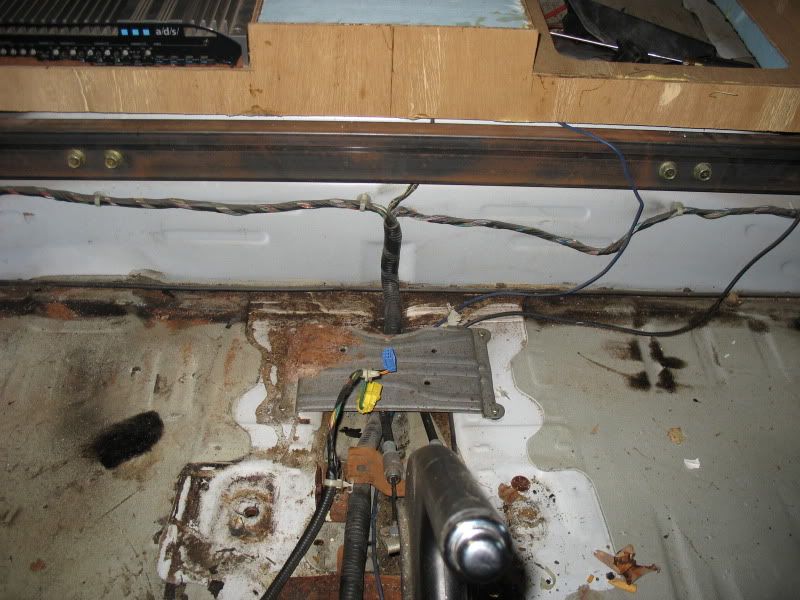
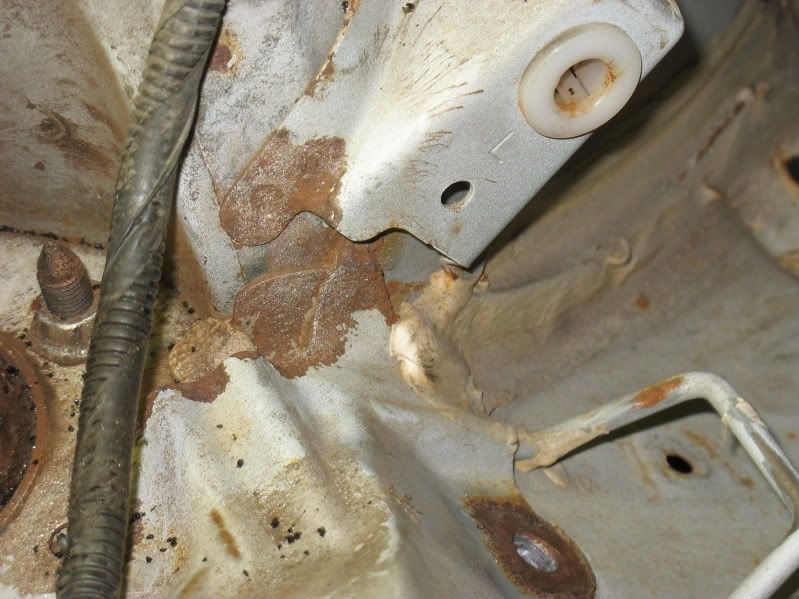
OK, here is a pic of the offending corner with the sealer and insulation removed, I have spot blasted as much of the corrosion away. I will need to get under the car and inspect that seam on the underside and make sure there isnt a opening in the seam sealer. I may just remove the underside seam sealer in that area and inject the ChassisSaver with a hypo into the seam and re-seal it with 3m seam sealer.
I had even considered removing all the seam sealer on the inside and breaking out the mig and stitch welding the seam.
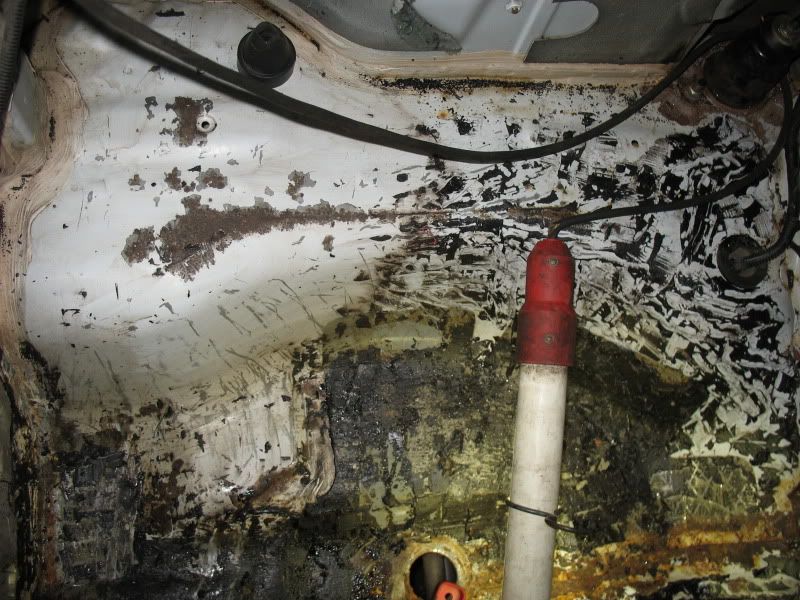
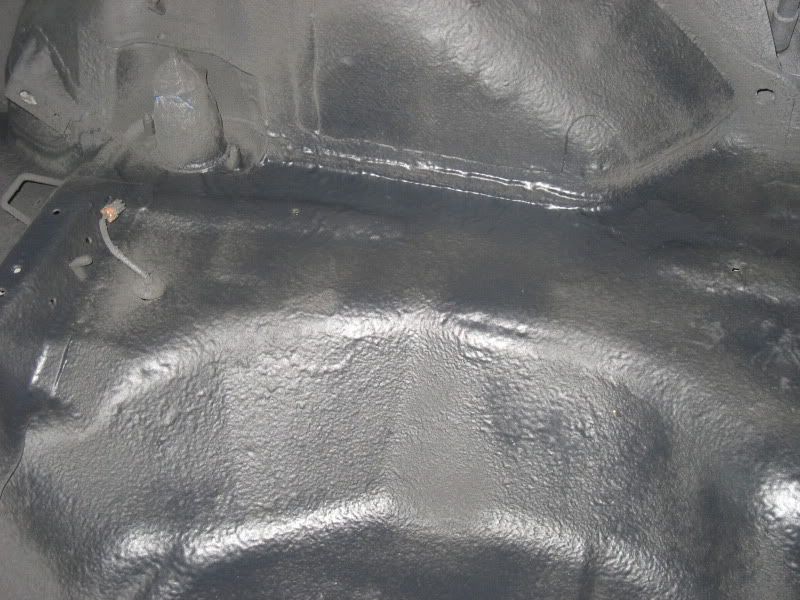
I removed the triangular supports over the rear shock mount areas and was shocked by how much corrosion there was. It appears to have entered at the rear shock areas, I think the strut "O" rings had leaked on the mugenSS suspension, I have cleaned the areas up slightly to get the debris off and get a close inspection done on the area and it will be easily saved with the blaster and the Chassis-Saver.
view from the rear, you can see the shop light on the areas I am talking about,
drivers side
pass side
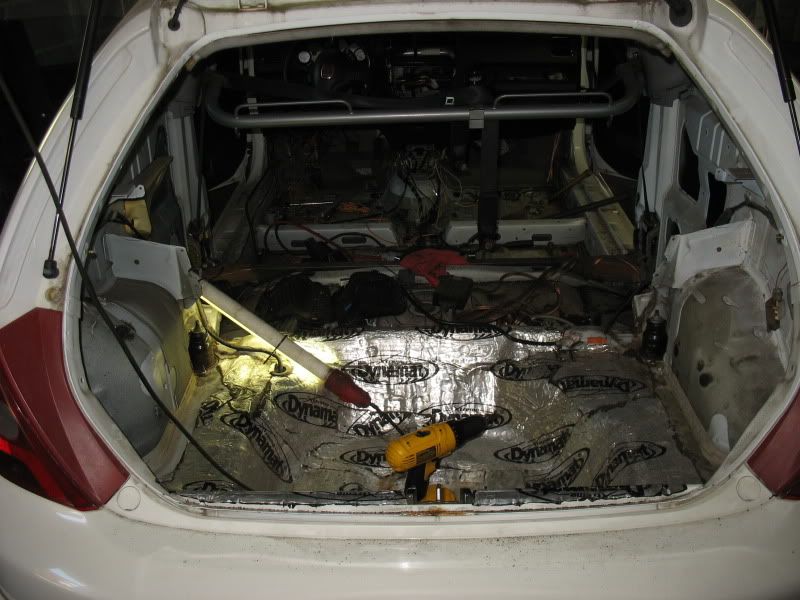
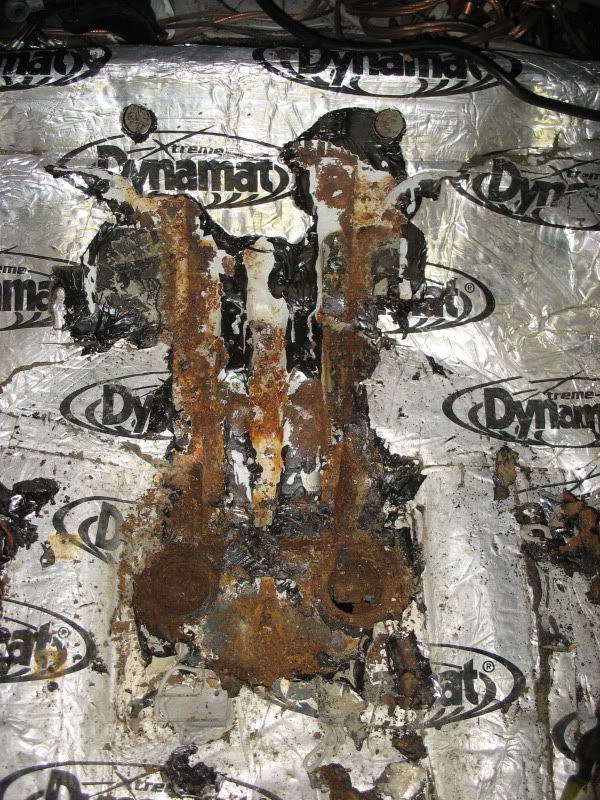
I have heard alot of horror stories about Dynamat, well I discovered the horrors in reality!!!!!!!!!!
A single wrinkle allowed the water from the leaking strut "O"ring to enter under the Dynamat and sit and corrode the living shit out of the sheet metal. Again luckily this area is not a load bearing or stress area, so it is another fairly easy fix, but I really didnt want to see or have to repair this kind of crap!!!!!!!!!
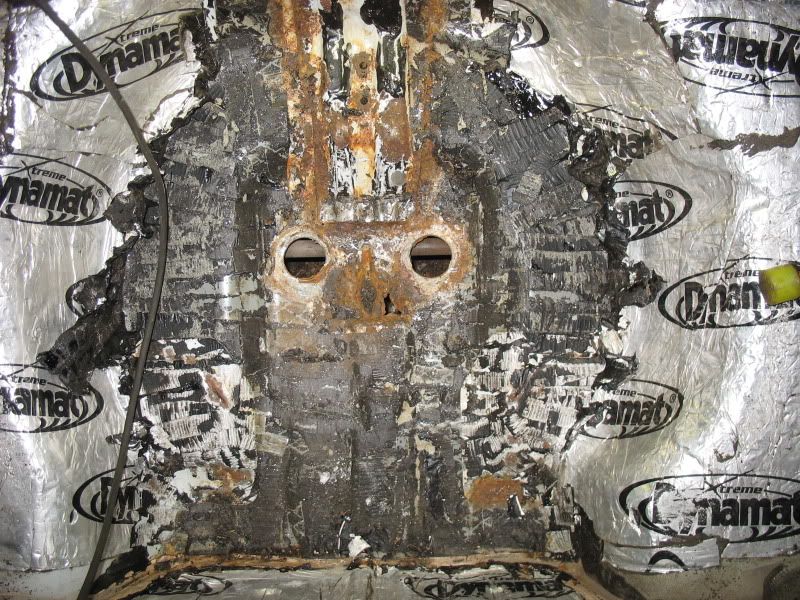
OK, I removed most of the Xtreme Dynamat from the bottom of the spare tire well, this stuff is a real bear to remove! Only one spot that is aout the size of a quarter that rotted thru. All the rot will be removed by blasting and I will use some epoxy and tri-weave cloth(mixture of E-glas, Cf, and Kevlar) to repair/replace/reinforce the damaged areas. The new circular plugs are 2.67$ each.
I have the old Xtreme Dynamat almost completely removed. What remains is some very sticky gooey black snot. A quick splash with S8 reducer and some minor elbow rubbing it comes off.
UPDATE
OK, got a little more done. I stopped at Tractor supply and picked up a new sandblaster, now I just need some blast media, aka sand. The Black Diamond media I have is far too heavy, close to 30-40 grit, the blaster uses 80grit and finer.
I also snagged 30 lbs of dry ice and went to town. What a mess! LOL significantly easier than heat. Still leaves residue and isnt wait 5 minutes and it pops itself off,,,LOL more like wait 10 minutes or so and start chipping with a chisel/scraper and a hammer for about 15-20 minutes per section(4 sections).
Monday I will pick up a bag or two of #1 sand and blast everything and get it sealed with a coat of chassis saver. I have a novel approach in tools to apply the Chassis-Saver with(so stay tuned for pic's!)
I also ordered up 4 gallons of the LizardSkin sound control yesterday from Summit(they shipped it yesterday as well) and it should be here by Wednesday.
UPDATE
Yeah ALOT of work !
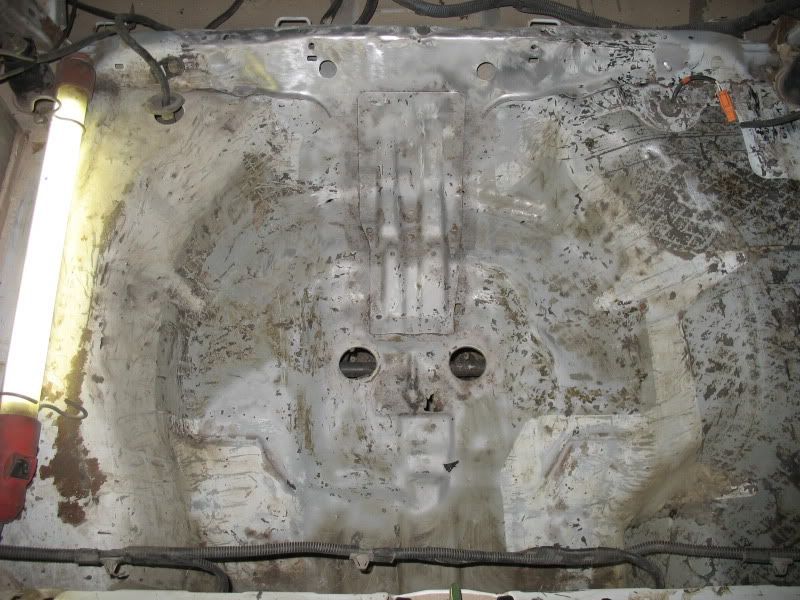
BUT SHE IS RUST FREE !!!!!!!
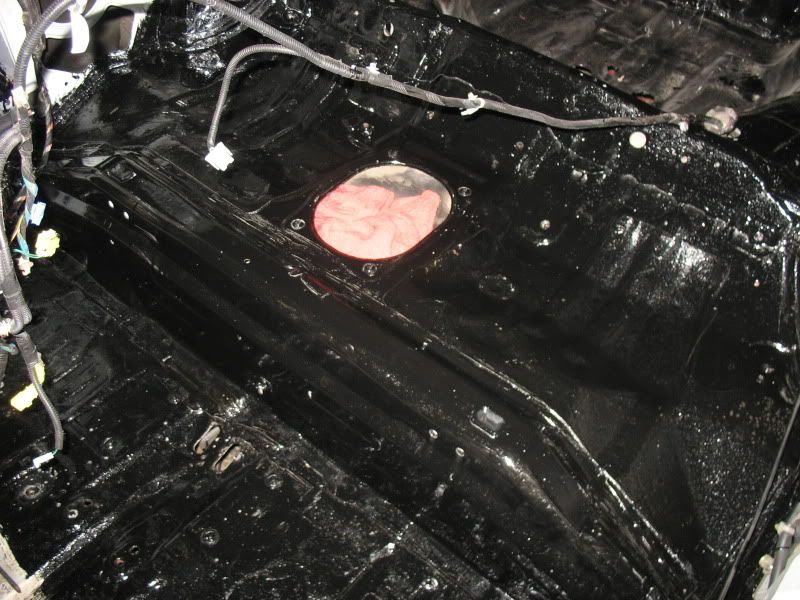
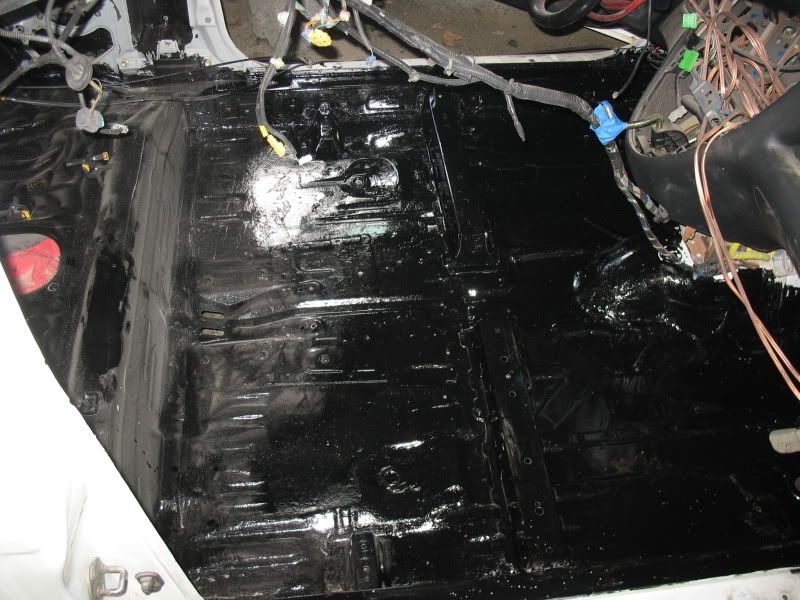
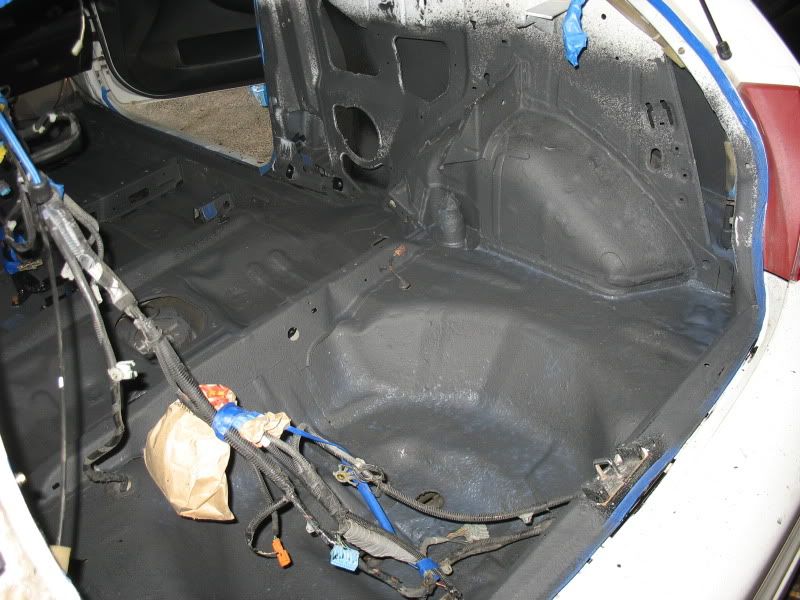
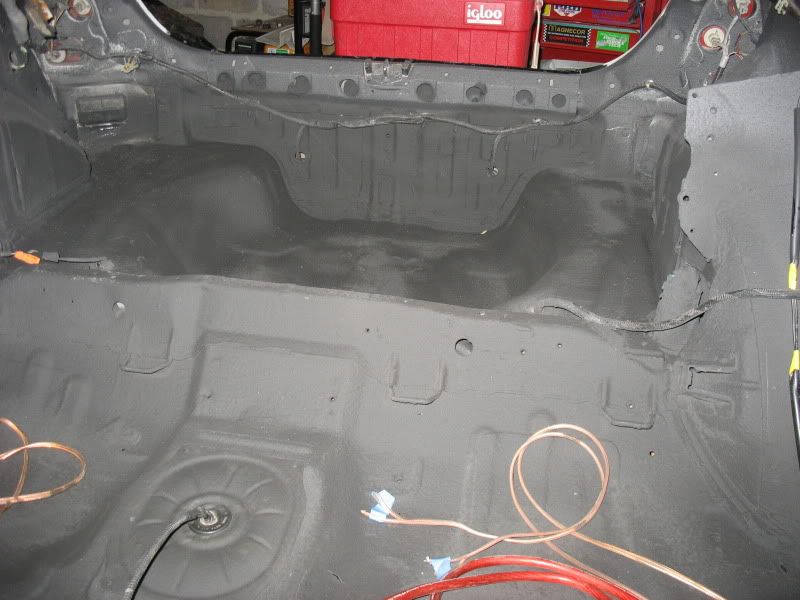
Here is the rear tub all de-rusted and the majority of the asphalt crap removed
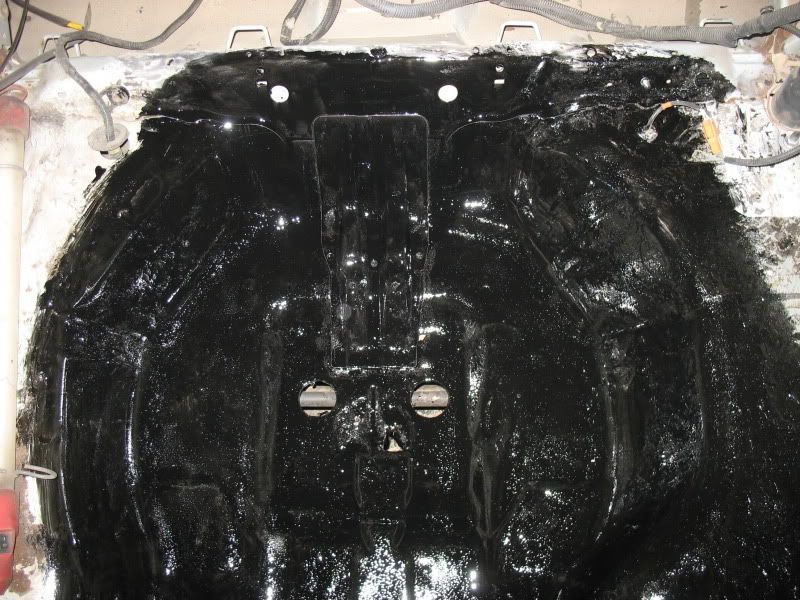
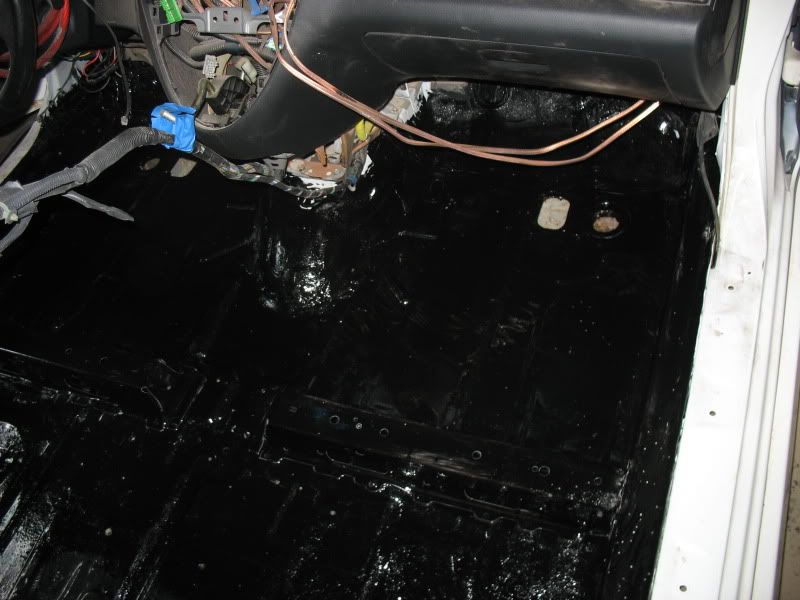
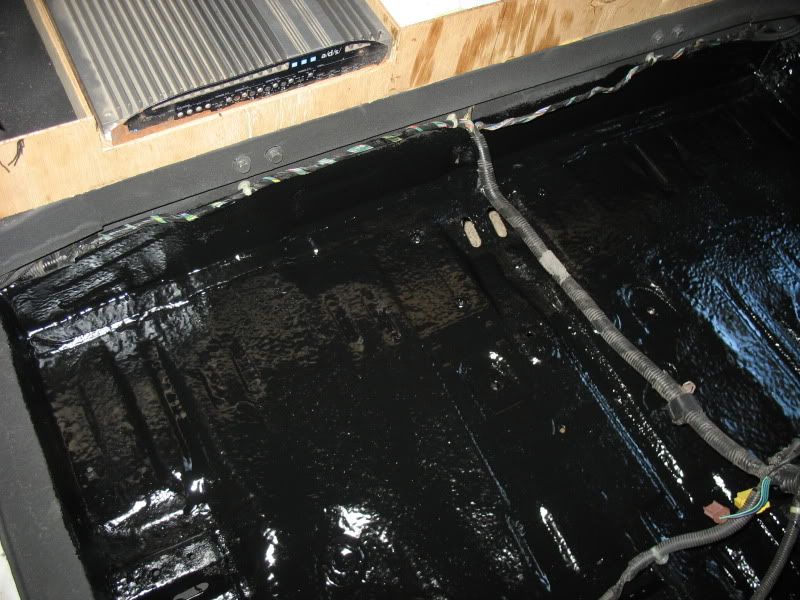
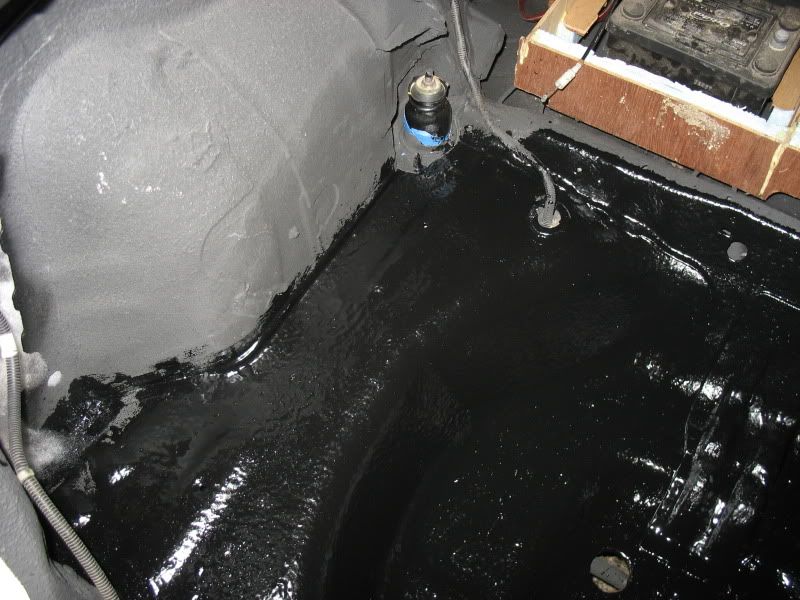
And here it is with a coat of ChassisSaver applied finally
I still need to remove the rear strut nuts, jack up the rear and allow the struts to drop down so that I can blast that area.
The LizardSkin arrived today, it will probably start going on this weekend.
A little more done today. The temps have been dropping all day long, I put the coat on the center section around 2pm, and due to the high humidity it was dry in around an hour vrs 3 hours yesterday(it is moisture cure), it needs at least one more coat but it iwent below 50 degrees around 4pm. I hope tomorrow is a tad warmer !
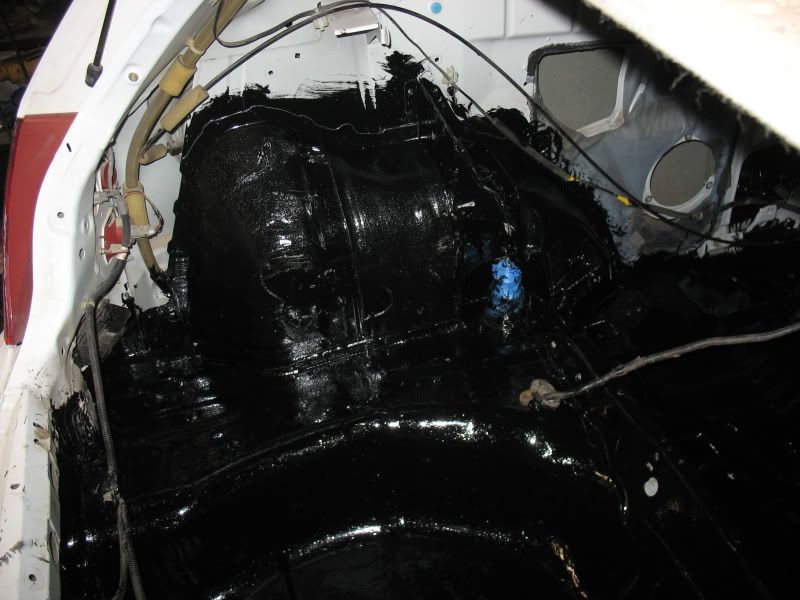
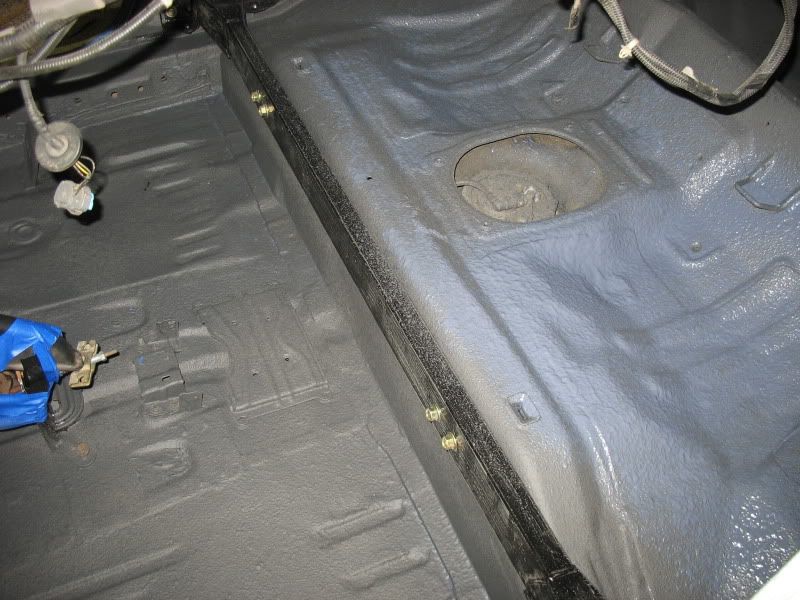
Anyways, I got the third coat on at noon. I also got the entire rear wheel wells, that includes the seams between the inner and outer metal panels and down in the corners for the outer panels. A true rust proofing!
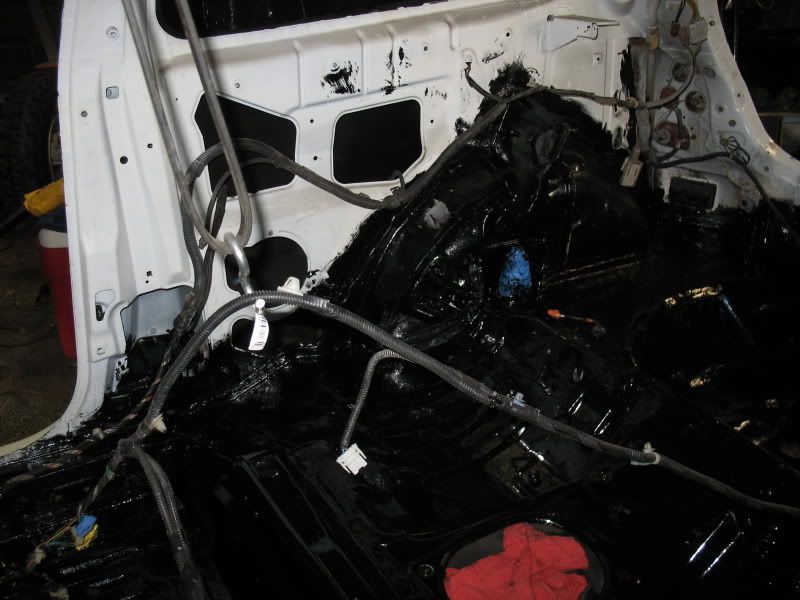
pass side hatch area
pass side rear seat area
drivers side hatch area
And 1 two gallon tub of LizardSkin and the spraygun.
UPDATE
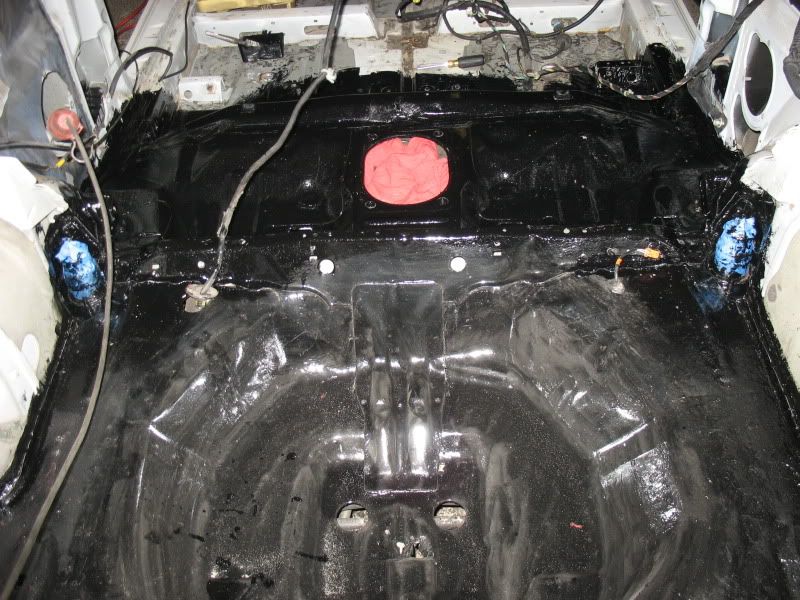
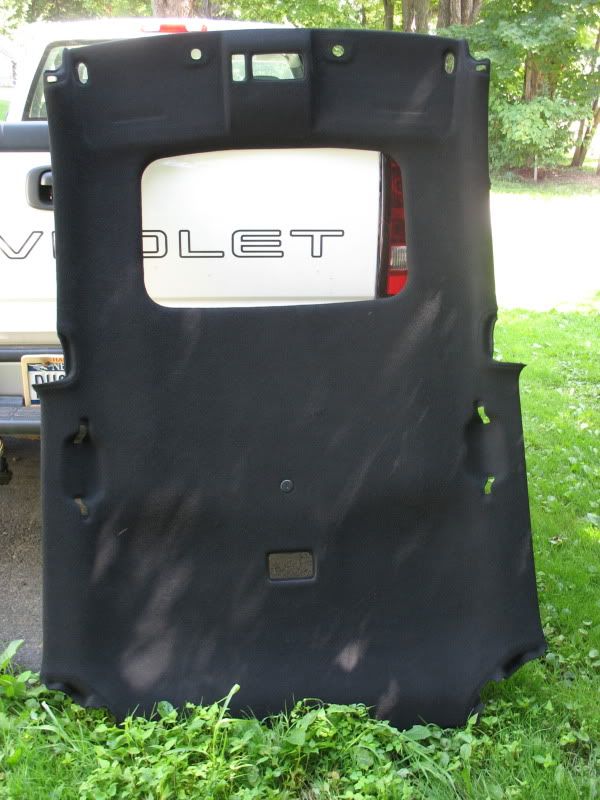
I got the front portion of the cab done with one coat of ChassiSaver, I will have the second coat done tonight and get a third on in the morning. Then tomorrow night I will remove the headliner completly and start scuffing up the rest of the interior panels, then start masking it off for the LizardSkin on Sunday.
Totally encapsulated!
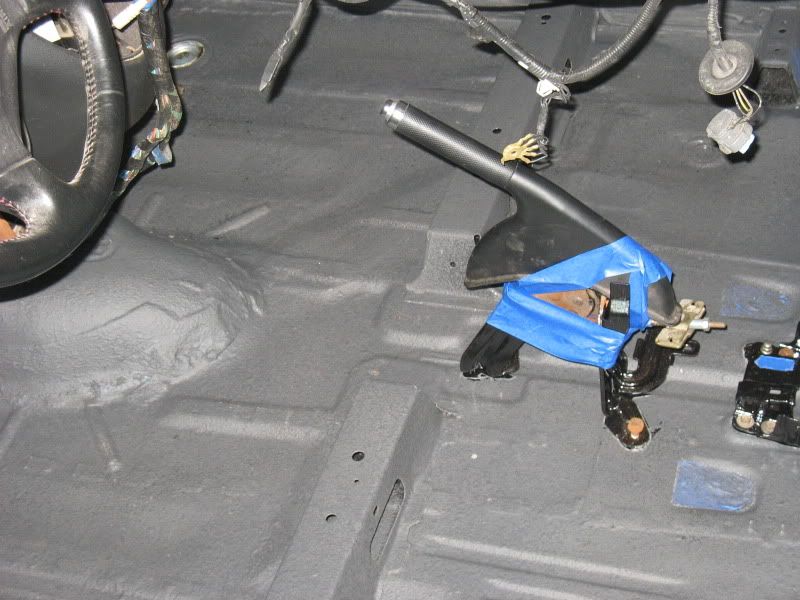
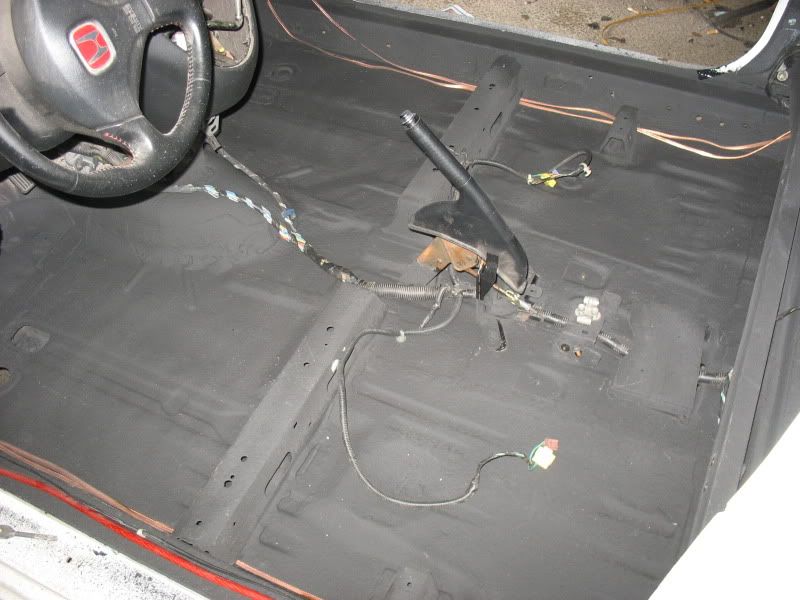
OK guy's, can anyone else tell me what they have stamped into their chassis in this spot. It is directly under the shifter on the exhaust tunnel, I didnt fill in the stamping so it was easily readable.
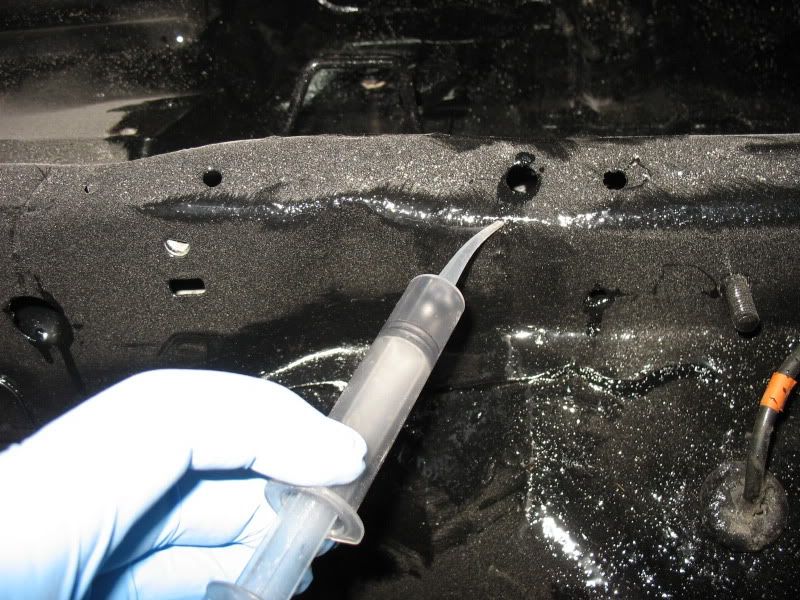
I forgot to post up this pic, the best tool for applying the ChassiSaver. You start with this tool as you can get the tip up under the edges of sheet metal seams, down in cracks etc and squirt a fair amount in, then allow it to seep thru and run out, then break out the brush and continue with coating that area.
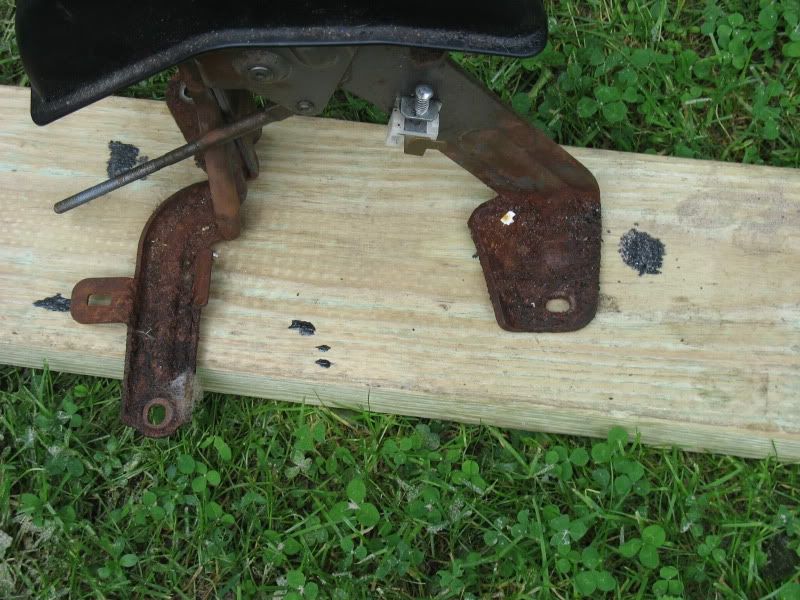
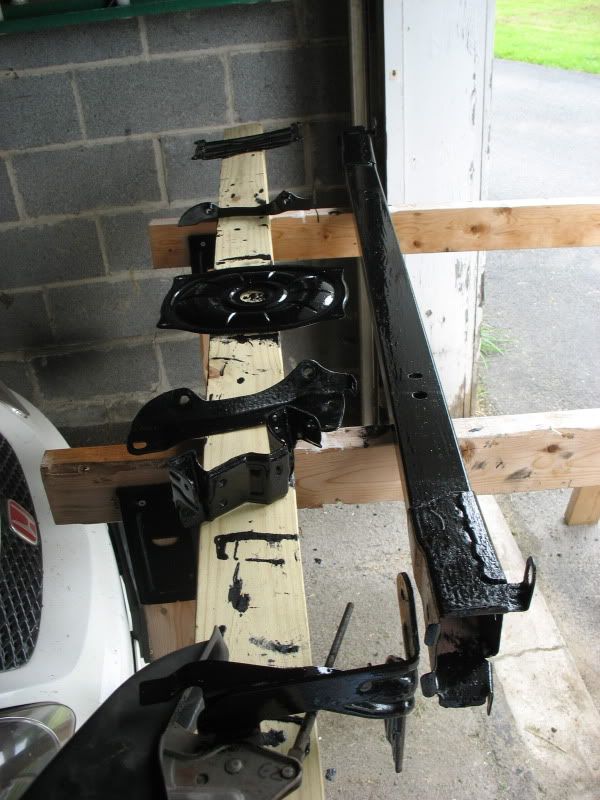
Ok I collected all the internal stuff that seen corrosion, the cabin cross bar, cross bar brackets, and Ebrake stuff.
Here is the Ebrake assembly, notice the RUST ! ! ! Why do automakers use non-painted steel in cars?
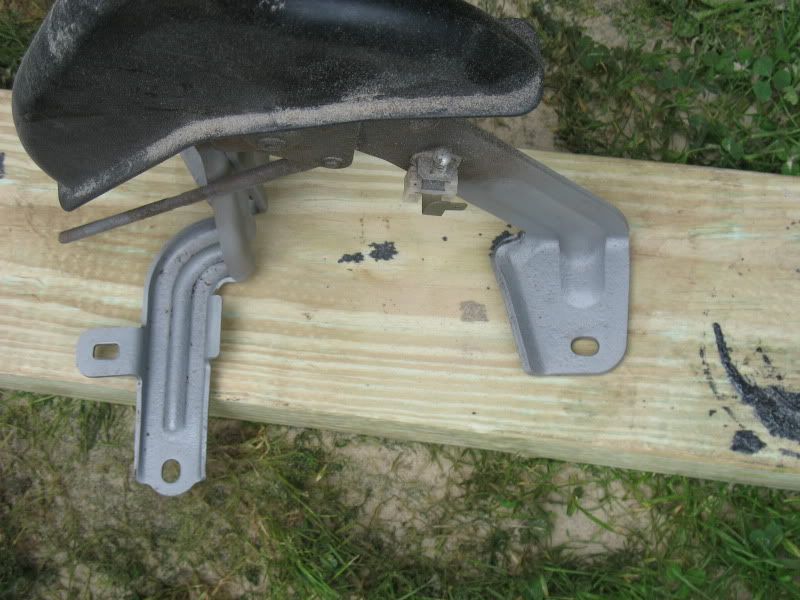
And here it is all blasted clean!
Here is everything coated,
Update.....
Well the temps and humidity have dropped enough to spray the LizardSkin. Besides I have been up at the mtn lake cabin for a couple weeks during the day due to the heat.
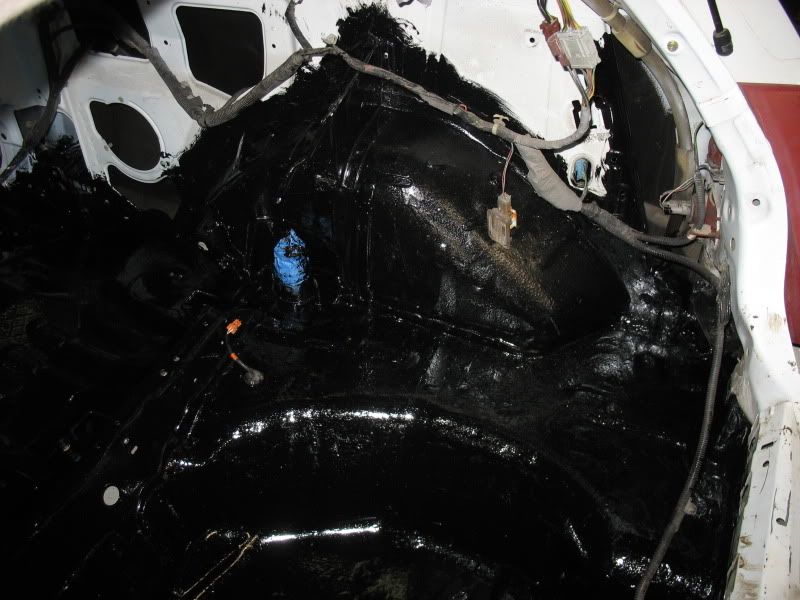
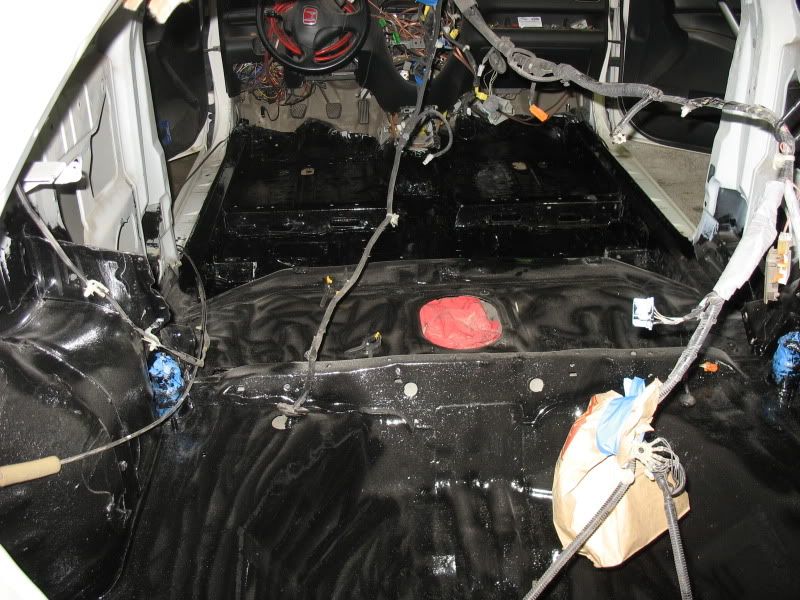
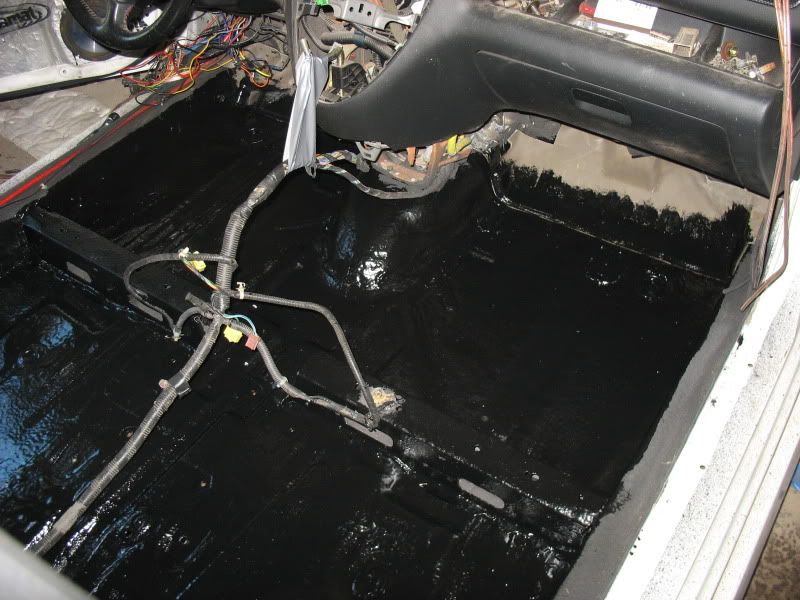
first coat on the cab floor
first coat in the back
here it is with the two coats of the Sound Control, tomorrow I will spray the LizardSkin Thermal Control, notice the newly sprayed SoundControl is a light blue gray, and drys to a flat medium grey color.
I also sprayed the backside of the left and right rear plastic. I got the full amount of SoundControl on them and I tried rapping on the plastic and was rather dissapointed with the typical plastic sound. BUT I went out after the SC had dried a couple of hours and tried rapping on the plastic and it made a thud sound instead of the typical plastic thwack sound, I also tried rapping the cab floor and it also had the nice dull thud sound.
....this thread continued two posts down....


 Reply With Quote


Bookmarks