


 Reply With Quote
looks good man, goodluck figuring whatever you need to out!


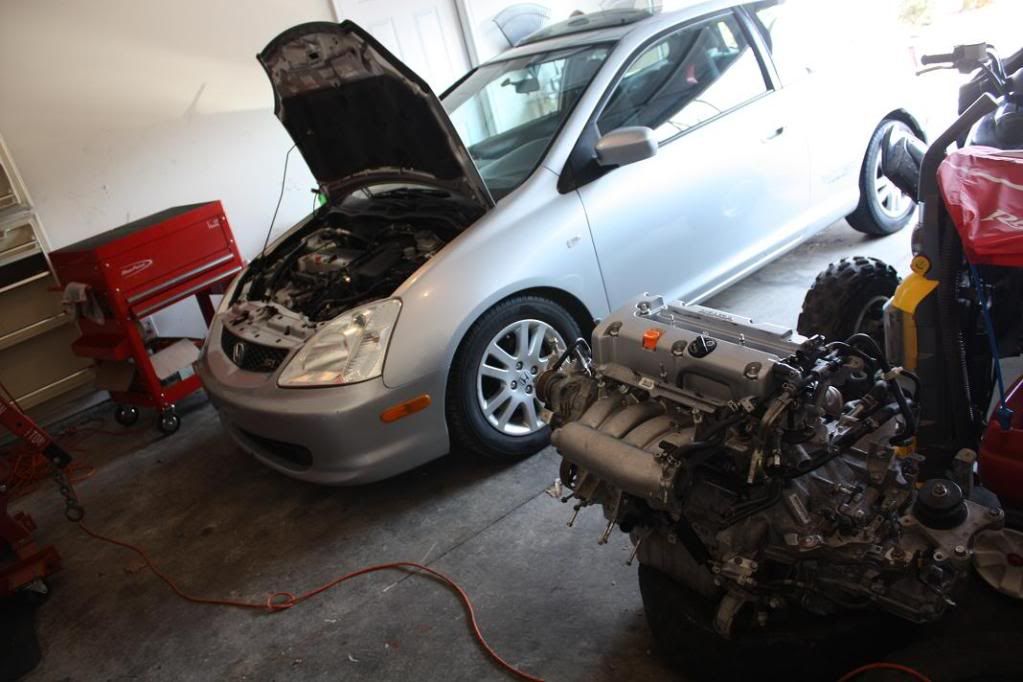
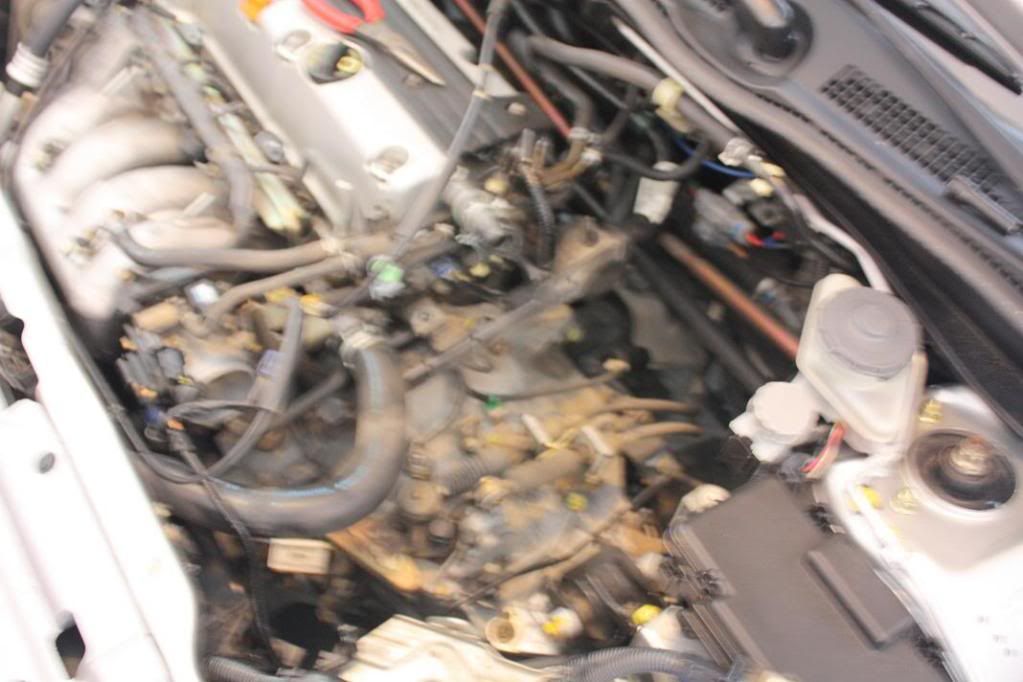
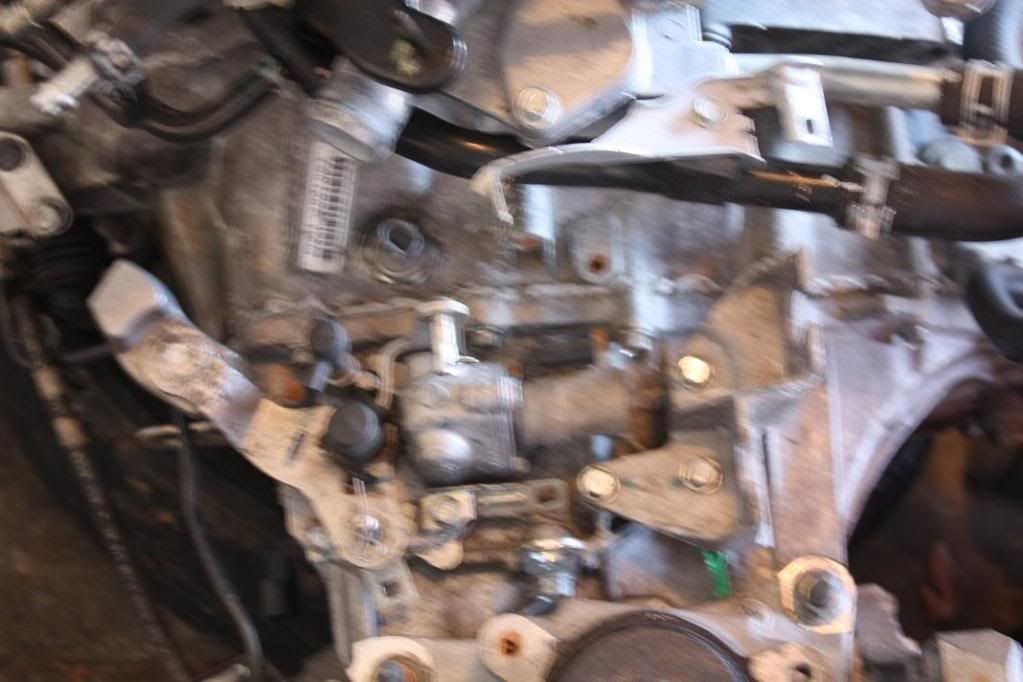
ok so i have finally gotten some time to get this swap started... i apologize for some of the pictures being blurry, not sure if i had my wife's dslr on the wrong setting or what, i need a point a shoot camera lol.
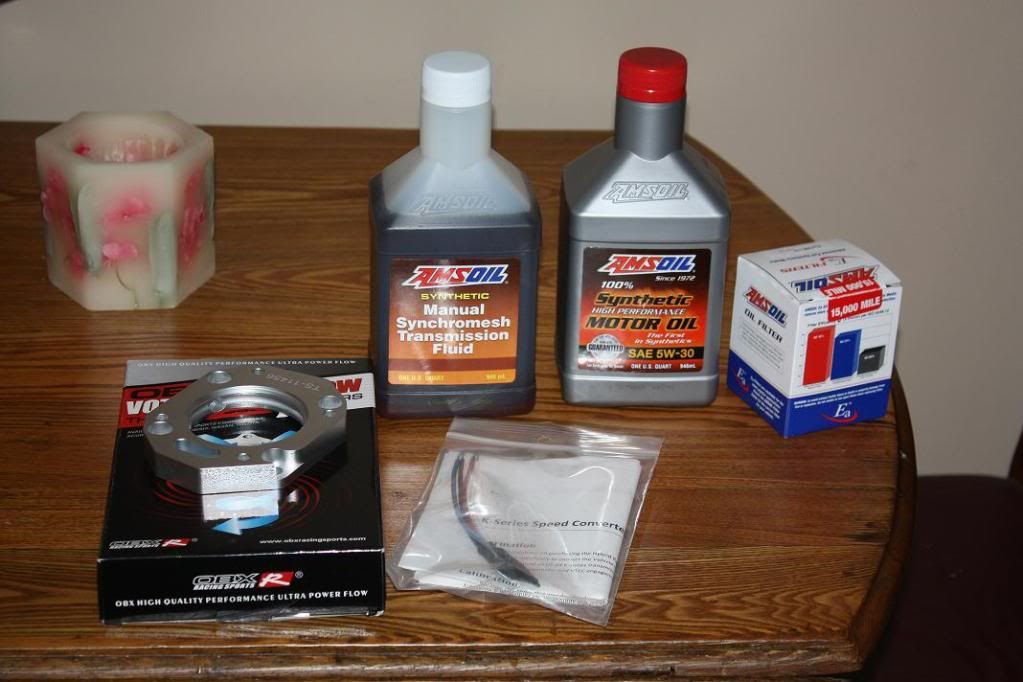
list of parts needed:
kpro
hybrid racing speed converter or you have to take the trans apart and drill holes and crap
throttle body adapter, i used obx, but i will have to tap the threads...
some way to use reverse lockout if you would like, i have my own ideas, we will see if it works
oil, coolant, tranny fluid... i personally use amsoil stuff.
patience
power tools help alot
a tap and die set
shall we get started?
first of all...disconnect battery, drain coolant, tranny fluid, and oil if you want, i did not drain oil.
i also went ahead and disconnected the charge harness from the fuse box.
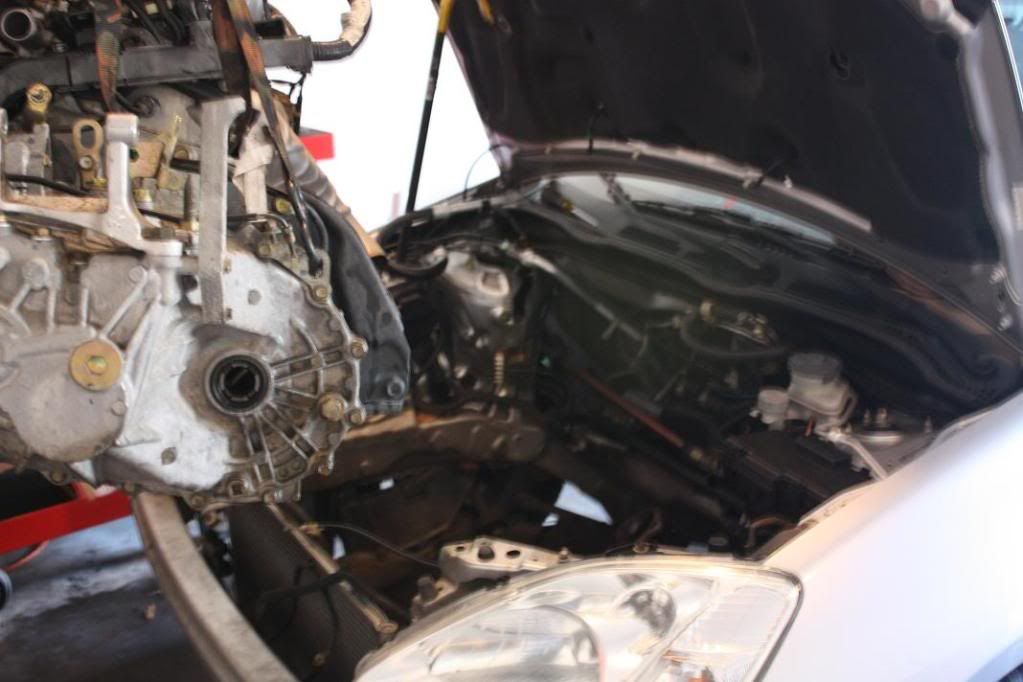
after removing stock airbox you are able to see alot more of what needs to be removed.
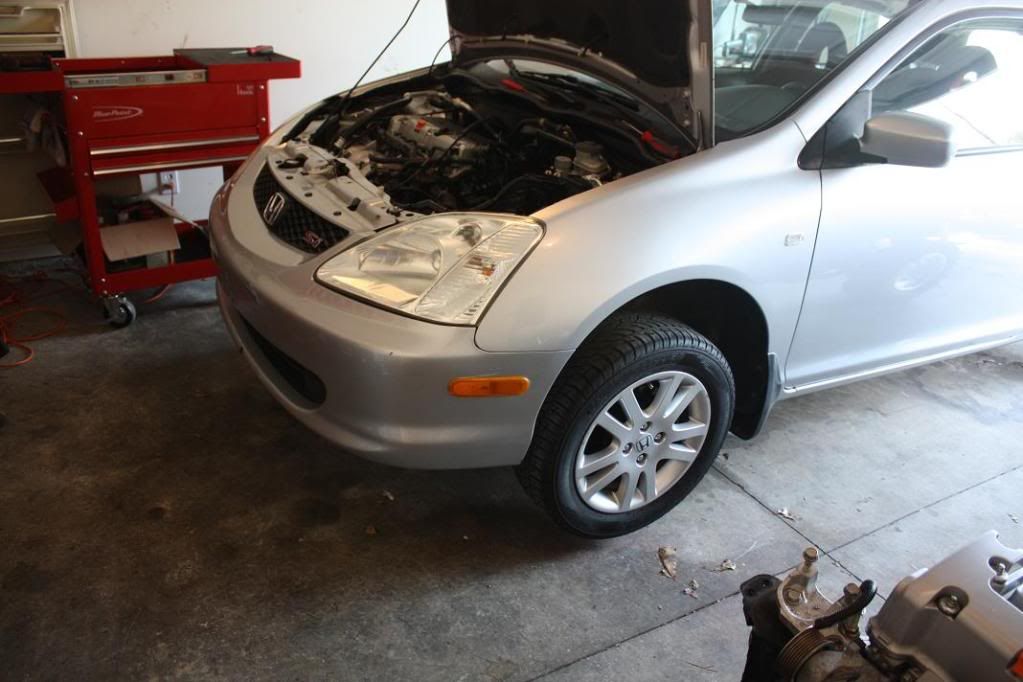
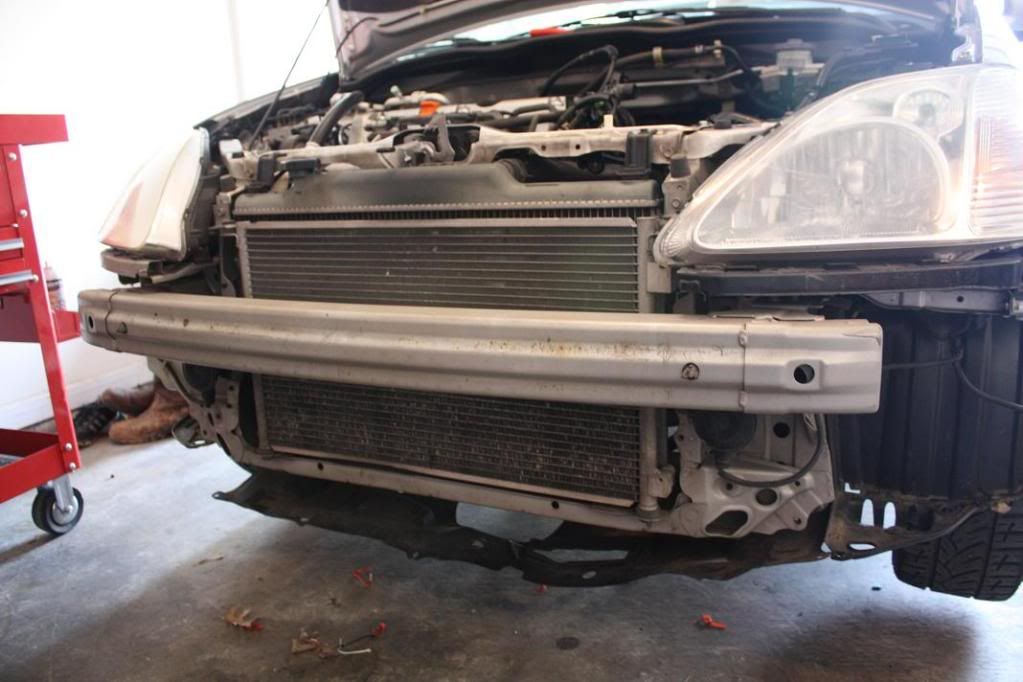
at this point i jacked the car up so i could remove the bumper, this may or may not be necessary but i found it much easier to do so. I also removed the radiator support that has the hood release mechanism on it, you have to twist it but the cable can be detached.
at this point i removed the radiator. be careful! there are several wires and plugs that are attached to the radiator fans that will not let you pull it out so dont force it!
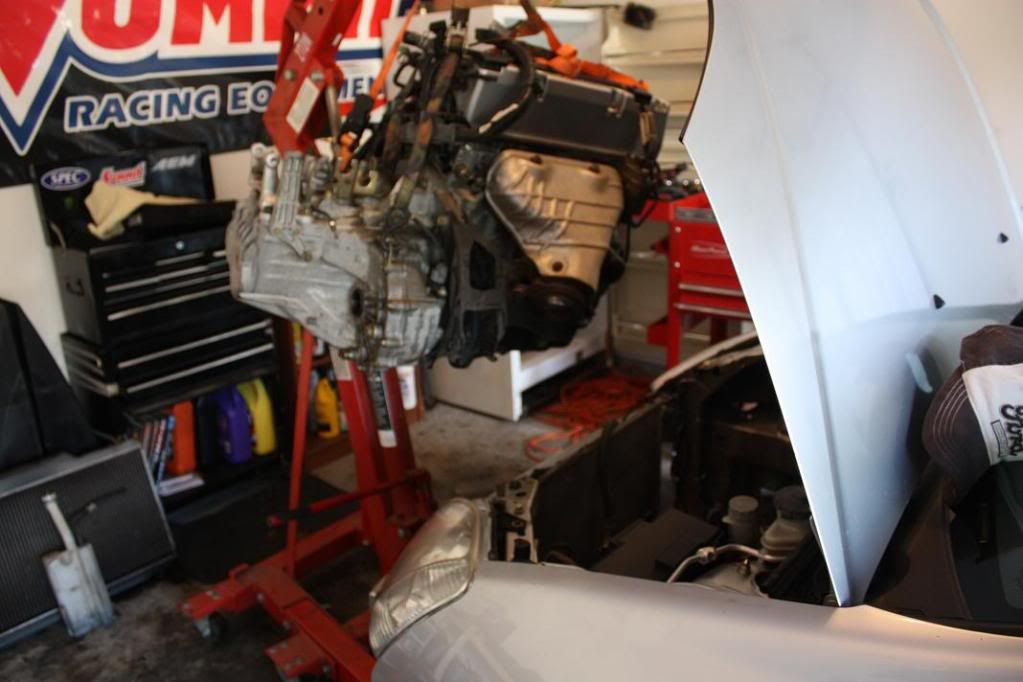
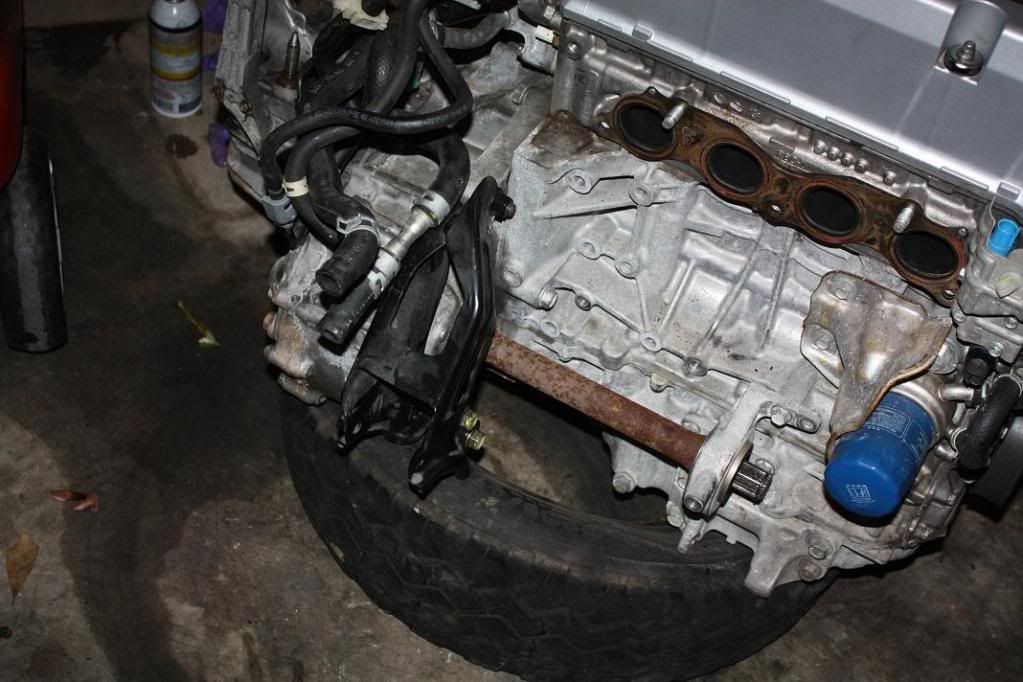
ok from here i disconnected shift linkage. i also removed axles, i justed poped them out of transmission and halfshaft and pushed them out of the way, so i could roll the car in and out easily. also dont forget about the exhaust, i just removed the two bolts going from the manifold to the downpipe. from there just make sure you unplug everything that will keep the engine from coming out, or at this point you can disconnect the two plugs on ecu and one right next to it that are the engine harness and pull them gently through the firewall. i did this because i like to run the harness on the engine out of the car to make it look nice and neat. this isnt necessary but some of the plugs will be hard to get to with the engine in the bay. disconnect all hoses that prevent removal. this part is pretty straight forward... i hooked up the hoist and put a little bit of tension on the engine, then removed all engine mounts... total of 4 of them, front, back, left, right obviously.
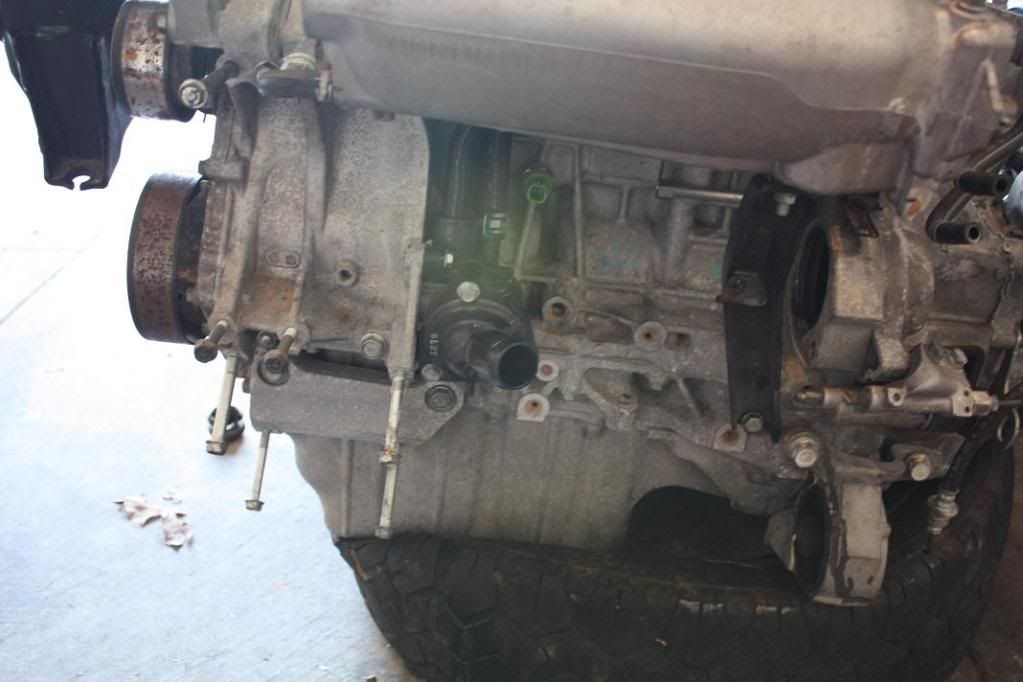
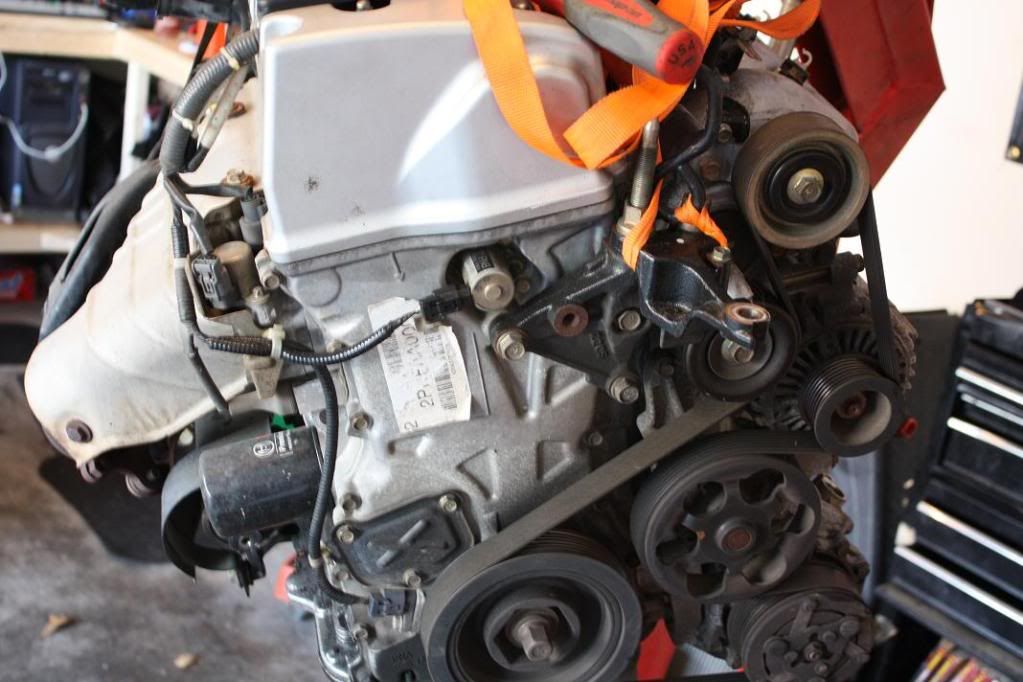
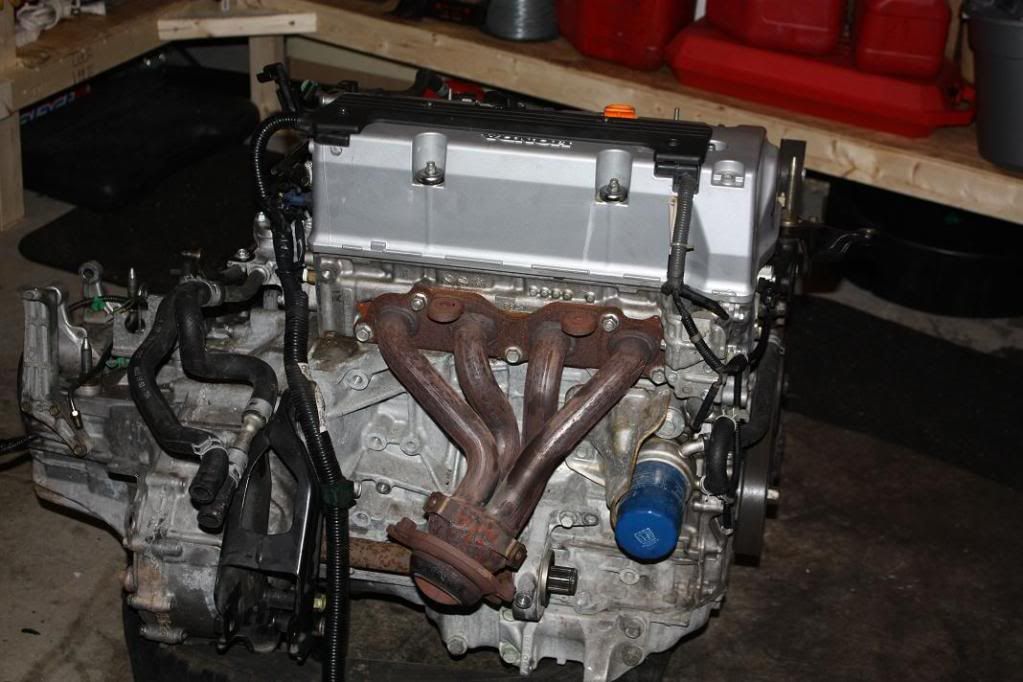
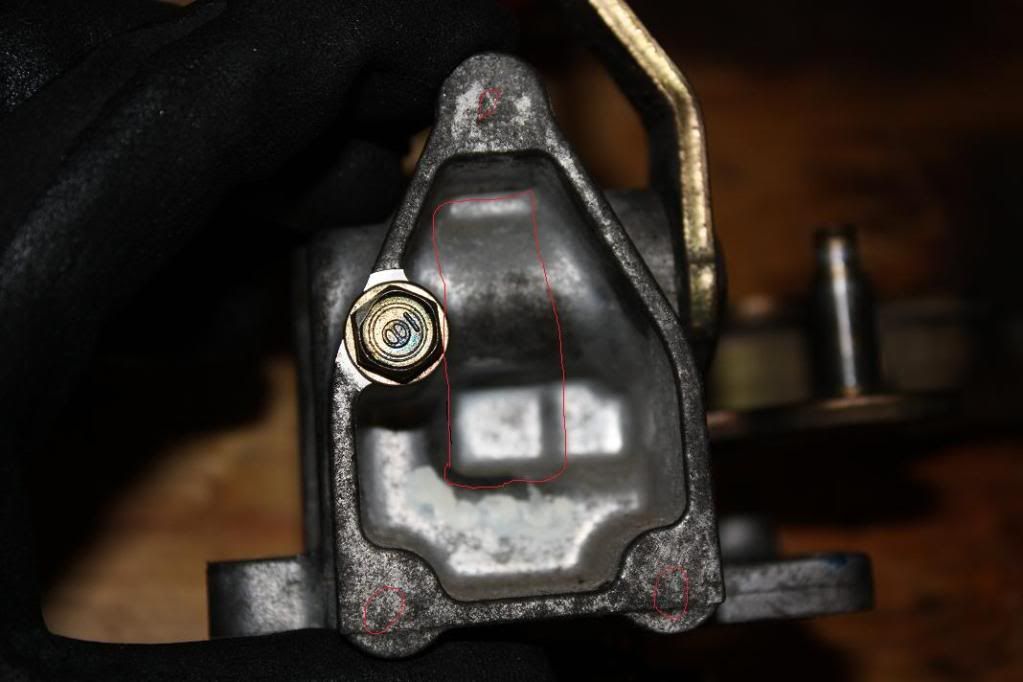
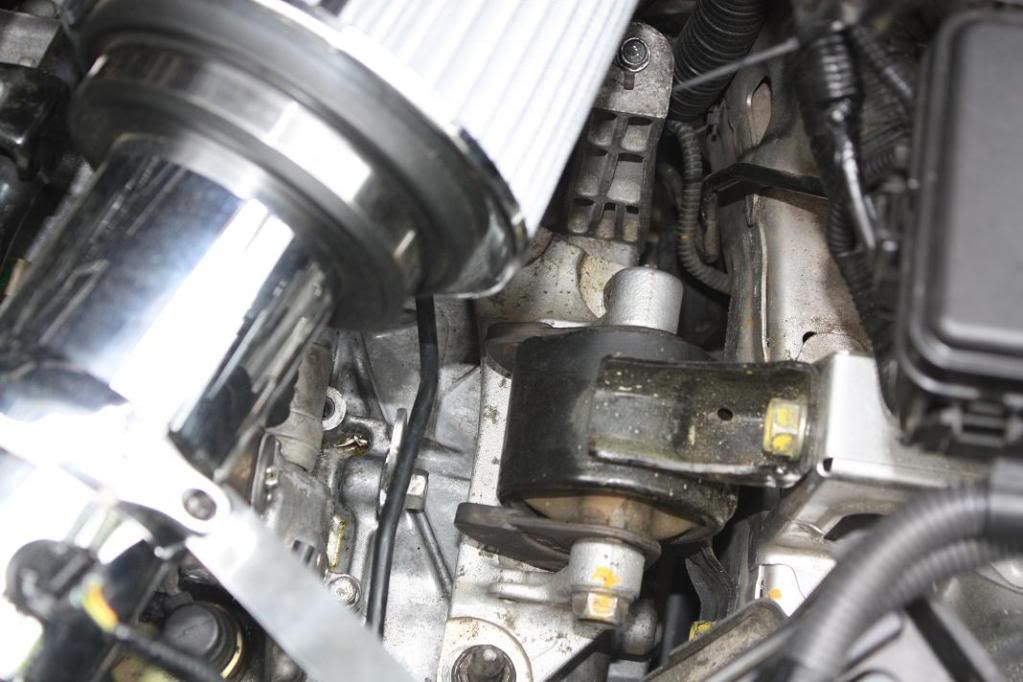
ok at this point i am going to try and point out the immediate differences. pretty much everything on the k20z3 needs removed, and your a3 stuff be put on. if i wasnt sure... i put the a3 stuff on. i dont want to have to hack anything so thats what i did. the front mount is the only mount that is ok i believe. the tranny, timing side engine mount, and rear mount all need swapped over. my swap did not come with accessories, so i just put my a3 ones on with no issues. i cannot say if the z3 parts will work as i didnt have them.
z3 front of engine
a3 front of engine
notice the difference in the thermostat housing. i have not quite figured this one out, they are practically identical and should swap out but for some reason i am having a hard time putting the a3 housing on the z3, i will post definitive information as soon as i figure it out.
a3 transmission mounts/linkage
z3 transmission mounts/linkage
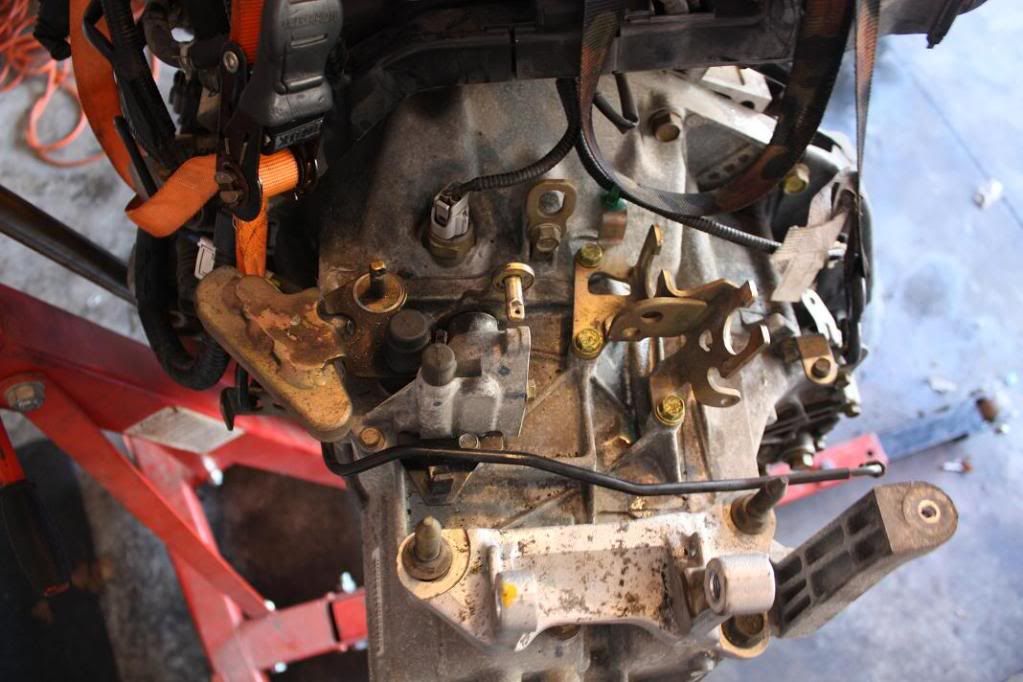
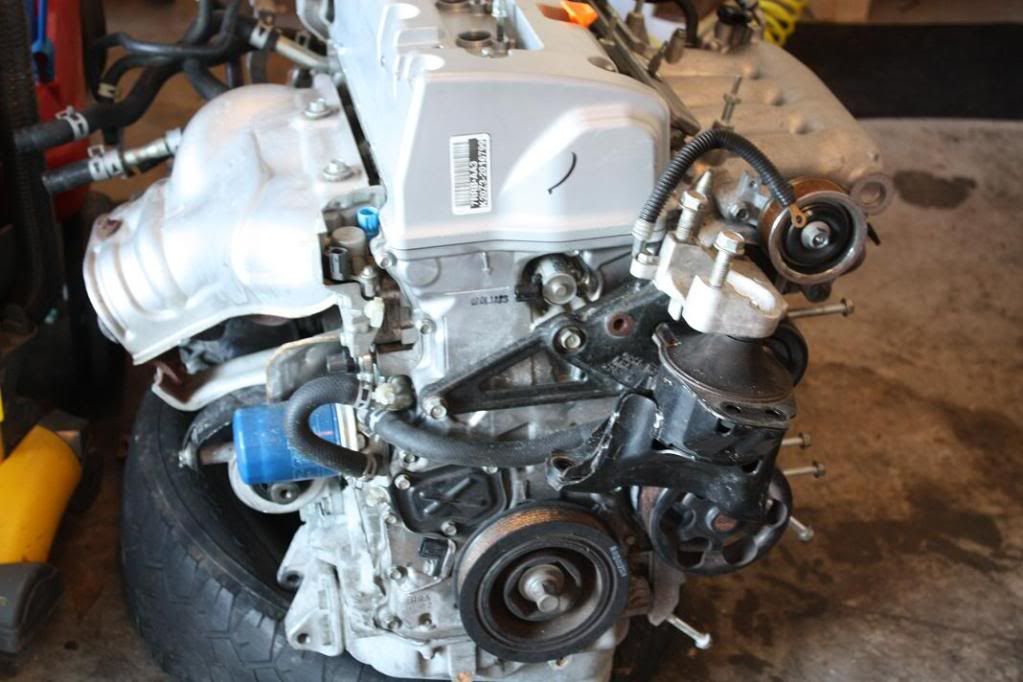
as we all already know, the shifter mechanism is backwards on the z3 and you need to swap over the ep3 mechanism. although if you would like to retain reverse lockout, you will need to use a rsx type s unit. although i have an idea i am going to try out, i will post up if i can get it to work. the housing that the reverse lockout solenoid bolts to is identical on the a3 and z3, the a3 not having it the holes are not tapped, and removal of the z3 solenoid will have to be done to see if and what metal needs removed etc... other than that the obvious mount difference. i also switched the slave cylinder from the a3 because of the clutch line, it is much different and i didnt feel comfortable bending them too much. the reason is the hydraulic line on the slave cylinder is on opposite sides. just to keep it neat i used a3. i also swapped the metal sticking up, i believe this is for the airbox as i intend to still use the factory airbox.
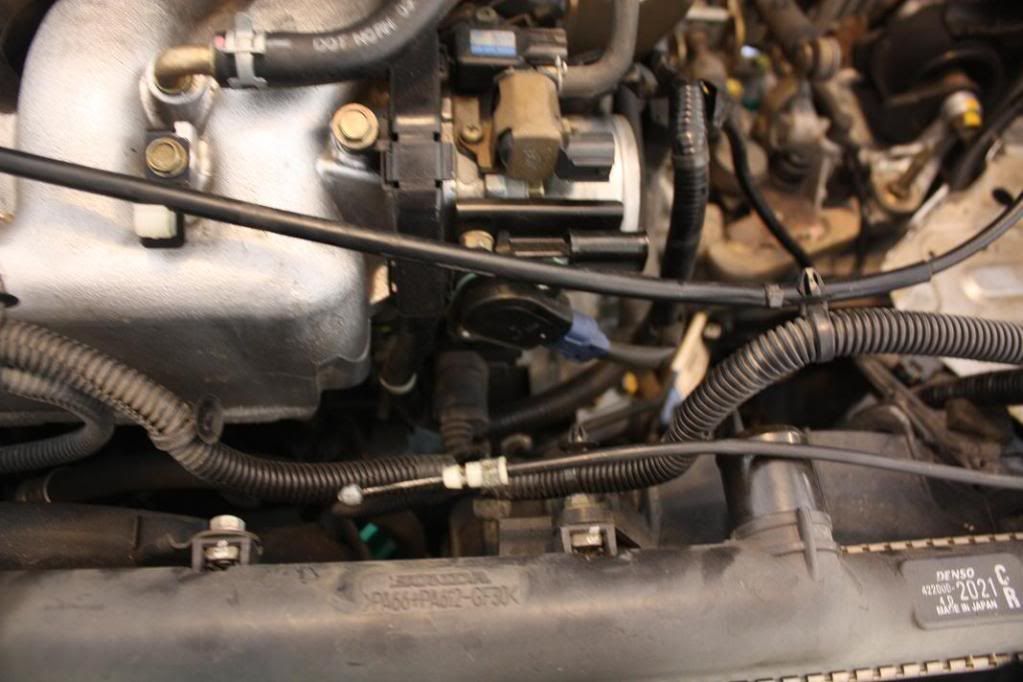
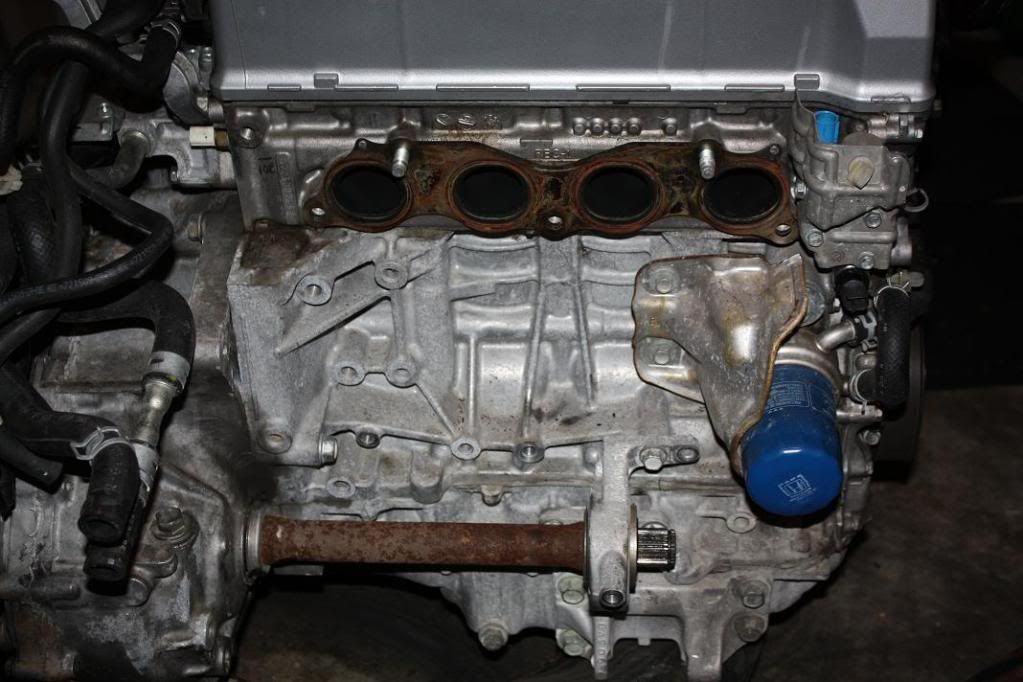
some coolant line differences on the head, these are for the heater core so just use them accordingly when reinstalling.
z3 head
a3 head
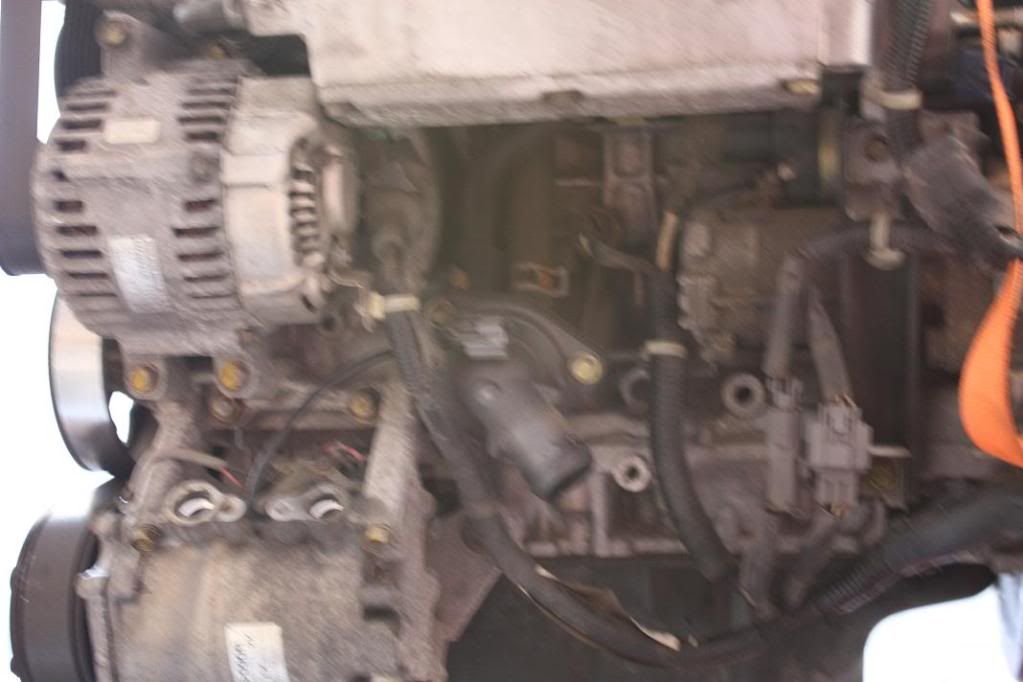
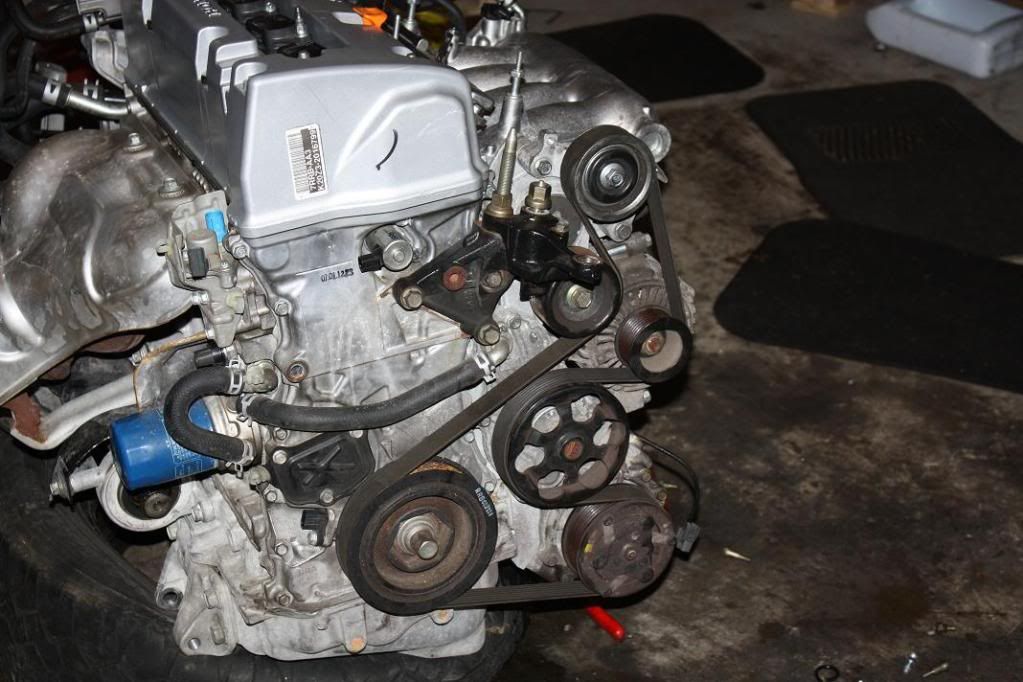
ok on to the timing chain side
a3
z3
basically make the z3 look like the a3, pictures def help with this. the crank pully looks a little smaller on the z3, but i still used the a3 belt and it seems to work fine, it is not too lose or anything.
ok so thats all for today. i started work around 12 in the afternoon, and finished at 7. with lots of beer and dip breaks, so this could easily be done much faster, but i like to take my time. having the right tools and power/air tools helps alot too.
anybody has any questions or anything feel free to pm me! will help as much as possible
will update as soon as i get some more time in the garage..
Last edited by dstnbmxvr6; 02-18-2011 at 04:25 PM.

looks good man, goodluck figuring whatever you need to out!

sell me ur stock injectors:)
make an offer on them, everything a3 related is for sale to try to recoup $$, i will update later tonight got a good bit done, i also managed to waste a bunch of time trying to put the reverse lockout system on the a3 linkage assembly... it will work, i just goobed it up, it will only let me go in 1st and second when solenoid is activated. just cut the slot about 20 degrees off doh'.

cool man!
good luck with swap!
please do not post anything for sale from your swap until you meet the minimum post requirement (100). i would hate to close the thread.
EPHATCH.COM 4 LYFE!! OFF THA CHAIN KREW #1
udontknowjack's mom was here....twice!
UPDATED SITE INFO!
Want to become a Site Sponsor? Click Here!
PM for HELP!!

I don't think the shift linkage swaps over like u describe.

Gonna be following this closely, no low mileage k20a2's anymore and I want to swap.
ok thanks for the heads up Tnhatch03
linkage swaps just fine, is working perfectly, i can shift into all gears, the shifter needed notched, but it works perfect, just having issues with reverse lockout... see below
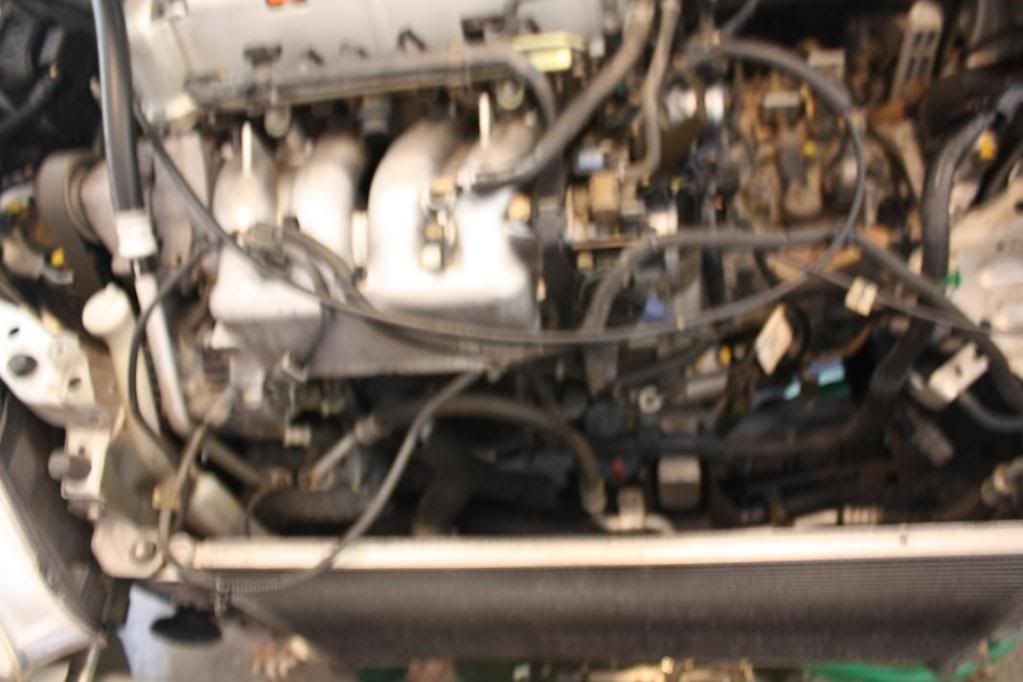
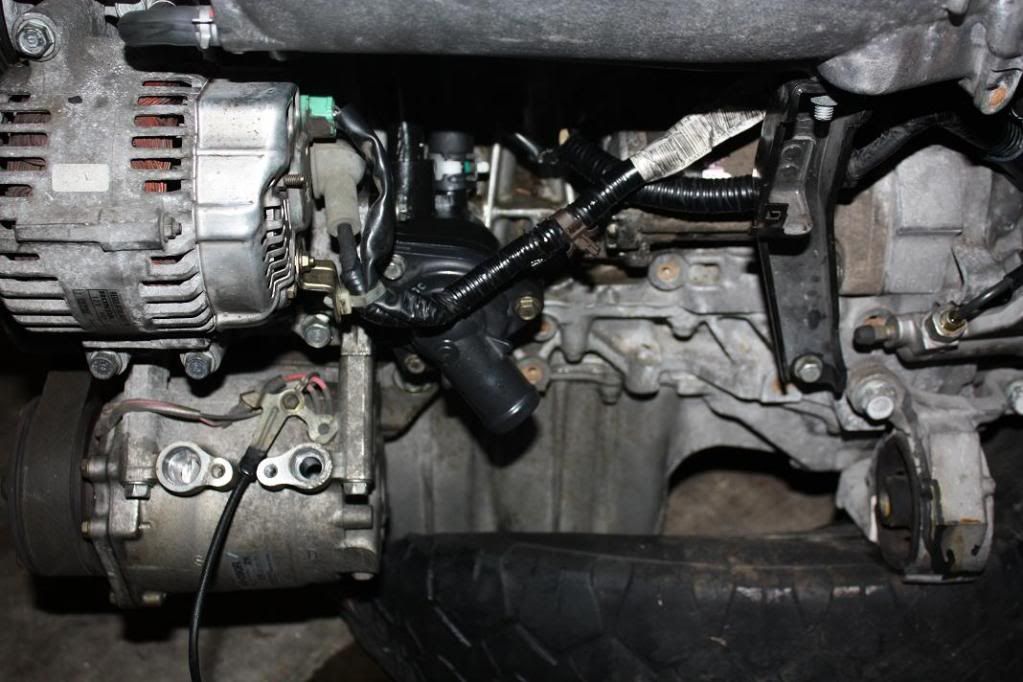
so i got most everything swapped from the a3 to the z3. here is a photo of what the timing chain side looks like with all the a3 accessories on z3.
i had problems with swapping the thermostat housing, but after some tweaking of the metal tube that runs to it i got it lined up where i felt comfortable with it not leaking.
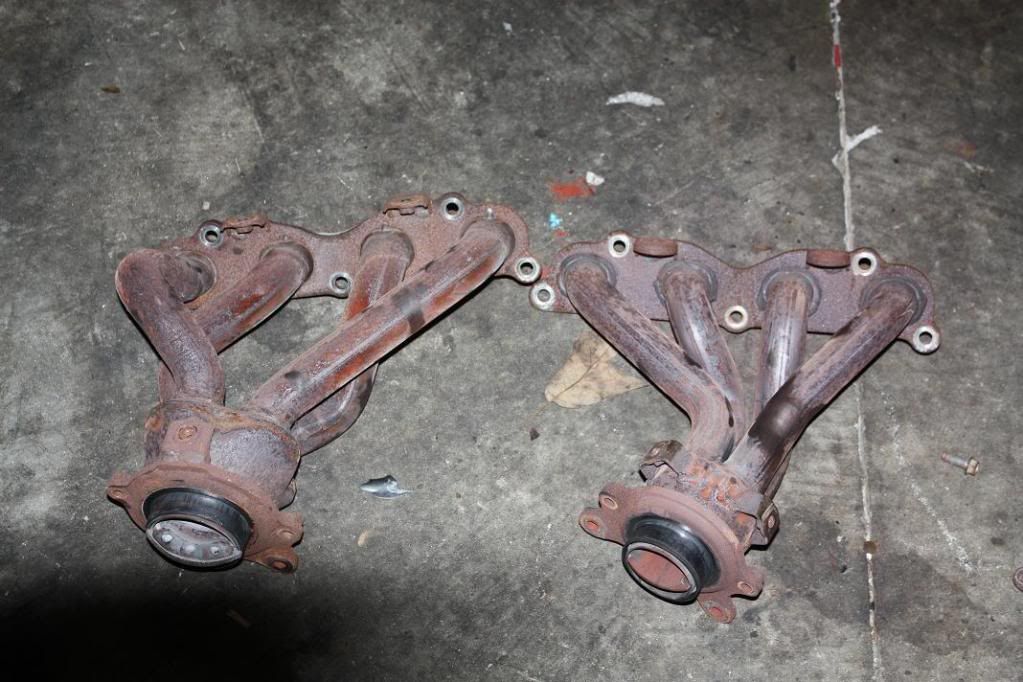
to put the rear mount from the a3 onto the z3 you have to remove the exhaust manifold from the z3. there is not clearance because of the heat shields. i removed the one on the manifold and the one over the halfshaft. both need to be removed for the manifold to be removed. you also need to install the a3 manifold so the downpipe lines up.
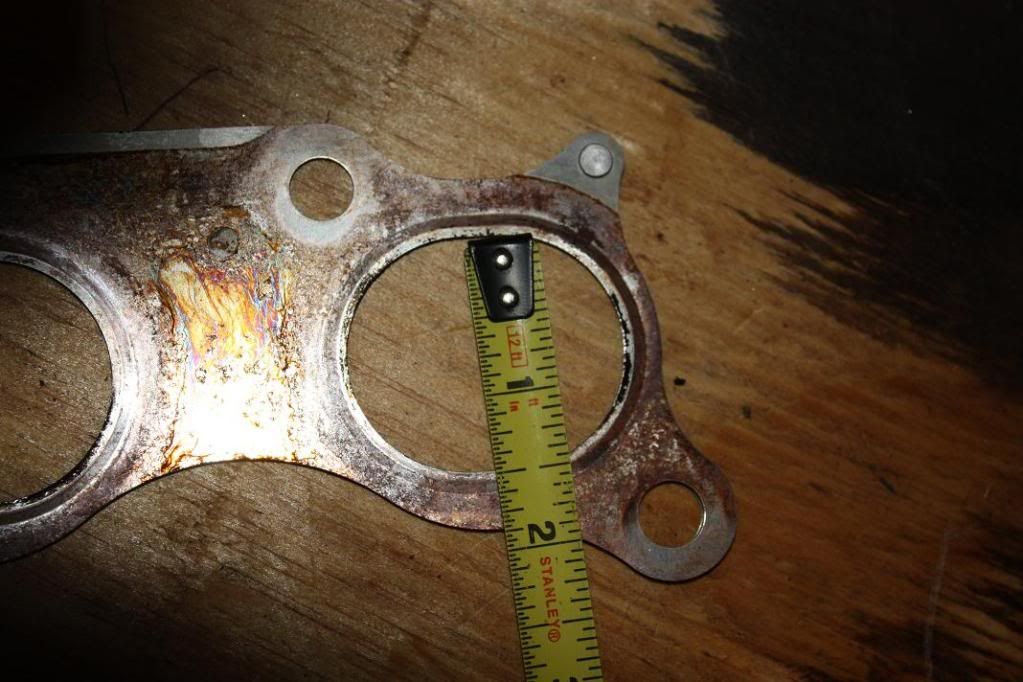
while the manifold was off i wanted to show the differences in the two. there will be a great increase when using a header, the a3 manifold really looks like it is going to choke the z3
z3 on left
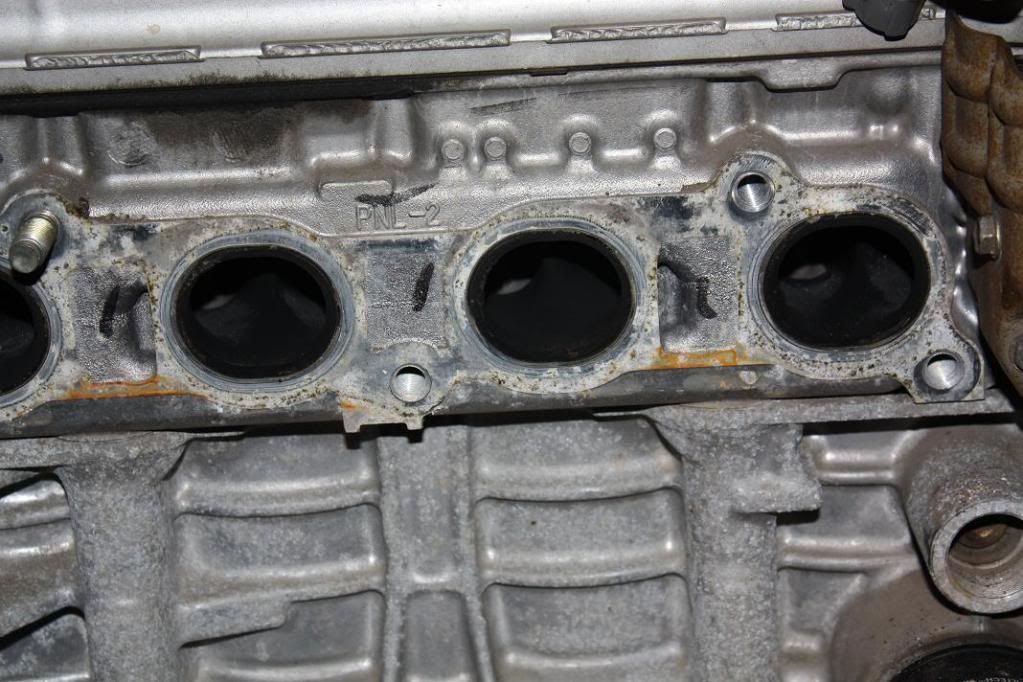
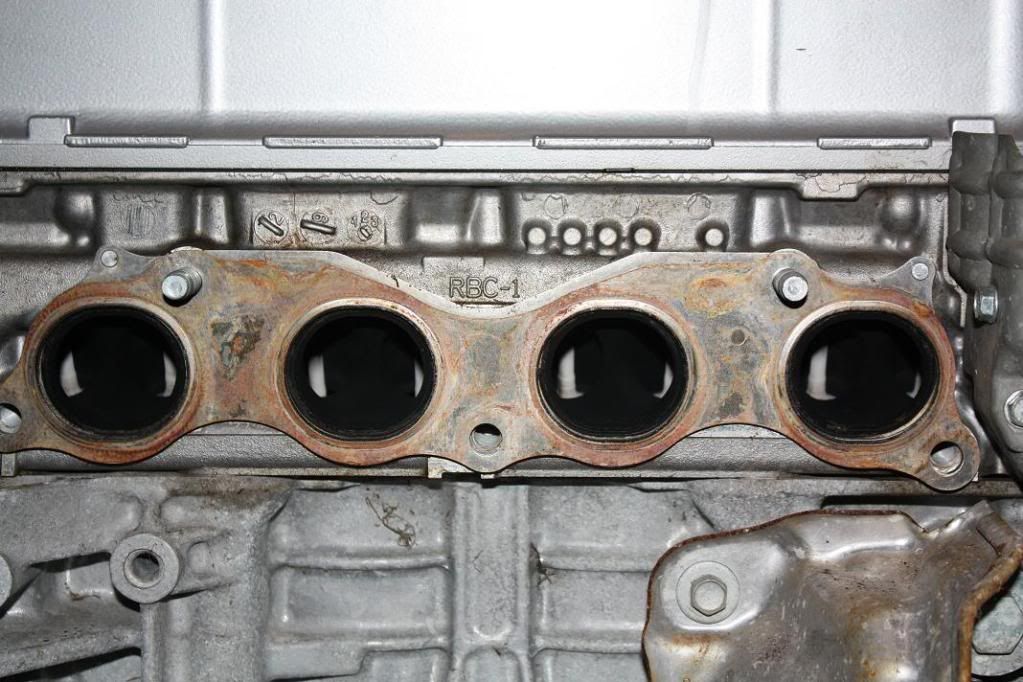
also the port sizes on the z3 are quite larger than the a3.
a3
z3
z3
a3
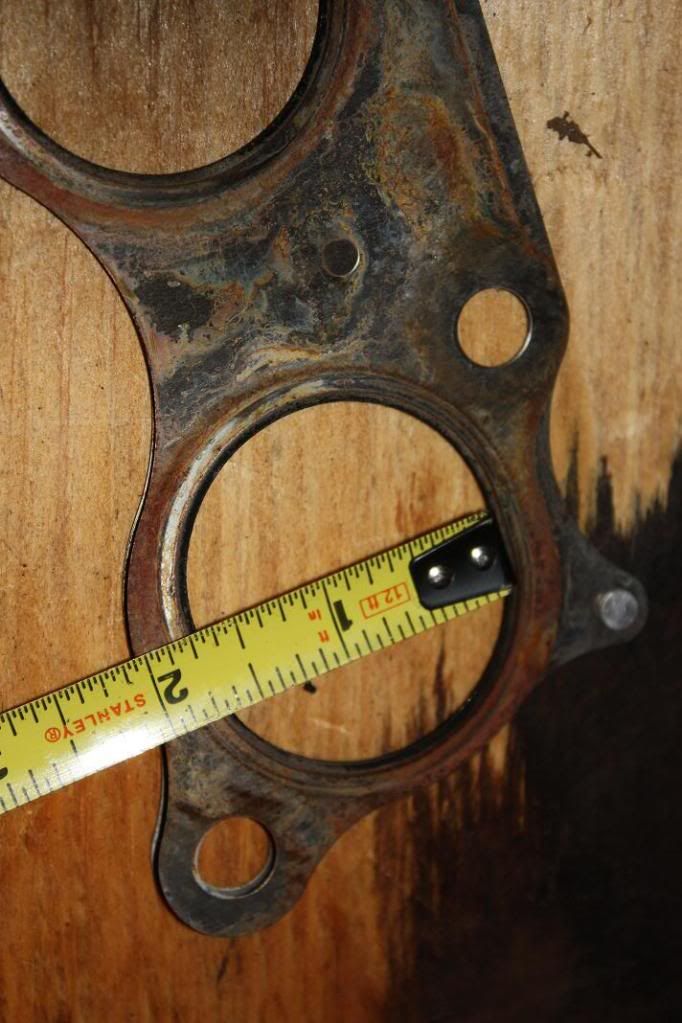
i used the a3 gasket because the bore was big enough for the z3 head without hindering flow and it fit the a3 manifold better.
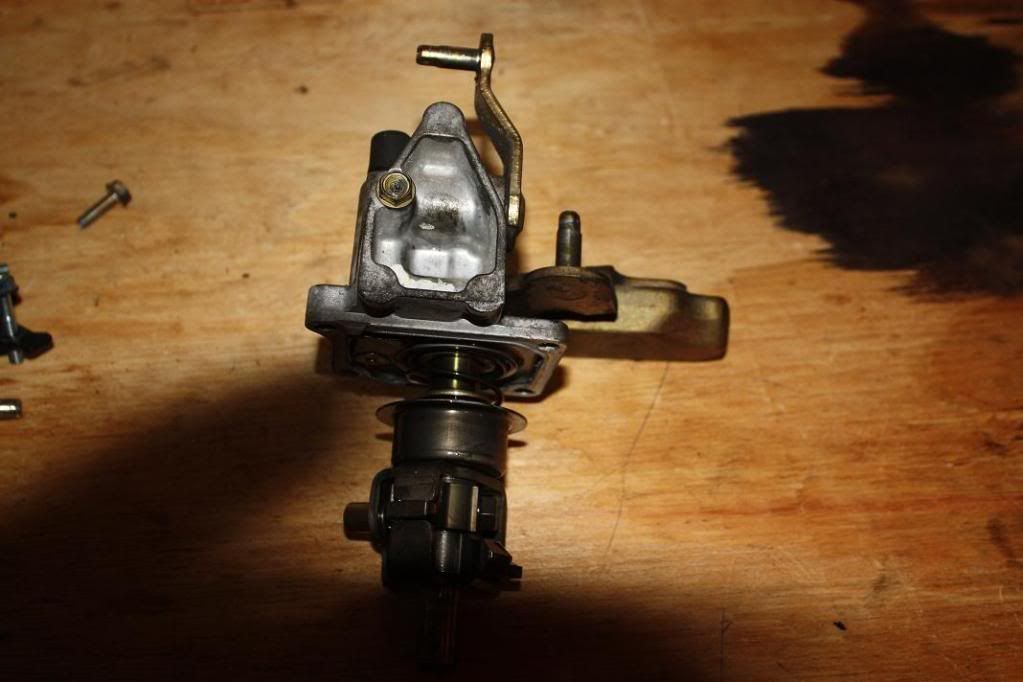
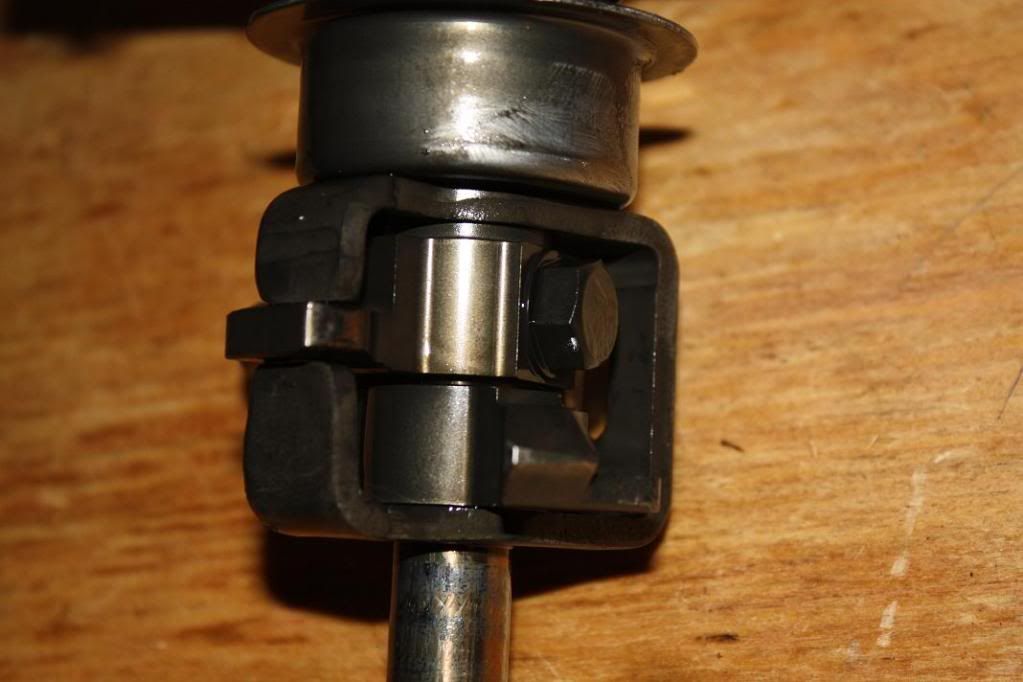
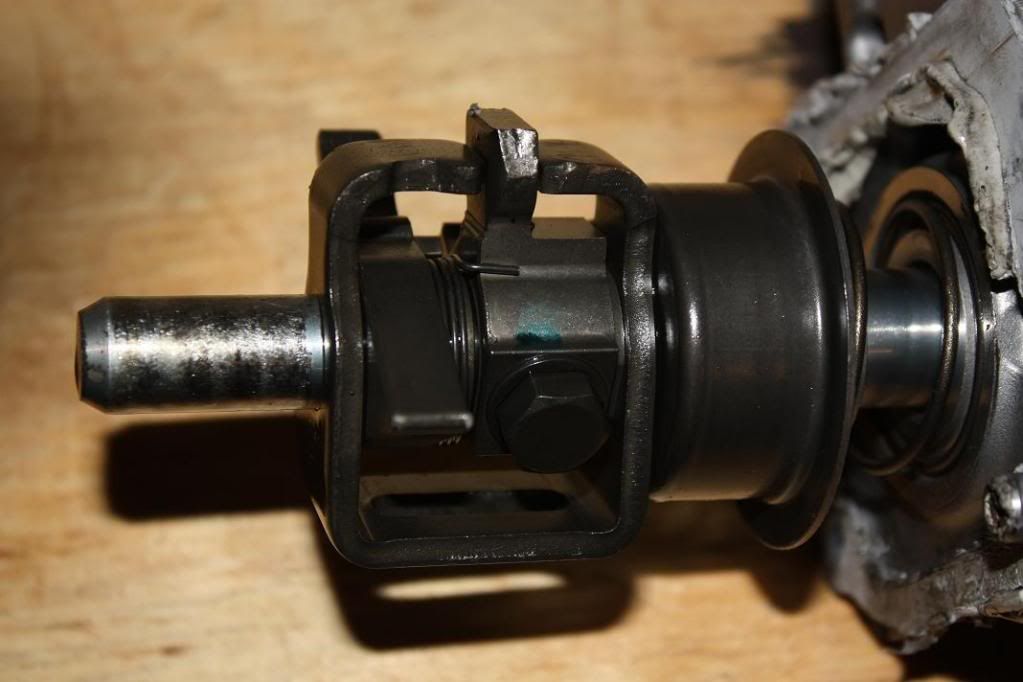
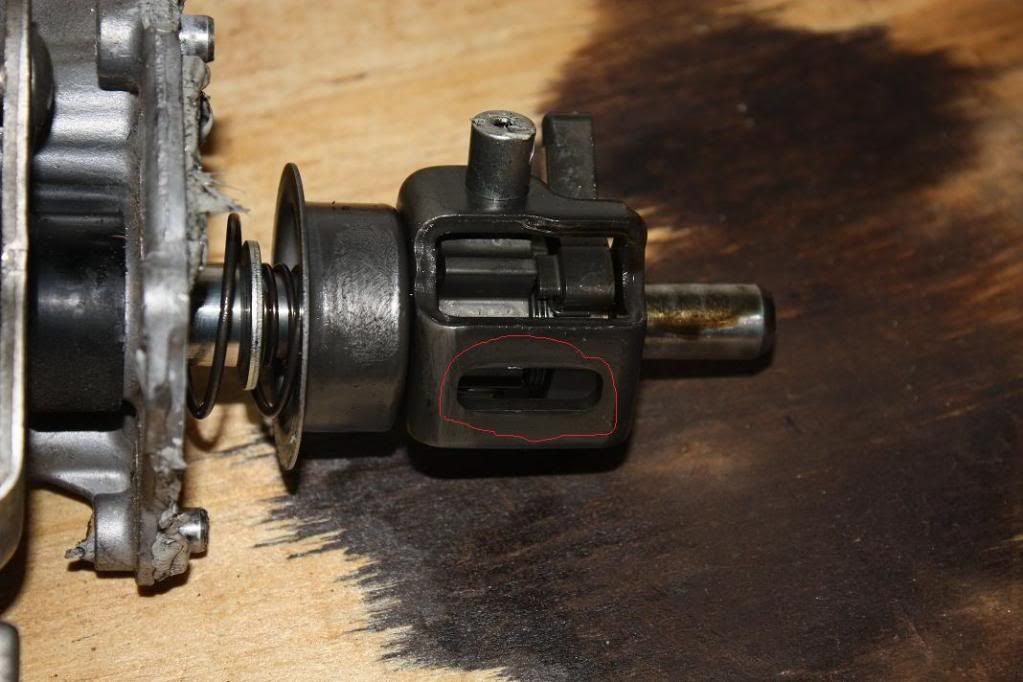
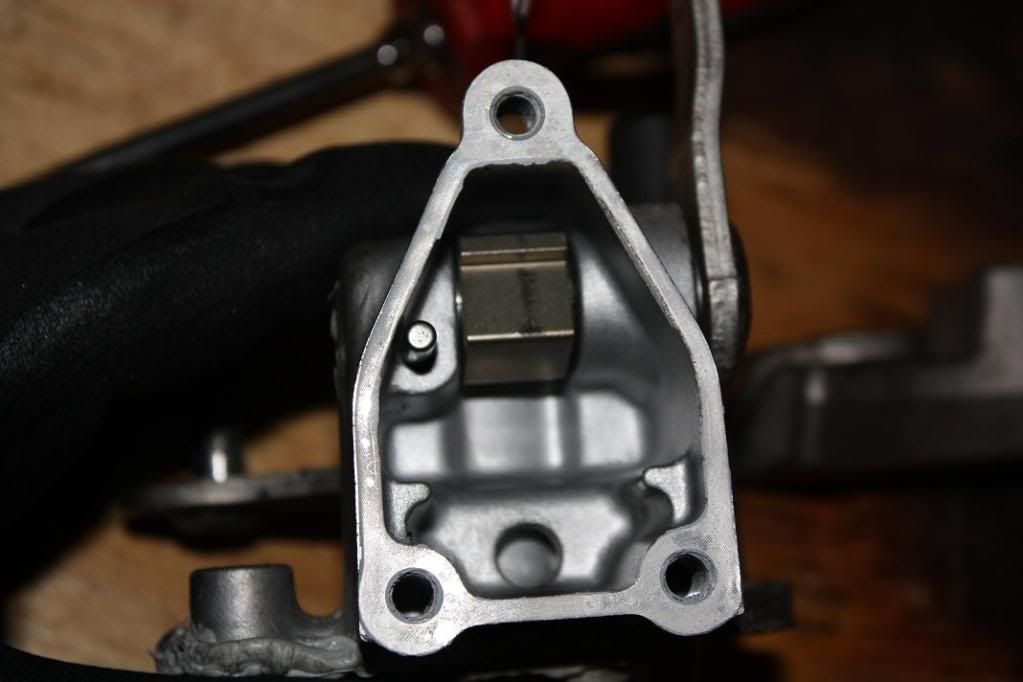
at this point i moved to the transmission and removed the shift arm mechanisms from both of the transmissions. differences below.
a3
z3
what i did was remove the metal from the a3 housing to make it looked like the z3 housing, tapped the holes, slotted the shift arm shaft. although i goobed it up by cutting the slot in the wrong spot and when engaged let me go to 1st and 2nd and thats all. it will work you just have to do it correctly, i may do it correctly soon, im really scared of hitting reverse on the highway. i know i could just use an a2 mechanism but i just wanted to see if this would work. if you want pictures of this just pm me.
also...
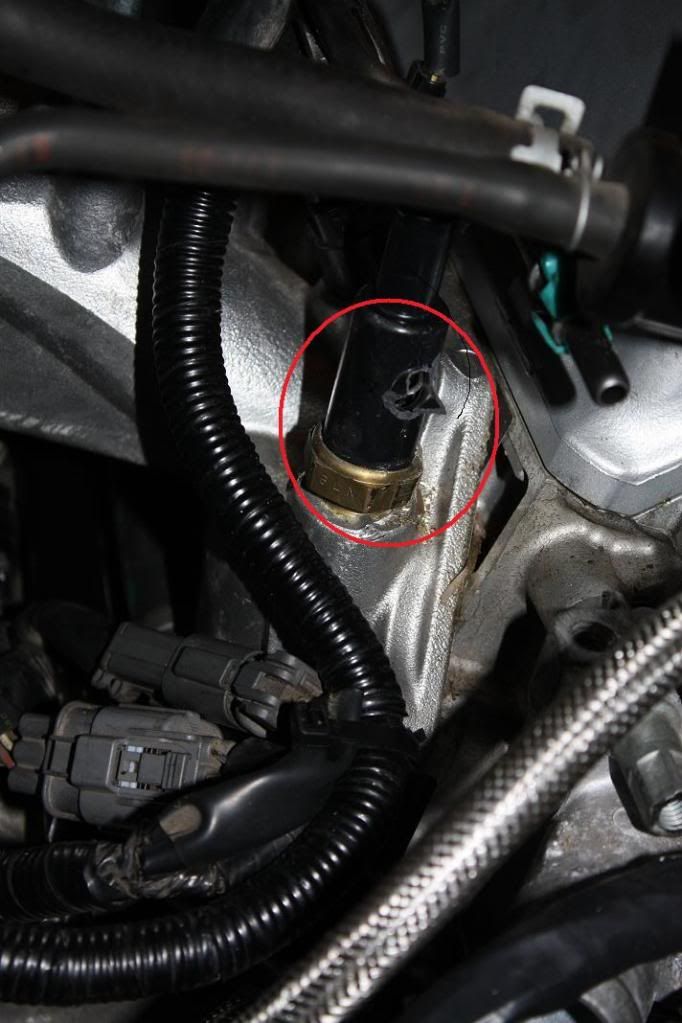
i broke the stupid air assist valve on both of the engines, these things are stupid fragile so be careful. after reading up they really dont do all that much so i just bypassed it. here is how to do that.
the hose runs to the middle of the manifold , i just put a screw into it to seal it, just make sure it is a tight fit.
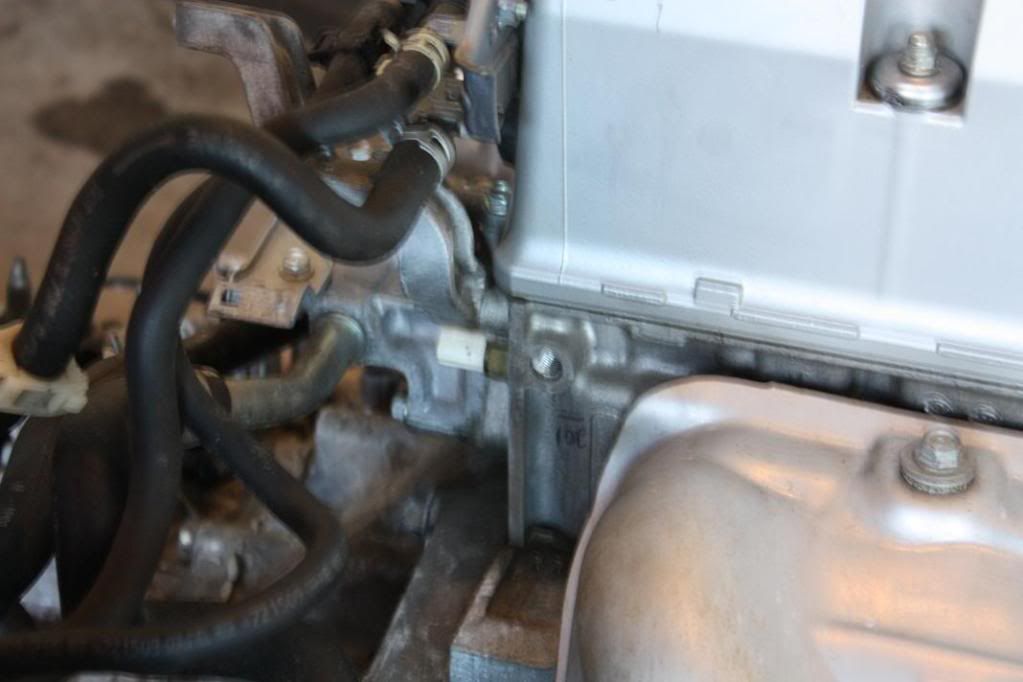
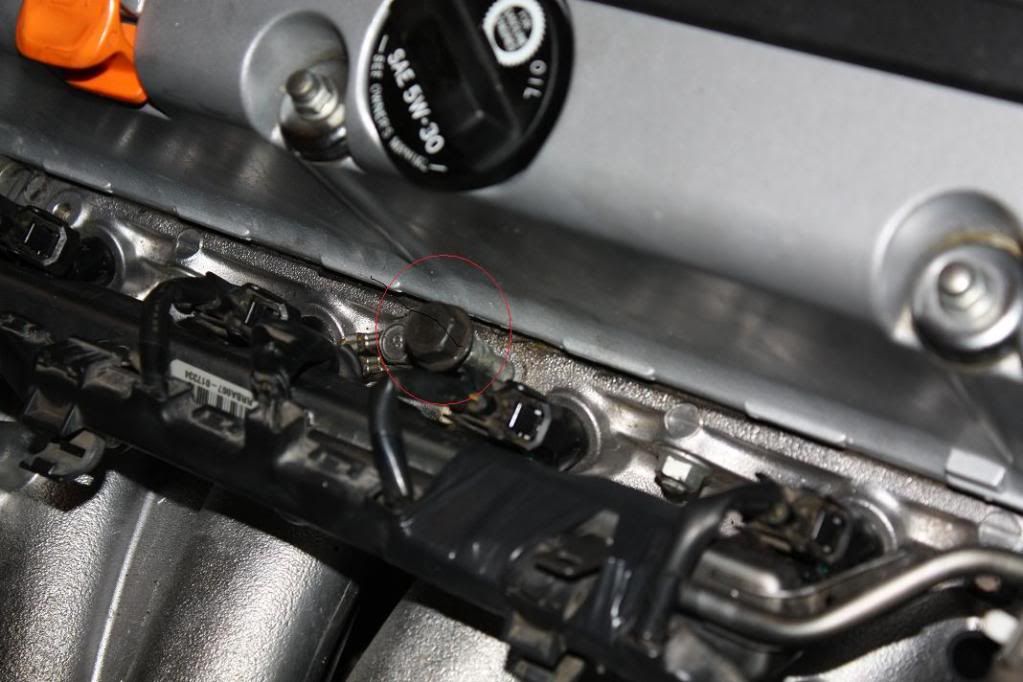
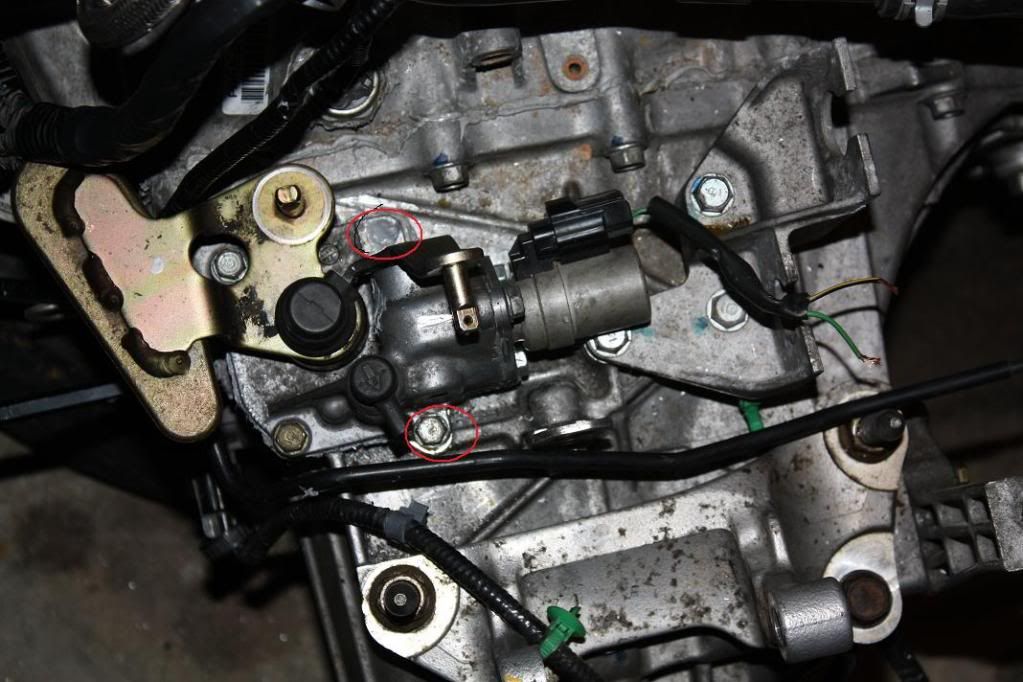
ok for the idle air control valve, i didnt have the correct hoses so i bypassed the coolant to it. it is still electronically controlled so i wasnt too concerned.
the lines that run to it i ran into each other
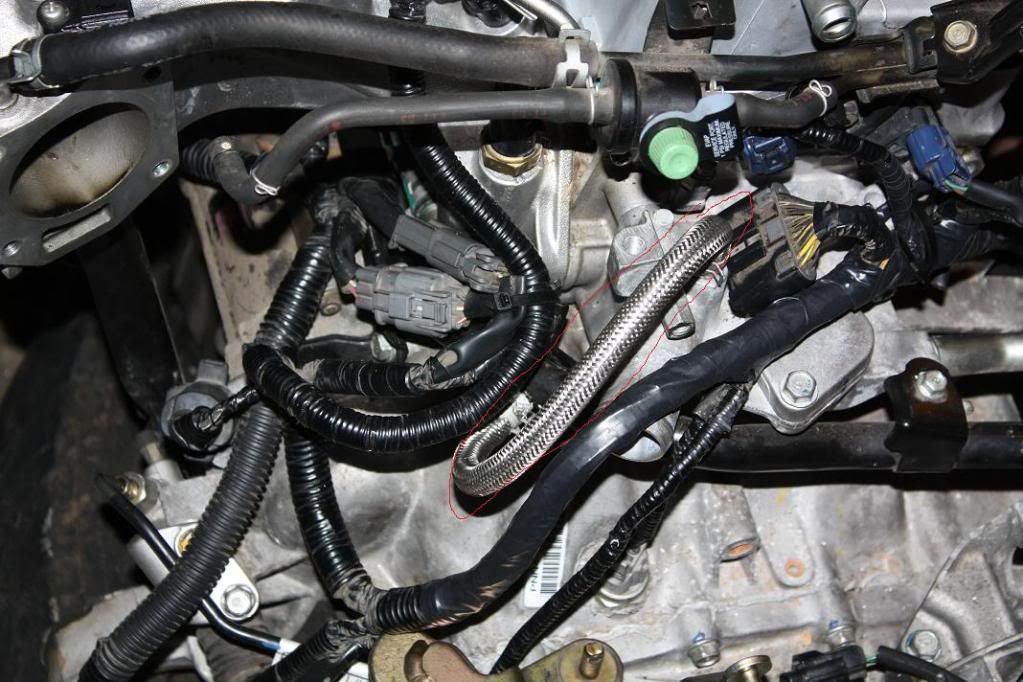
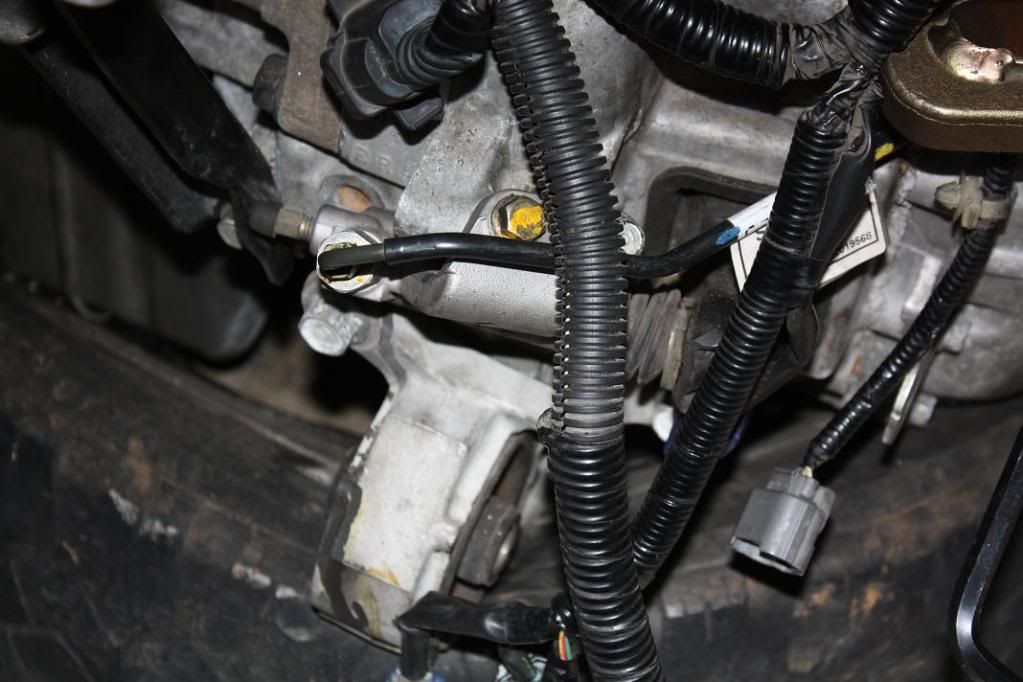
and on the throttle body i just did the same thing.
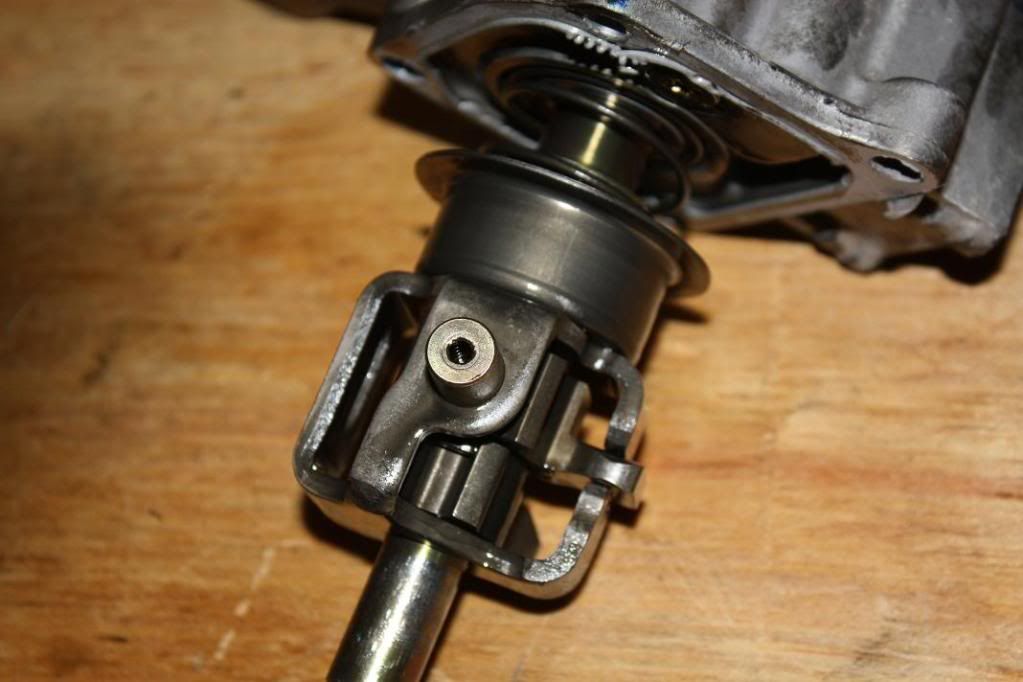
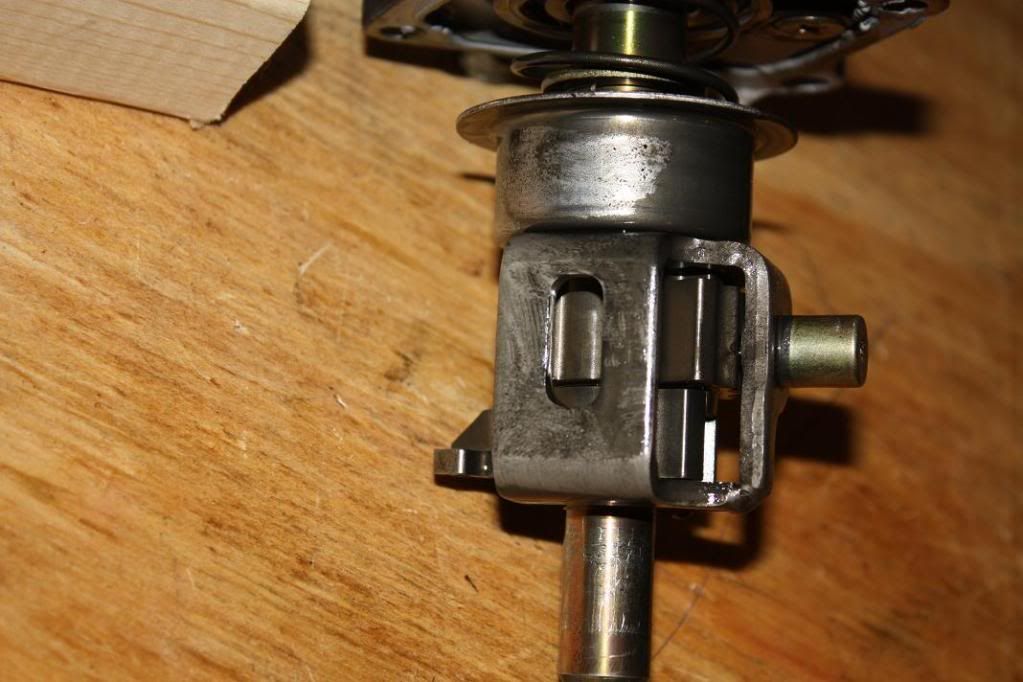
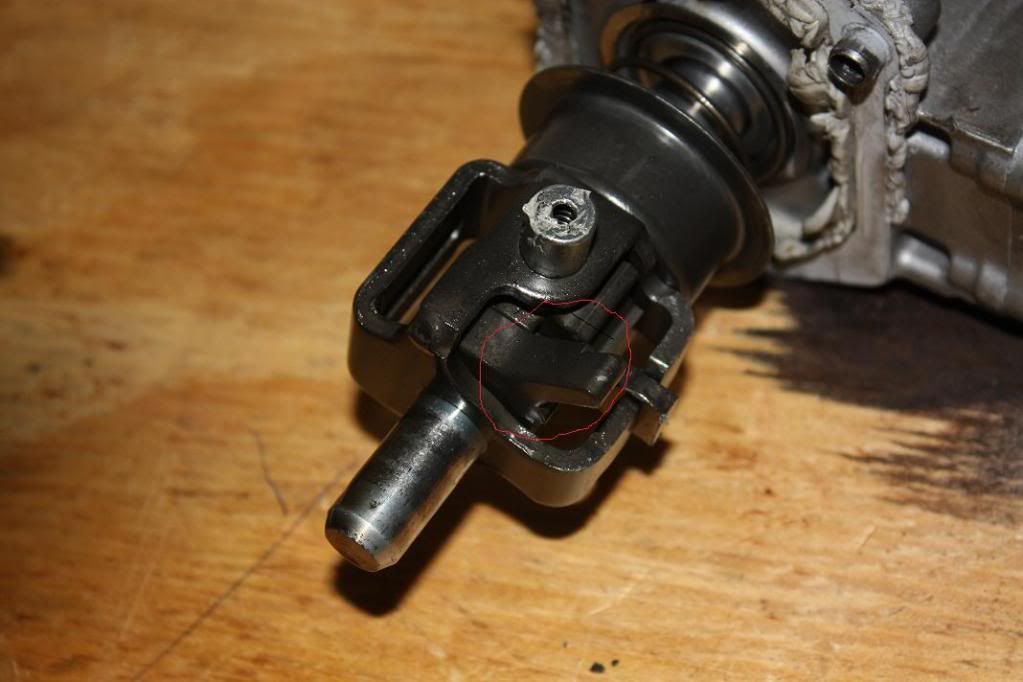
now for installing the shift mechanism from the a3 onto the z3. dont forget about the 8mm hex screw on the side of the transmission directly in front of the mechanism, this has to be removed! but two holes line up, the front two, the back left doesnt at all just fill it with hondabond or rtv. the one on the back right needs to be drilled/tapped there is a spot casted for it. i guess you could just have the two scews but why risk it it is fairly easy to tap threads.
i installed it and forgot to remove the shift cable bracket. the mechanism needs to be off when removing the bracket if you have the lockout solenoid on the a3 mechanism. if that makes any sense...but you need to use the a3 one basically.
i also used the slave cylinder and clutch line from the a3, the z3 clutch line ran a different route and i didnt like it. and i wanted it to bolt up just like i removed it. the slave cylinder inlet port is on the other side for the z3.
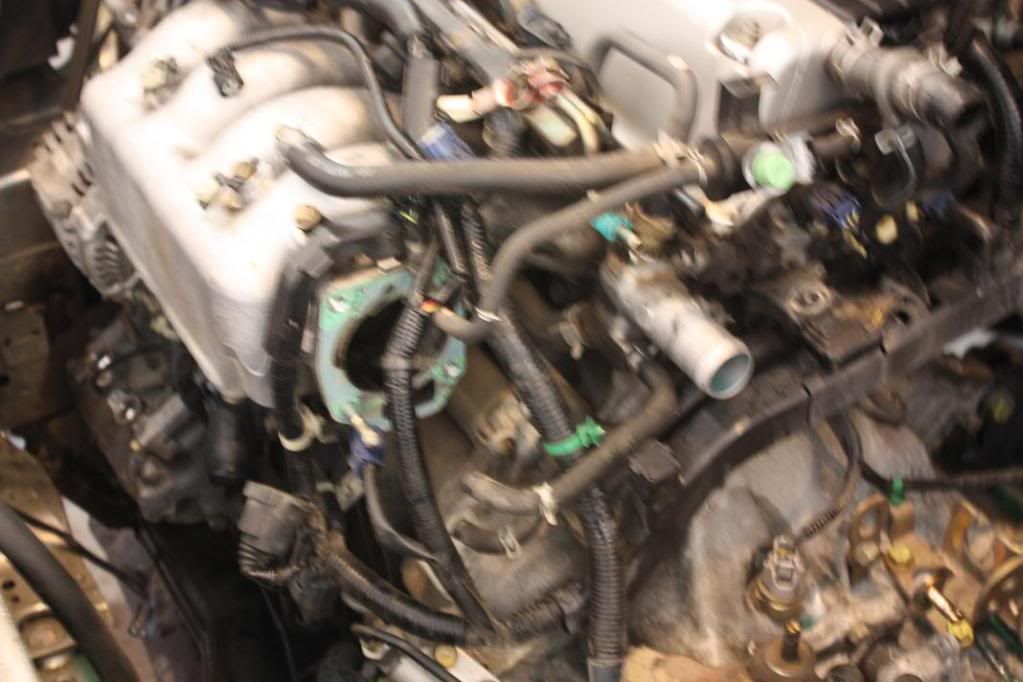
ok so that's all for now, some things i did not picture are wiring up the digital speed converter, this is pretty straight forward , if you cant figure that out you should NOT be doing this swap. and installing the throttle body adapter and throttle body, just forgot pictures, will show pictures of it installed tomorrow. also i ran the wiring harness on the z3. also straight forward.
all that is left is to switch shift cable bracket and reinstall into car! woot

bump this DIY!!!

Wow!... Nicely done!... :-)
enjoy the extra hp.

Nice job man

AHAHAHAHAH!!!! Lemme just add that I definitely broke mine on my A3.... Stupid things are like fine china....Originally Posted by dstnbmxvr6

oh yeah man i love the extra hp! i am finally gonna update and show some pictures. i am really feeling the stock motor mounts flexing now lol.
I did have some issues with the transmission i bought, i had to get it rebuilt and put a new clutch... stoopid craigslist dude. but the engine is running perfect.
within the next few weeks i have an obx race header, esmm, megan mid-pipe that are going on.
I am really surprised how the k20z3 performs with the uber restrictive stock exhaust on the ep3. i had to use the stock k20a3 exhaust manifold too, i really think with said mods and a pro-tune i should be around 225ish....maybe i dunno , what do you guys think?
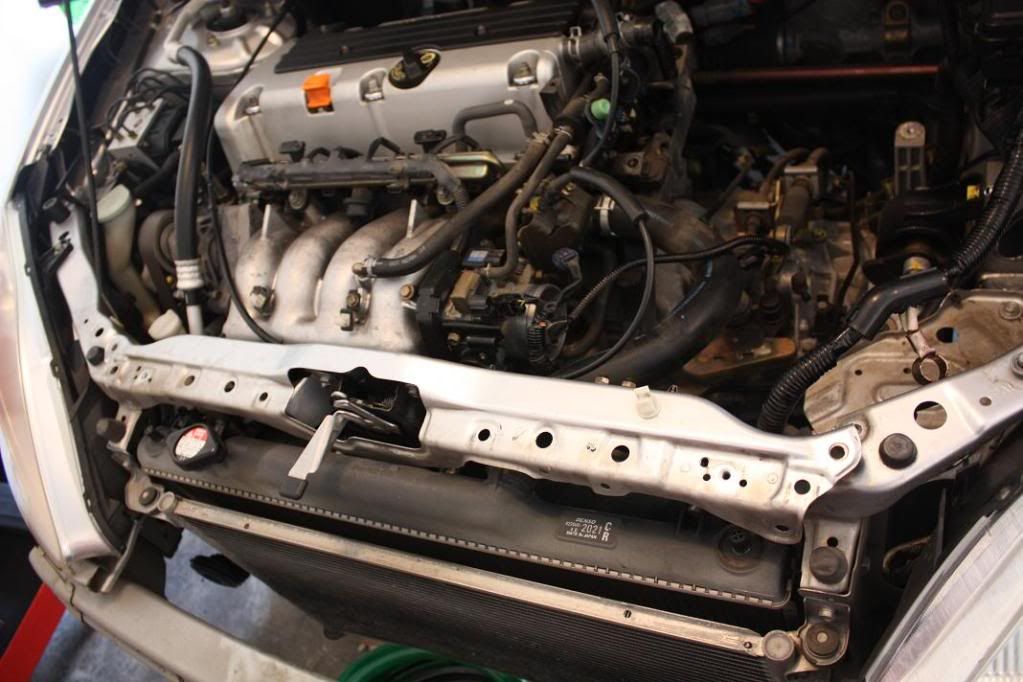
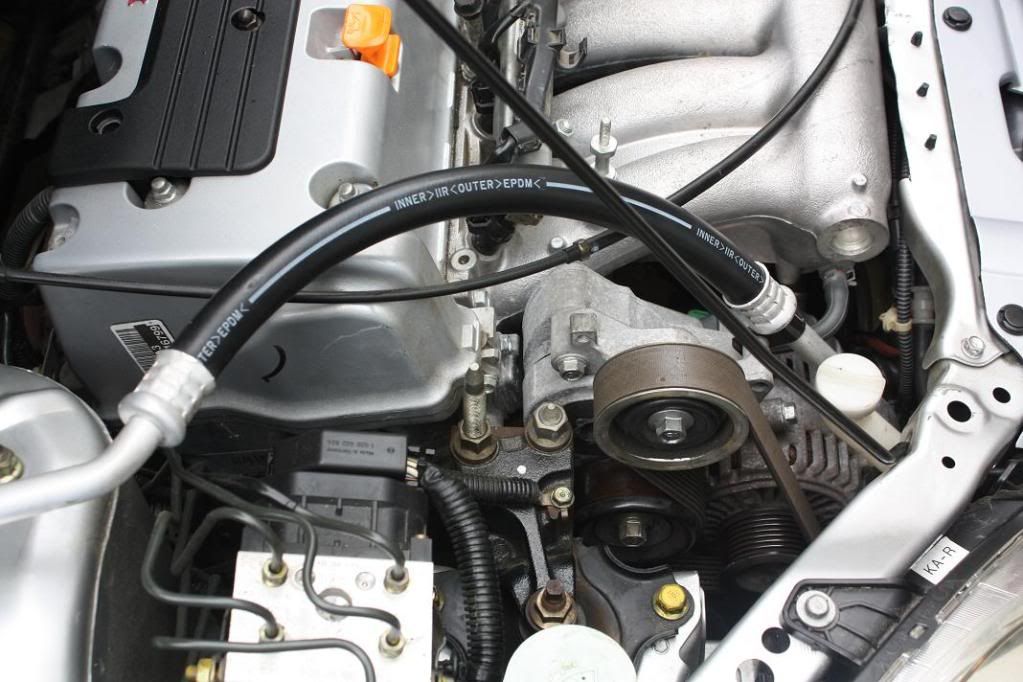
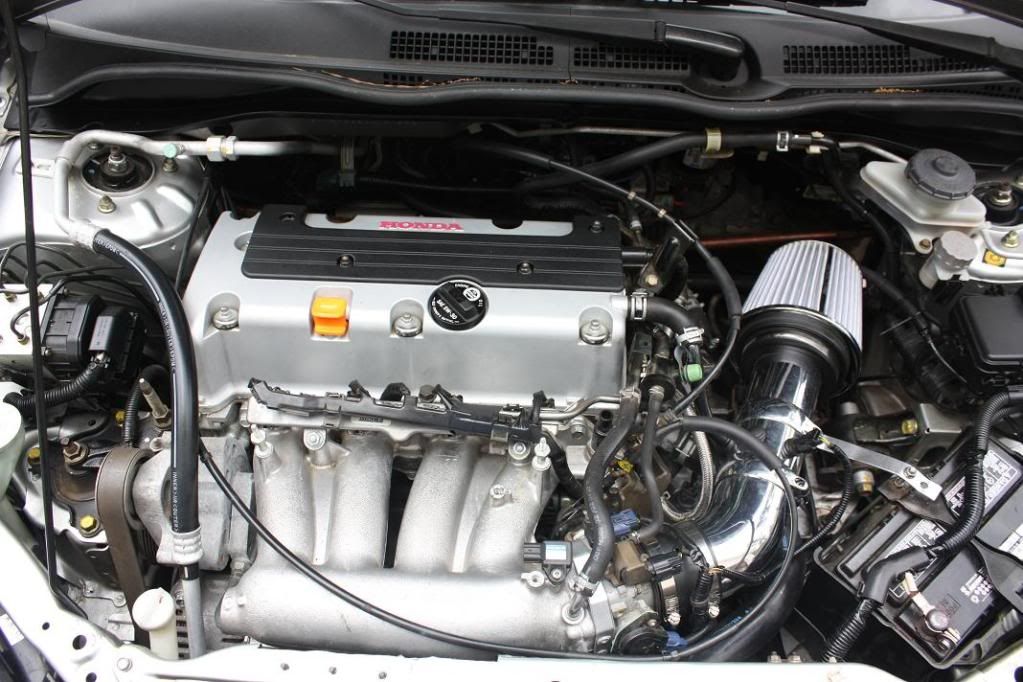
the radiator support looks really close but it does not hit or rub. the stock intake would not work as i had hoped, so i just went to autozone and pieced together a spectre kit for >75 bucks. works great, i know i might make a little smidgen more power with an expensive intake, but this one serves it's purpose just fine. and now my vtak goes BBBWWWWWAAAAHH lol jk.
on to pics

I like your idea of pulling out the entire harness so you can plug everything in with the engine out of the car and keep things really neat... I might have to do that myself.
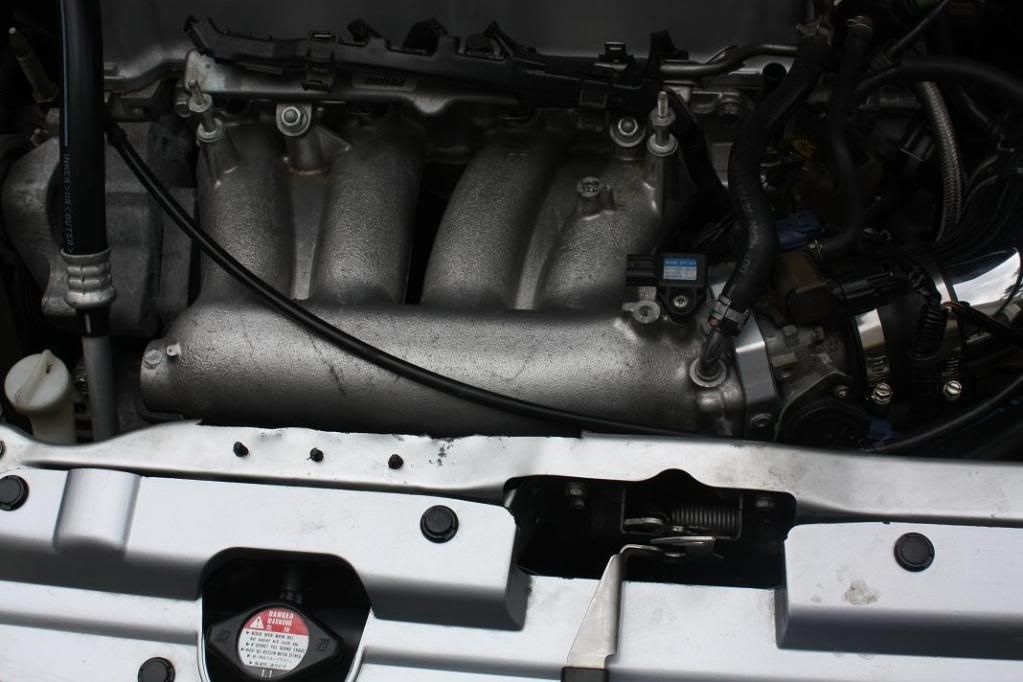
Looks like your MAP sensor is unplugged.
yeah its just an extra map sensor, the a3 map sensor is on the throttle body, the z3 is on the manifold, i could take it off but there would be a hole. i figure leave it there and if my map sensor goes bad just plug that one in lol.
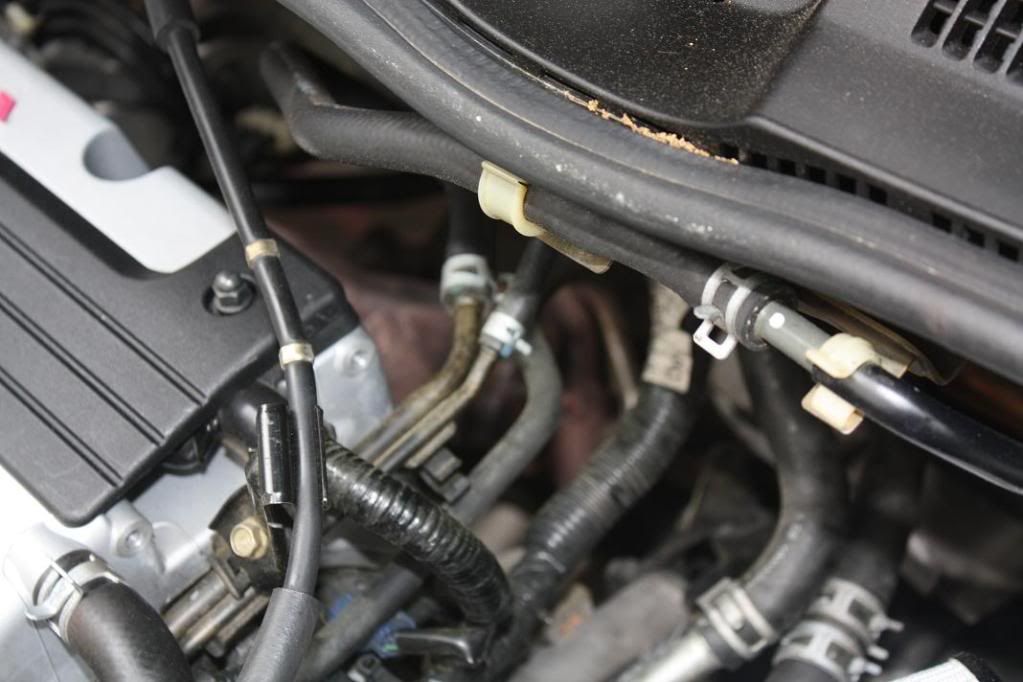
the harness didnt turn out as neat as i would have liked but it did ok, i really should have used a hair dryer for some of the bends, it sat in my garage unhooked for a week so it got stiff. i used almost none of the securing brackets because i had to use the a3 harness, i just made my own or used black zip ties to stuff.
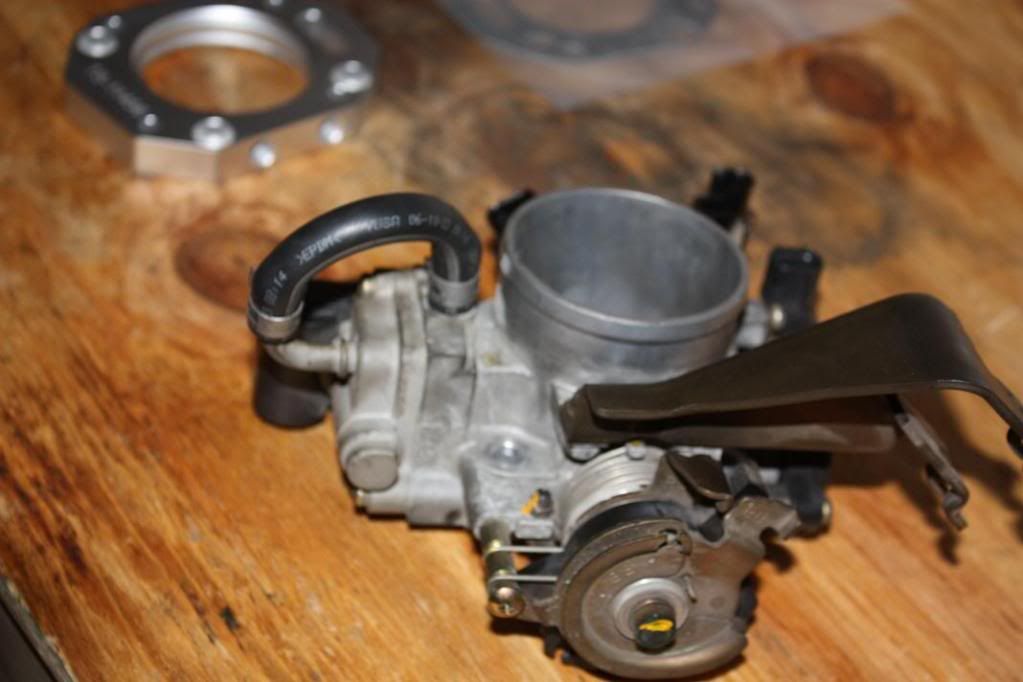
oh almost forgot to note: DO NOT use the gaskets the obx tb adapter comes with or you will have a massive vacuum leak, they do not cover up the little ports on the tb completely. i just cut my own from gasket material. I honestly recommend going with the hybrid racing adapter, i had to tap the holes in the obx, and had to make a gasket... for 5 -10 bucks more i would just buy the nicer part.
Last edited by dstnbmxvr6; 04-20-2011 at 07:59 PM.
There are currently 1 users browsing this thread. (0 members and 1 guests)
 Posting Permissions


Bookmarks