

 Reply With Quote
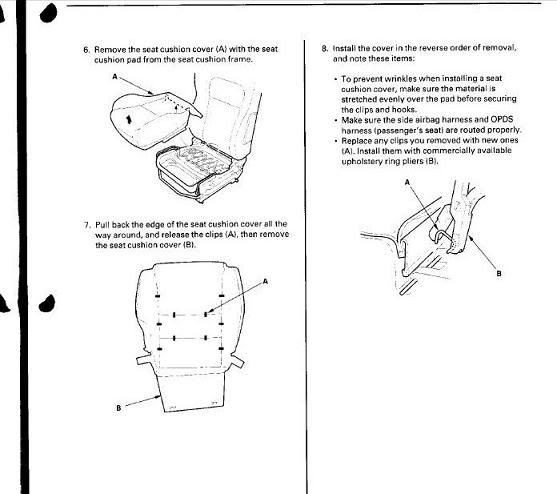
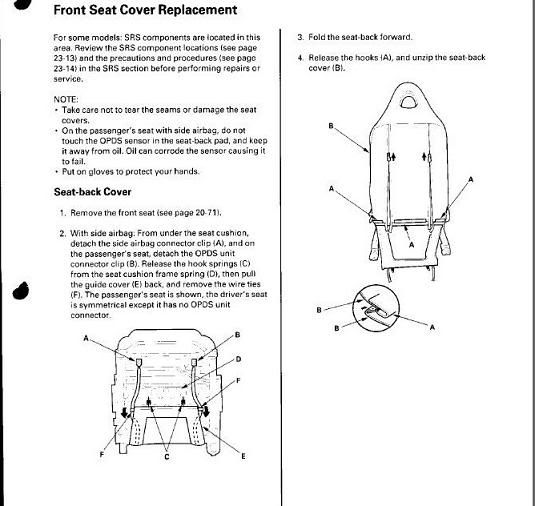
Here are the pages covering the seat cover removal


OK here is the DIY I have been promising for a year now. First off I will say that these seats cannot be stitched with a regular home sewing machine, it wont be able to sew through the foam.
I think anyone with basic sewing skills can tackle this DIY, I have never sewn more than hemming a pair of pants before this. Just take your time and it will turn out great. I have about 25 hours into each seat start to finish.
I will try to answer any questions as they pop-up.
Supplies you will need
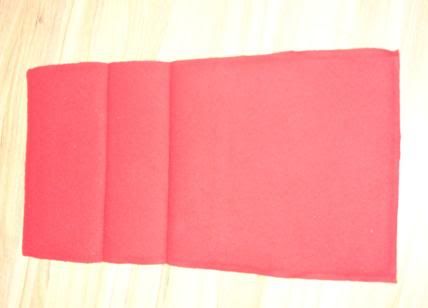
1.5 yards of your chosen material (almost anything will work since you are going to glue it to the old fabric)
1 spool of red upholstery thread (regular thread will break)
1 spool of black upholstery thread
1 pack of upholstery needles (walmart)
1 pack of regular sewing needles
1 can 3M spray adhesive (3M™ Hi-Tack 76 Spray Adhesive)
24 heavy duty zip ties
Lots and lots of patience
Tools needed
Side cutter pliers
Needle nose pliers
Flat head screw driver
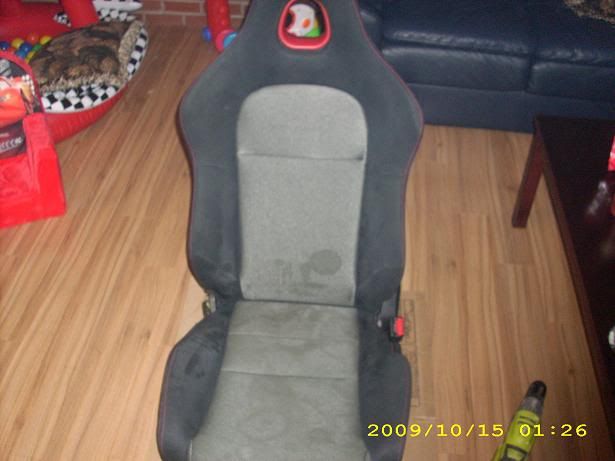
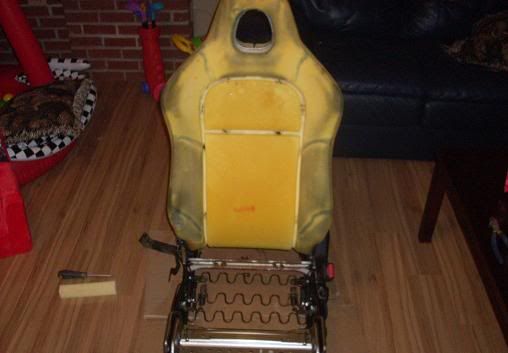
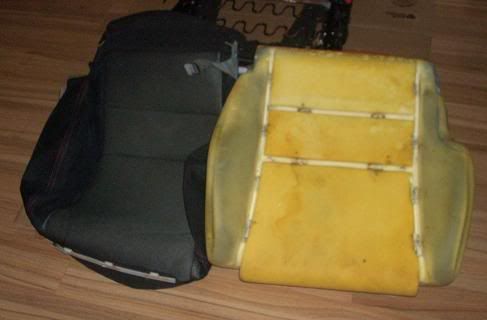
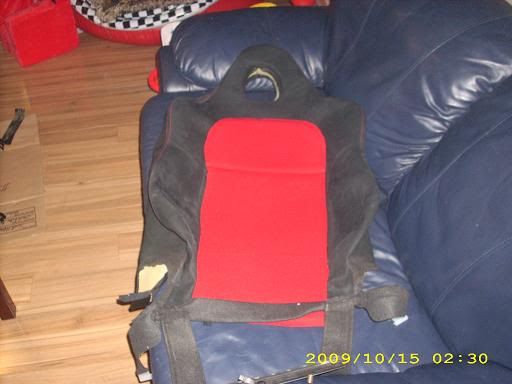
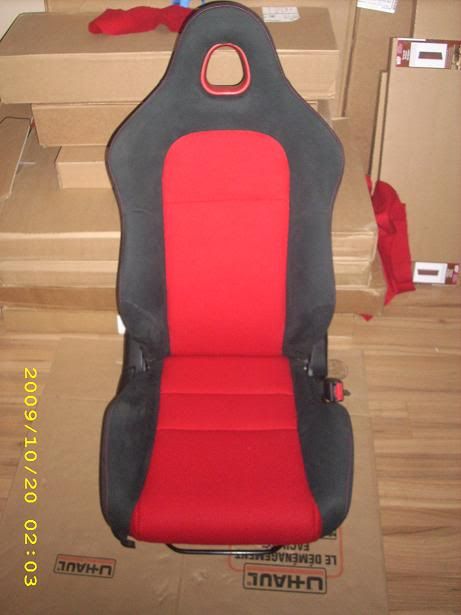
This is the seat I started with
I know the pics aren't the best but hopefully everyone who wants to try this gets an idea of whats involved and how it can be done with the simplest tools. First off you are going to have to remove your seats from the car and strip off the skins. I have included the pages from the manual that cover how to strip the seats.
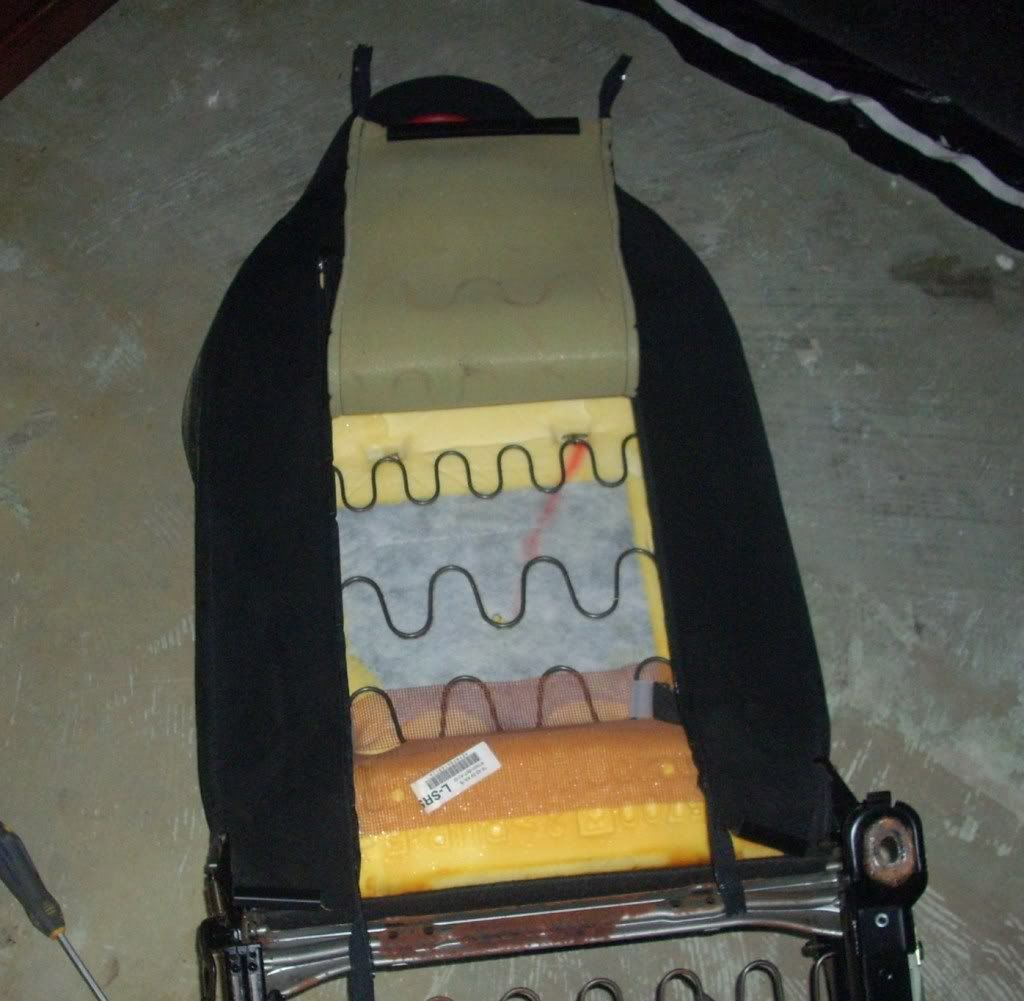
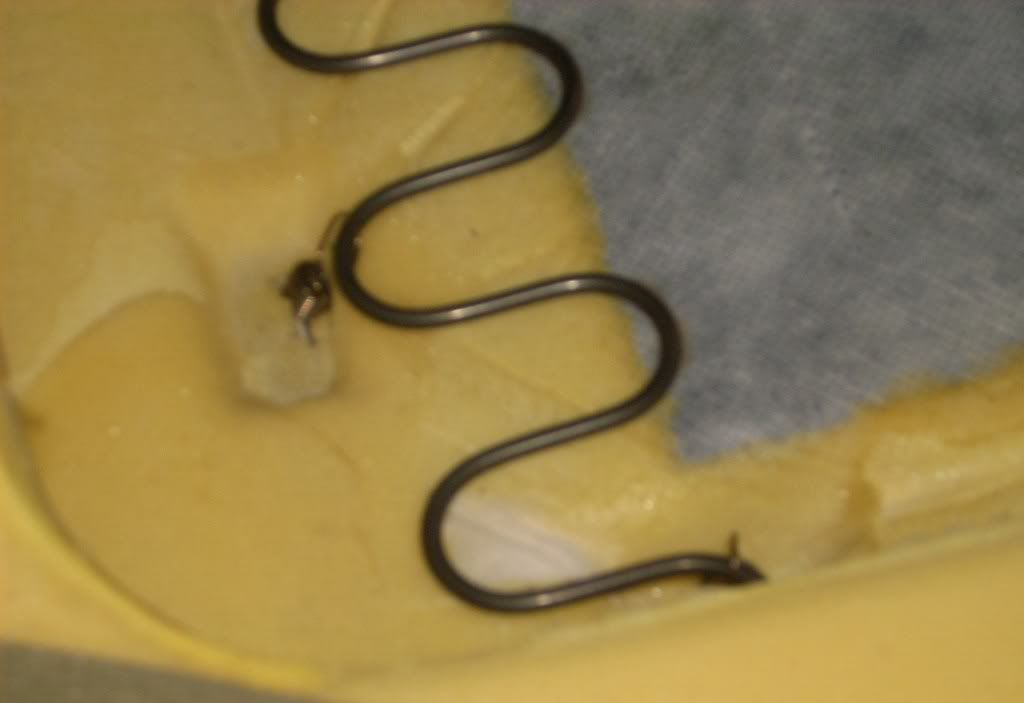
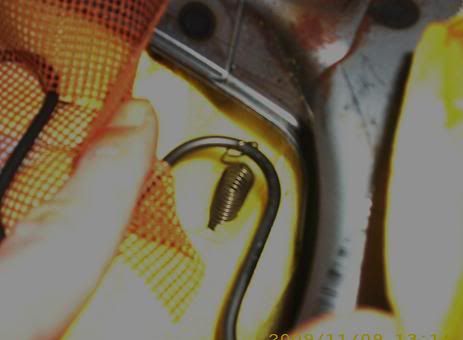
When stripping the seats you will have to undo several springs that go throught the foam and hook onto the springs in the back and bottom of the seat frame.
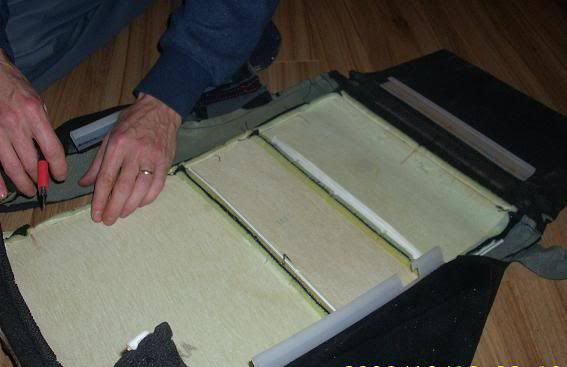
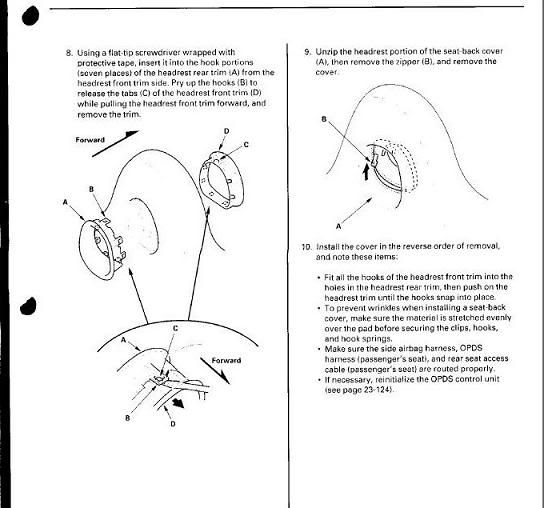
Start by unzipping the back of the front seat
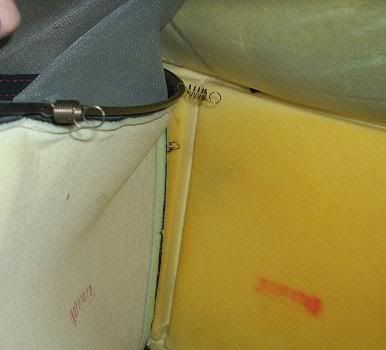
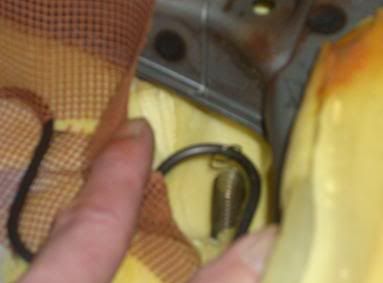
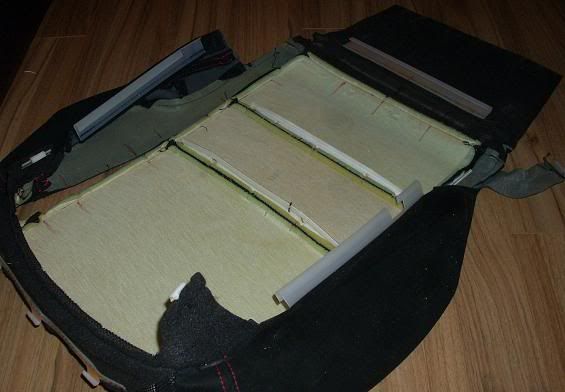
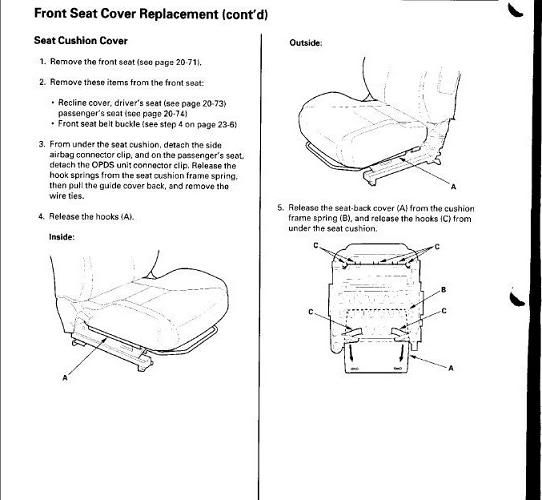
You can then see that you will need to remove the springs holding the skin on, be carefull removing these. You don't want to stretch them out or bend them up, you are going to reuse them
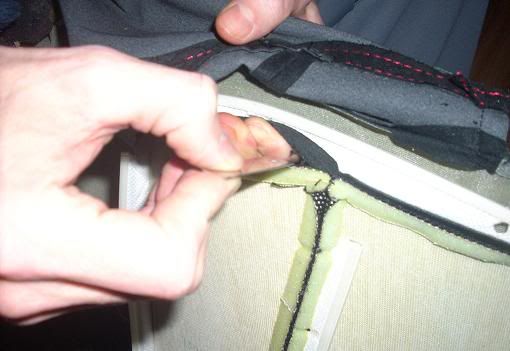
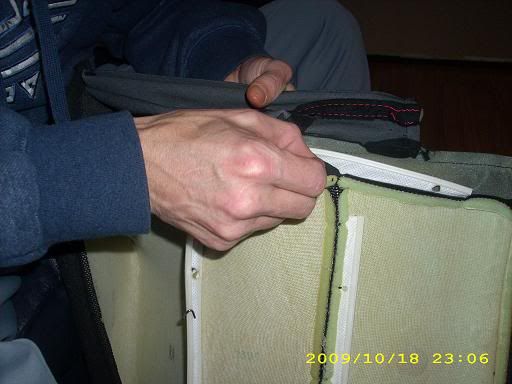
Once you have all the springs undone you will pull the seat skin up over the seat as far as you can until you get to the red plastic piece going through the head rest.
If you look at the pages from the manual you will see that there are 5 clips holding the front and back pieces of plastic together. If you look in from the back you will see that there are 3 clips holding it into the steel in the foam. Press in on these clips with a screw driver pushing the plastic towards the front of the seat. It will come loose but the 2 pieces will still be together. Now from the front of the seat you will be able to access the 5 clips holding the 2 pieces together. Lift the clips to release them and pull the 2 pieces apart. I couldn't take pics of this as it it very tight and dark in there.
Once you get the red plastic off you can pull the skin off the rest of the way, leaving the foam on the frame of the backrest.
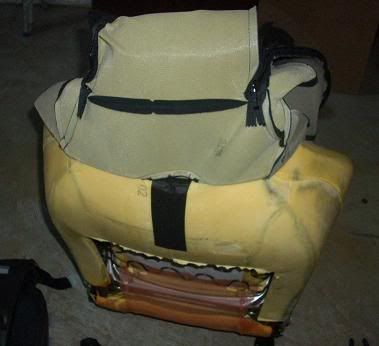
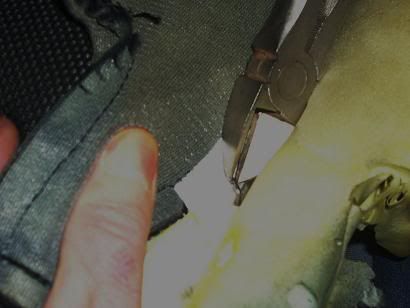
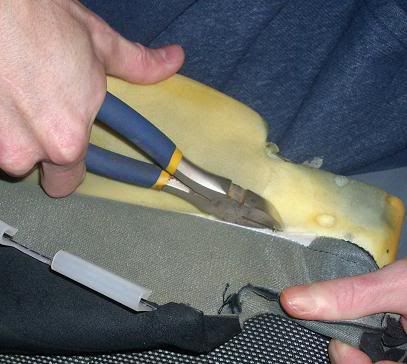
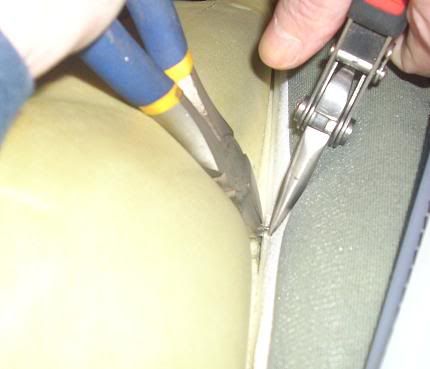
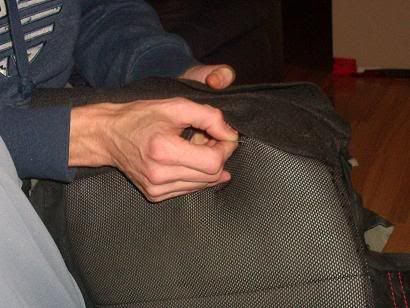
The bottom seat strips alot easier since you don't have the red plastic to deal with. But on the bottom there are several hog rings holding the material tight that you will have to cut out.
There are 4 hog rings on each side of the bolster and 4 in the middle at the seams of the material. You can see the dark spots where the hog rings are attatched to a steel rod running through the foam. Now you will have the seats and skins seperated looking something like this
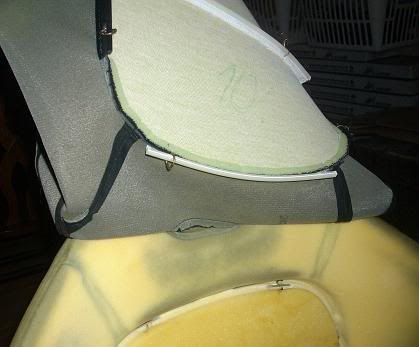
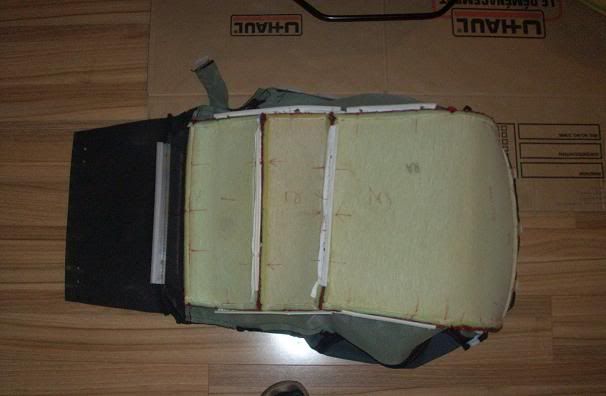
Now you will want to flip it over and make some marks so you will be able to line the pieces back up when your sewing them back together. There are little notches in the material to help line it up but its better to make more marks.
As well as numbering each piece so you know where they go, the pieces are very similar so not marking them they could get mixed up.
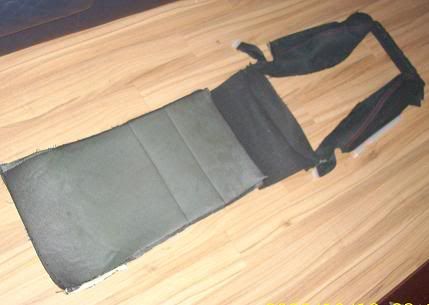
Now you need to start to cut the seats apart, I found the best way to do this was with a utility blade. Pull the 2 pieces if material apart at the seam so you can see the thread and start to cut it carefully you don't want to cut the part of the seat you are reusing.
Once you get it started you can step on one side and pull on the other side and slowly work your way around seperating the entire center insert in one piece.
At this point you will be saying WTF did I do to my seats? Don't worry it will all work out in the end
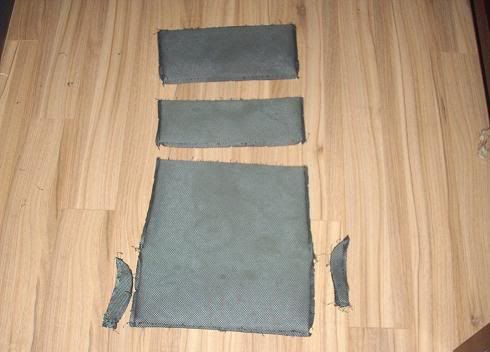
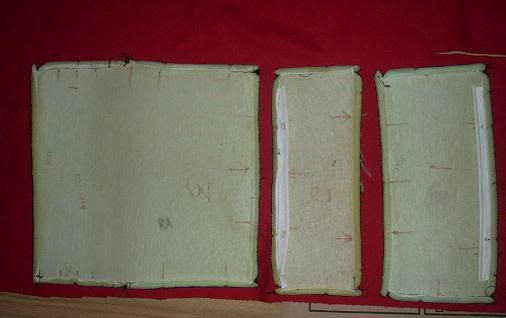
You will then end up with the center section cut out, now you can seperate the individual pieces of the insert
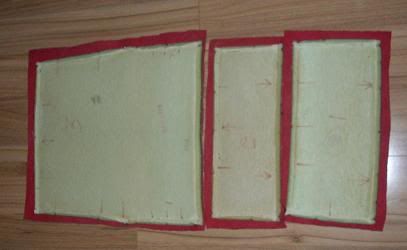
Now with the pieces all seperated lay them out on your material, you will notice in this pic that I didnt cut the threads holding the white plastic strip that the hog rings were attatched to.
Now spray the back of the material and the front of the old insert with 3M spray material adhesive let it dry for a few minutes allowing the glue to tack up then stick them all together leaving a little around the edges that you will trim once the glue dries.
Now you are ready to start sewing the pieces back together, first sewing the individual pieces of the insert together.
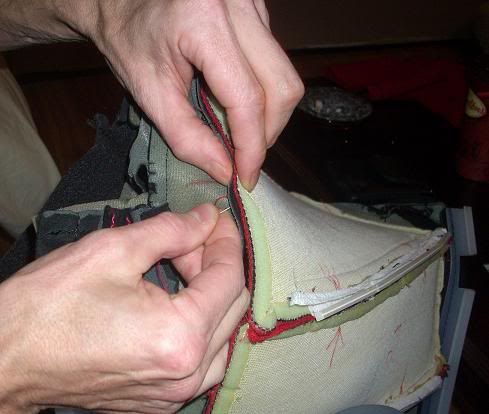
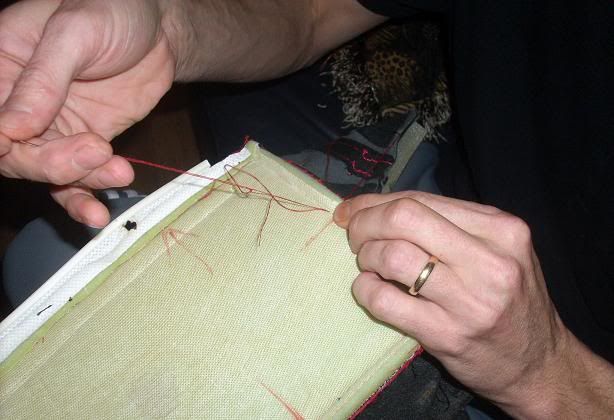
Once you have the insert sewn together you can start to sew it back together with the rest of the seat. First you will line up your marks you made and put a couple stitches throught each of your marks to make sure everything is aligned before you go to town sewing it all together.
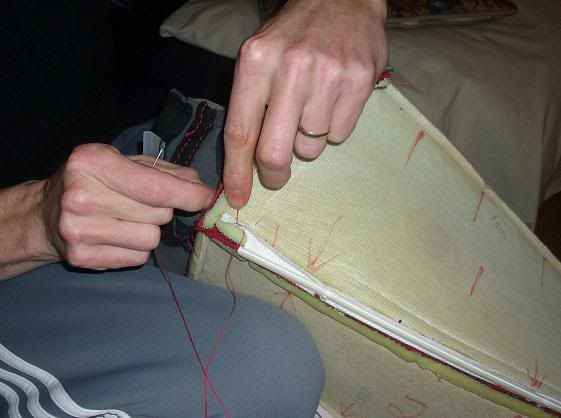
Now that all you marks are aligned you can just start to work your way around the seat sewing it back together. When you begin to stitch the seat you will notice that when you line the edges up you can actually go in and out of the old holes or atleast keep the stitches on the line left by the factory stitches you removed.
Ending up with the new seat skin all stitched up and ready to put back on
When reassembling the seat I didn't use hog rings I just used zip ties and havent had any problems with them letting go. Now that you are done you can stand back and realize that even though your fingers are raw from all the sewing it was worth it.
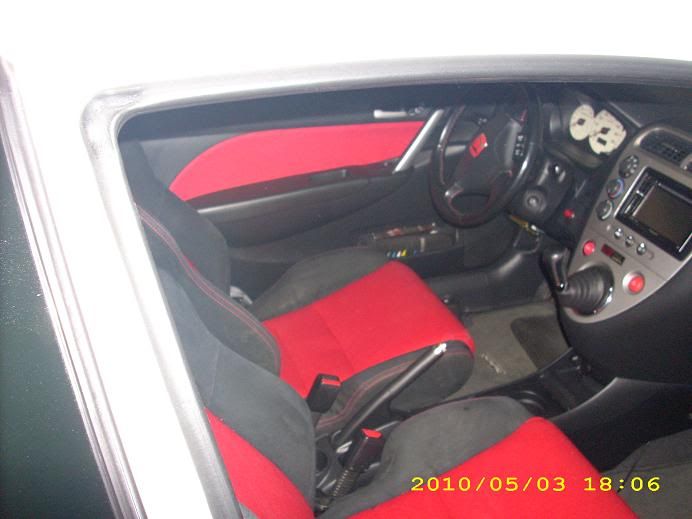
Finally the seats back in the car with matching door panel mod.
Last edited by japarossa; 03-11-2011 at 08:49 AM.
Here are the pages covering the seat cover removal

Absolutely fantastic DIY! I hope to see a lot of people using this...I recently redid some of the interior on my 240sx and was suprised by how easy it was...
One thing I would like to add to your DIY is in regards to your spray adhesive...3M makes different ones, the super 77 WILL NOT BE PERMANENT...it will start coming apart in a few months...I personally prefer a fabric adhesive designed to be flexible and permanent...
The trick with spray adhesive is to spray it on both surfaces being connected, and let it tack up for a minute before working with them...that way you can work it into place...if you want it to quick bind and hold, you want to put them together before they tack, that way they actually tack together...both techniques are application specific...
Again great DIY! Thanks for taking the time to document
my ep is white...
- We can talk numbers all you want, but the bullshit stops when the flag drops...

Ughhh so cool! I wish the black area on mine wasn't so beat up so I could do this
Thanks I didn't use super 77, I used a differnt number maybe super 79 made for fabric. I used it on my headliner to and its still there 2 years later. I will check on the 3M adhesive number and post it up.
As for the black part being beat up, I renewed the side bolster on my drivers seat by putting a line of tape covering the edge of the skin where the stiching is then spray it with tana suede renew (made for suede boots and shoes) then once its dry remove the tape and brush the seat with a seude brush. You will be surprised how it can bring an old seat back from the dead. I should add I did this before I stitched in the new insert so the black suede renew didn't bleed into it.
Last edited by japarossa; 03-10-2011 at 10:30 AM.
Awesome man! Ya because if you just say 3m, most people will just grab super77 since that's most commonOriginally Posted by japarossa

my ep is white...
- We can talk numbers all you want, but the bullshit stops when the flag drops...

vote for stickey...such a good DIY. Gonna be changing mine up in the summer.

great DIY. I need this bad, my driver's seat is wrecked.
Here is a link to some fabric that is perfect for these seats, I picked up a few yards myself in case I decide to cut them apart again and do them over.
http://www.ephatch.com/forum//showth...o+door+inserts

Good stuff...
.
.
STICKY THIS SHYT!

Yo this DIY is awesome. We need to have a sticky of great DIYs and stick this in there.

BOMB DIY, and Vikter is a cool dude to get these fabrics from....
How are they holding up? Do you wear jeans a lot?

FOR THIS AMAZING DIY! Sticky this and VOTE 5 Stars Excellent from me! ;) Very nice as well as I love how you post! Have Patience ;) Main thing when you do anything is that. Thanks again man can't wait till you have another DIY for us!

Very nice man! If i still had my ep3 seats i would deff be rocking this! Do you have a diy ln the door panel inserts? Id like to do those!

perfect to me.. thank u friend ..
There are currently 1 users browsing this thread. (0 members and 1 guests)
 Posting Permissions


 "
"
Bookmarks