


Here's my repost to my old How To I made for the BCSS. It should take you about 30 minutes to do and it's kinda easy when you know what you're doing. I learned it the hard way and done it in 1h30 when I did mine (and took picture for the How To)
REPOST:
Here is the long awaited Buddyclub Shortshifter DIY. This is an EPHATCH.com exclusivity and I hope everyone will enjoy it!*:D
First of all, this is my first post ever on EPHATCH, I didnt wanted to introduce myself before doing this DIY and because I dont have clean picture of my car*too :P I from Quebec, Canada and I speak French as my «*original*» language, so I apologize if something I can be difficult to understand.
This installation took me aprox. 1h30 but didnt have nothing to help me like a DIY like this one*:D By following all my advise you should do it in less than 45 minutes.
For those who cussed alot with the shift cables, there is a «*trick*» I found about turning the shift cable easier. See step 7 of this DIY for the info.
Ok lets start it.
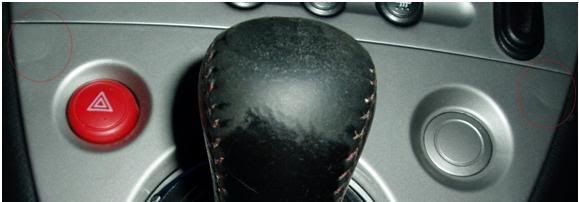
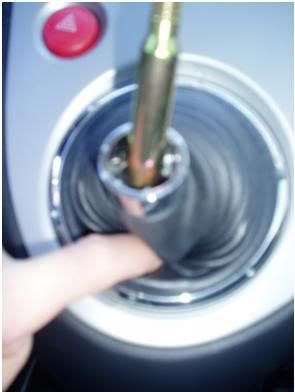
Step 1* You need to remove the Shifter panel, to do so, put your finger inside the shift boot and pull the bottom out. BE VERY CAREFUL WHEN PULLING IT OUT!!!! I cant say it enough , BE CAREFUL! If you put to much pressure the wrong way youll fold the plastic panel. See by yourself, you dont want this to hapen to you!
This is where you put your fingers to pull out the panel*:
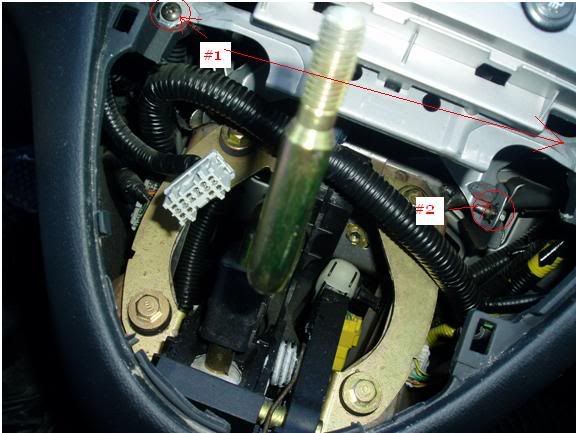
Step 2* This his what you see after the panel has been taken out*:
Step 3*- You will need to remove the screws in #1 (there is 2) and take off the metal bracket that is holding the Headunit panel. After unscrewing the screw, pull the plastic panel up so you can move the metal bracket out of it.
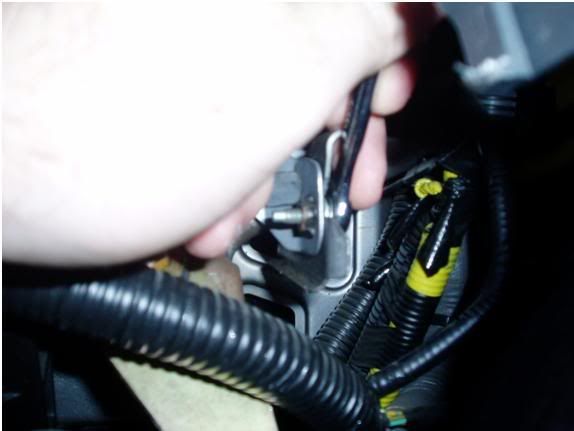
Step 4 Now untight the bolt in #2, this can be a little hard since you dont have much room to unscrew them. DO NOT REMOVE THEM as they only hold in place the bracket and you can pull it out with the screws still in it.
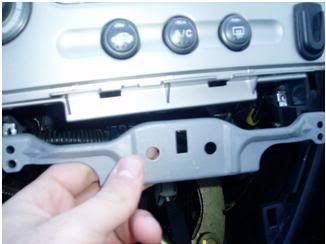
Step 5 After the 2 screws are untighted, youll be able to remove the AC/Headunit panel by pulling it out, these screws are the only one holding it. Again BE CAREFUL while removing it, you dont want to scratch your interior with the metal bracket you have loosen in step 4
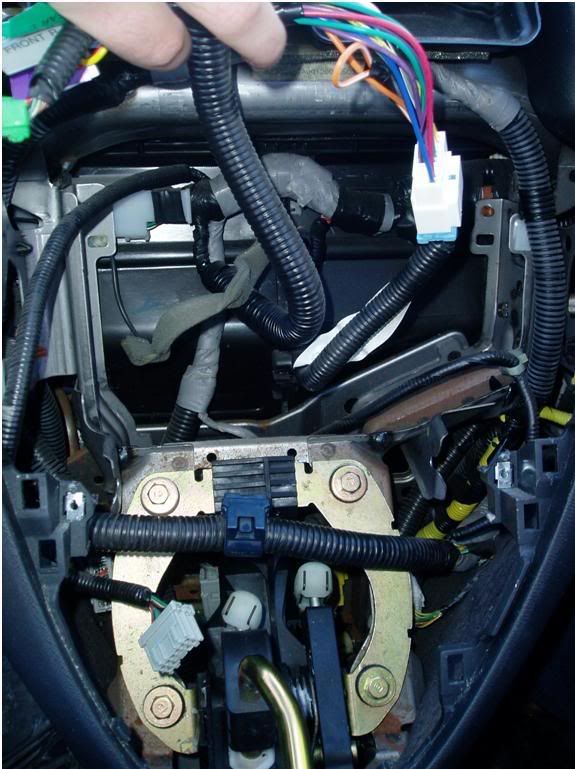
This is the hole youll work inside for replacing your shifter*:
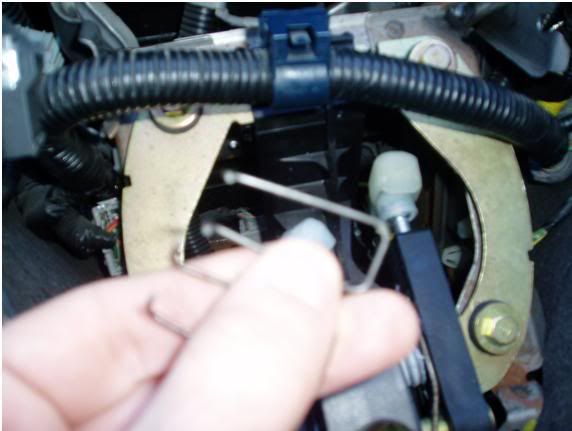
6 Unclip the shifter cable by removing the little metal clip. You can hold the sides and push it down. BE CAREFUL to not drop those little thing because Im not sure youll be able to find them in this hole.
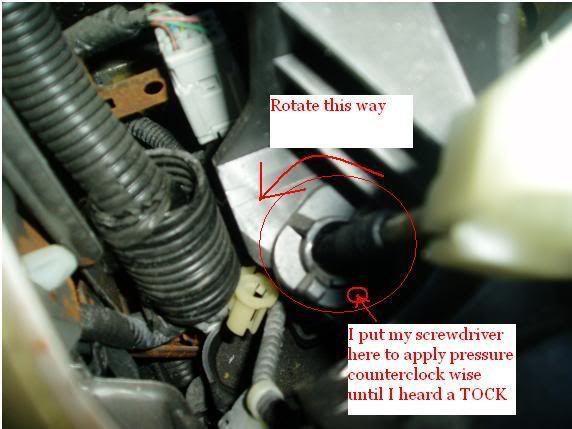
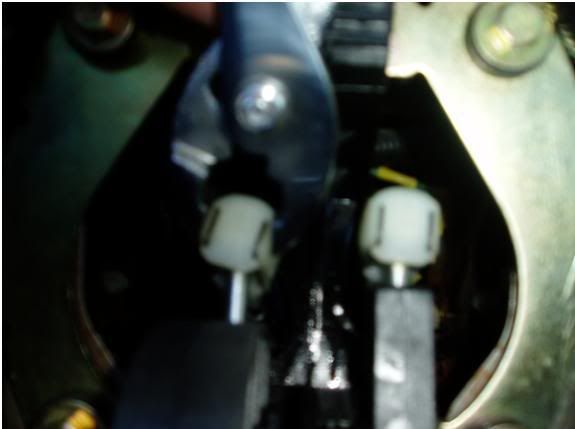
7 Now here is the tricky part I was talking about in the beginning of this tutorial. This is the part I was cussin for about 45 minutes. This is a real PITA if you dont know what youre doing! First, youll need a big long screwdriver, I use a «*Star*» type because a Flathead wasnt holding in place when I applyed the pressure. Use the shifter base as a lever (its strong enough to support all the force you could put, thrust me*:D) and force the little bracket to rotate COUNTERCLOCK. When you put enough pressure you will feel and hear a «*TOCK*» and youll see the shift cable bracket loosen. This is the trick, force counterclock wise until you «*Unlock*» the cable. Then continue to turn counterclock wise until it come out by itself. Do the same for each sides.
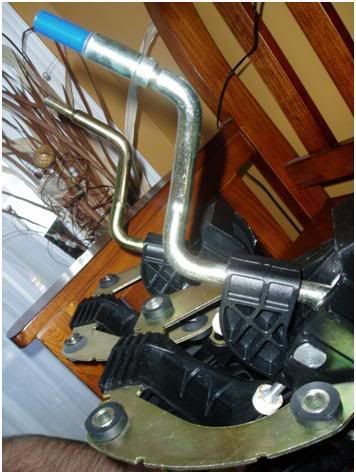
8 Ok after all that cussin, you took out the shifter cables. Now you can unscrew the bolts of the shifter base, these are the 4 «*golden*» bolts holding the shifter. There are only 4 bolts holding it and nothing will fall down if you remove them. You can now remove the shifter base and put the new one in place. Screw the 4 bolts back on the new shifter and then redo all the steps in reverse order and youll be done! (See step 9 and 10 for some hints)
Here are both shifter side to side. The one with the blue thing on top is the Buddyclub ShoftShifter.
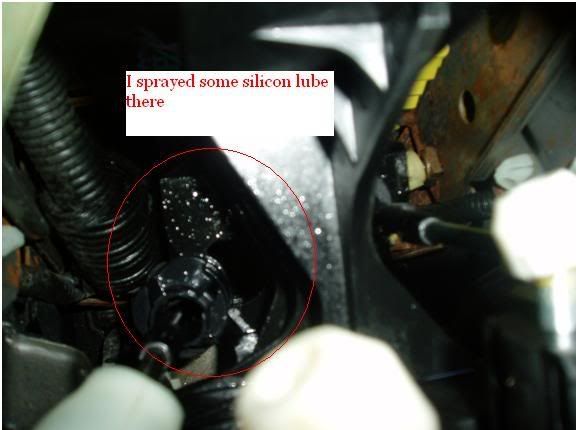
9 I thought that greasing the base of the shifter would help put the cable back in. I didnt try before greasing so I cannot tell if this is necessary. To put the shiftercable back in do the same thing as in step 7 but apply the force CLOCKWISE not counterclock, and the cable should take is place by itself. Maybe some cussin evolved in this process too.
10 To put the shifter cable clip back on I used some grip because they were not cliped inside properly.
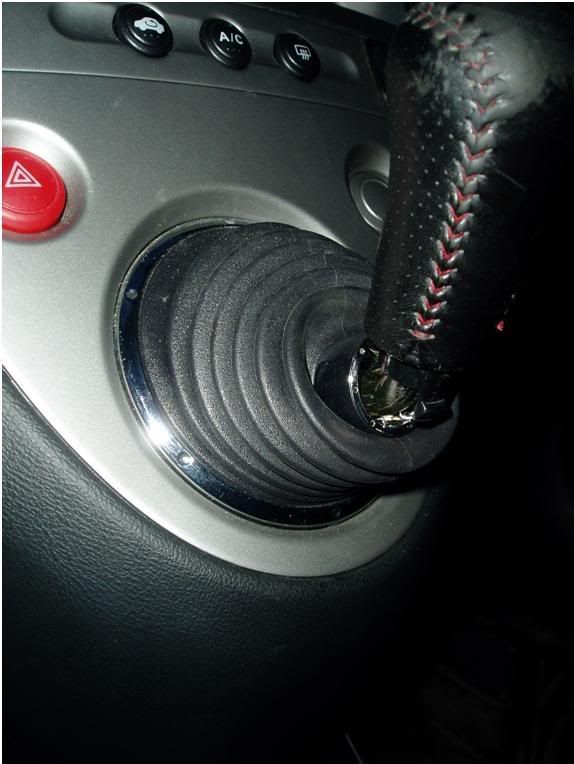
11 Here the final result, AWEFUL look with stock shifter, gotta change the shift knob soon*:D
UPDATE (2011):
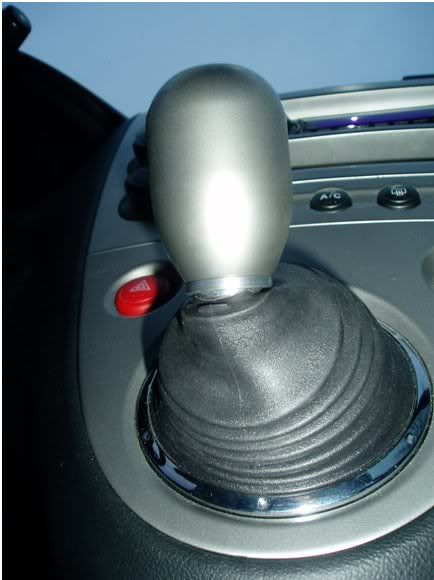
Here's my TWM Type R shiftknob with there shift boot adapter:
Wayyyyy better now hehe
Have fun guys

 Reply With Quote


Bookmarks