


 Reply With Quote
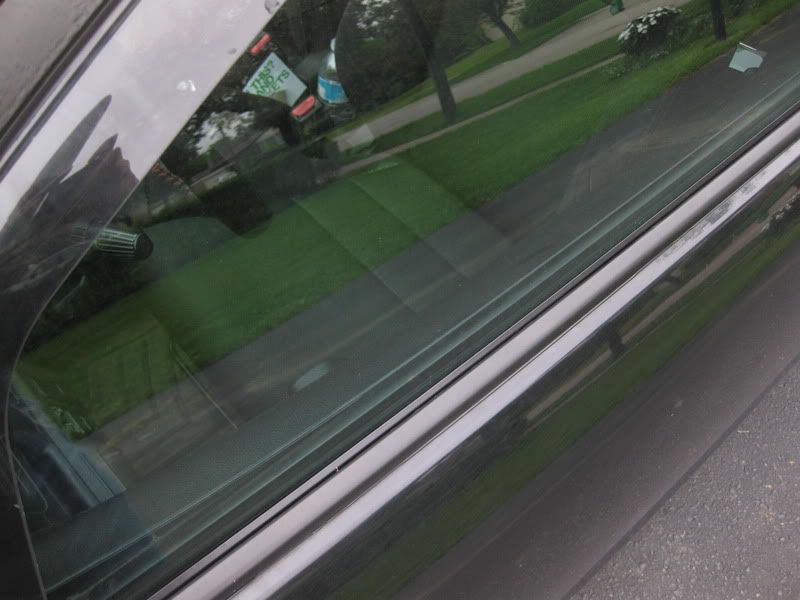
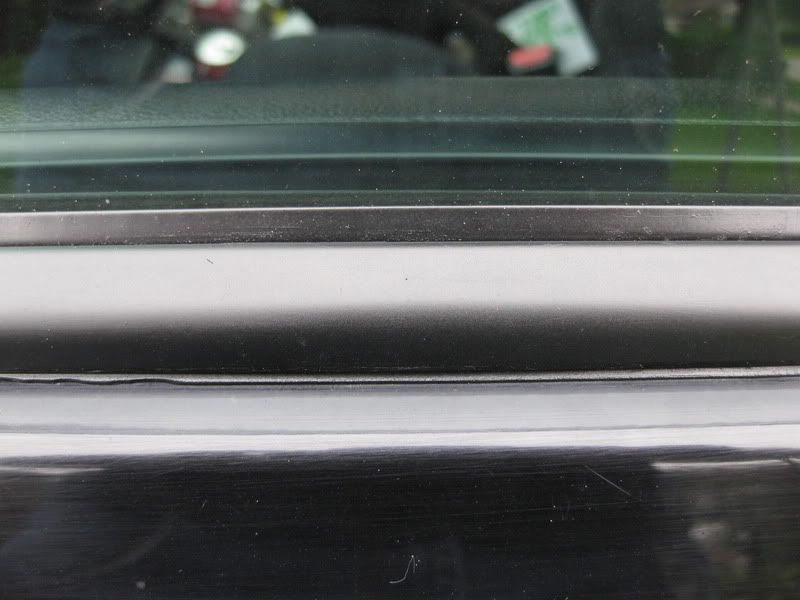
I just re-finished mine last week. What I did was take them off the car, took a razor blade/knife, widdled it all off and ripped all the rubberized trim off, then sanded it with 40 gritt to clean all the crap off it, then hit it with 800 gritt to get rid of the burrs from the 40 gritt. Hit it with some spraypaint, looks great now. Theres a how-to on CRSX that pretty much shows pictures of what I did/that i followed.
Or go drop $60 at the dealer for new ones.


 Thanks

 "
"


Bookmarks