

 Reply With Quote
Good idea


Keeping it oiled over winter.
http://vid1092.photobucket.com/album...pssfdqg2l3.mp4

Good idea
Upgraded from the ancient old and busted V1 to the new hotness of V4! Now maybe score a mini ipad for in dash bluetooth datalogging.
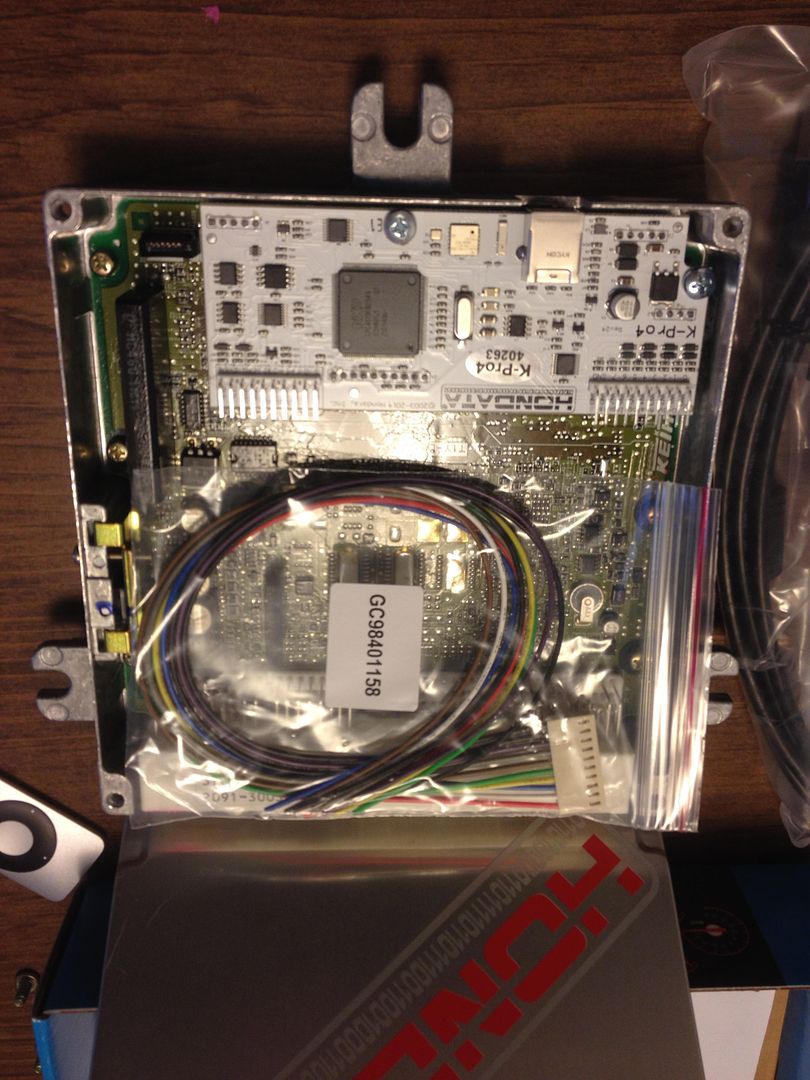

did you get rid of the V1 or did you have it upgraded? Nice build man.
Just sent it out for the upgrade. Thanks a lot!Originally Posted by Her-Name's-Ally

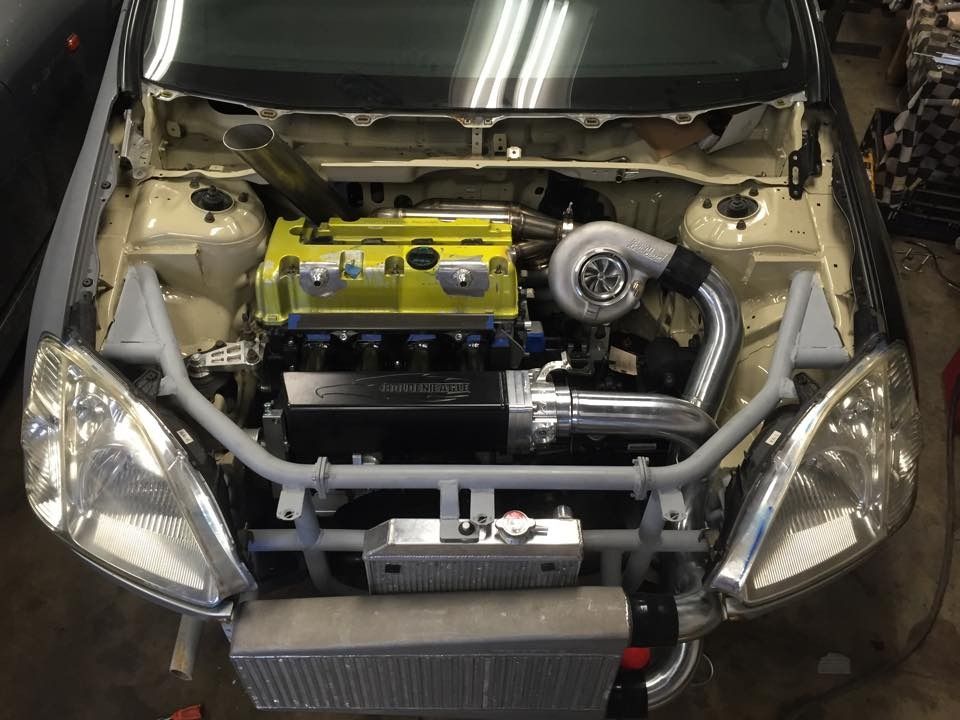
Been a while since the last update. Along with gathering more parts, I had the last bits of the fab work finished up under the hood.
Hood exit exhaust off turbo. Wastegate dumps directly into exhaust. Cut a large section of the cowl out to manage a fitment in the tight spaces of the Ep3 chassis.
Had the factory breather welded shut and -10an fitting welded on the valve cover. Also had the original radiator fitting cut and welded and had a -16an fitting welded on.
Finally, had 3in intercooler piping routed and fit in place. Pics show the full route and how it managed to fit.
In love
I just came
Much more to come over the next few months. Time get cranking on this thing

sweet baby jesus
Last edited by 27rocks; 05-27-2009 at 09:57 AM.
Green Crew #7
Please donate and support EPHatch.com: Greenie Status, License Plate Frames, Banner & Small 'ephatch.com' Decals
Was your WTS/WTT/WTB closed? Please read the following: link 1 & link 2

The core support. Jesus H Fawk. Diggin it...
You can have one too. All you need to do. Take full coverage off the car. Have your beater break down so you have to drive your car without insurance for 2 days. During those 2 days. Slam into a deer. Then decide. $2000+ for a body shop to bring it back to OE spec? Or just over half that for full chromoly replacement!
Last edited by simcivic08; 05-28-2009 at 11:26 AM.
Alright, couple few updates on what I have been up to. In the midst of buying a new house, I did manage to get some new things done.
First though, you never get to see what the back side looks like, so I bolted it all up for a quick pic.
Against my first option, I changed my coolant hoses to be fit with braided hose. Had new fittings welded and pushed on and test fit the hose ends. Tight fit qith -16an ends.
Also swapped all the vac/boost ends with some push to lock fittings to eliminate the use of rubber hoses.
Next big project was building a full new engine harness. This was done with mil-spec wiring, new terminals and insulators. This one took some serious time and planning. And a great attention to detail.
First step I took was stripping all the factory loom. Then the nasty C104 junction connector. Pretty simple. All like colors get grouped together. There's ground, logic ground, ecu power, and alt power. All of them typically have a wire to the ecu, the sensors, then their respective destination which are the four listed above.
The next big step I took was taking all the color coded mil-spec wiring and measuring out the route I chose to take in order to tuck the harness. Lay it all out one at a time, pin the wire to the ECU terminal and tape it at the sensor, cut, repeat on the next wire, then repeat 1000 more times. After that, you'll end up with something that looks like this with the new wires...
And something that looks like this with all the old wires.
After all wires are cut to length AND LABLED!! Time to run the heat shrink. Do the individual sensors first. Always twist your wires, this allows for, yes, less interference, which, ok it helps, but the major wires that need shielded, will be shielded with grounded wiring. I twist because it is a cleaner fit and far more flexible. After you heat shrink all sensors, it's time or the full harness. Do your best to twist the harness wires as well while you are making the harness.Tip; you will find out quick that all the heat shrink now has to make it over the full harness. Spray the harness with windex, Heat shrink will slip right over it and windex will dry with no film.
Now what I did with the branches that lead off to all the sensors. I took some heat/oil resistant cloth electrical tape and taped over the gaps. You can see it below. Along with the result of the full harness finished.
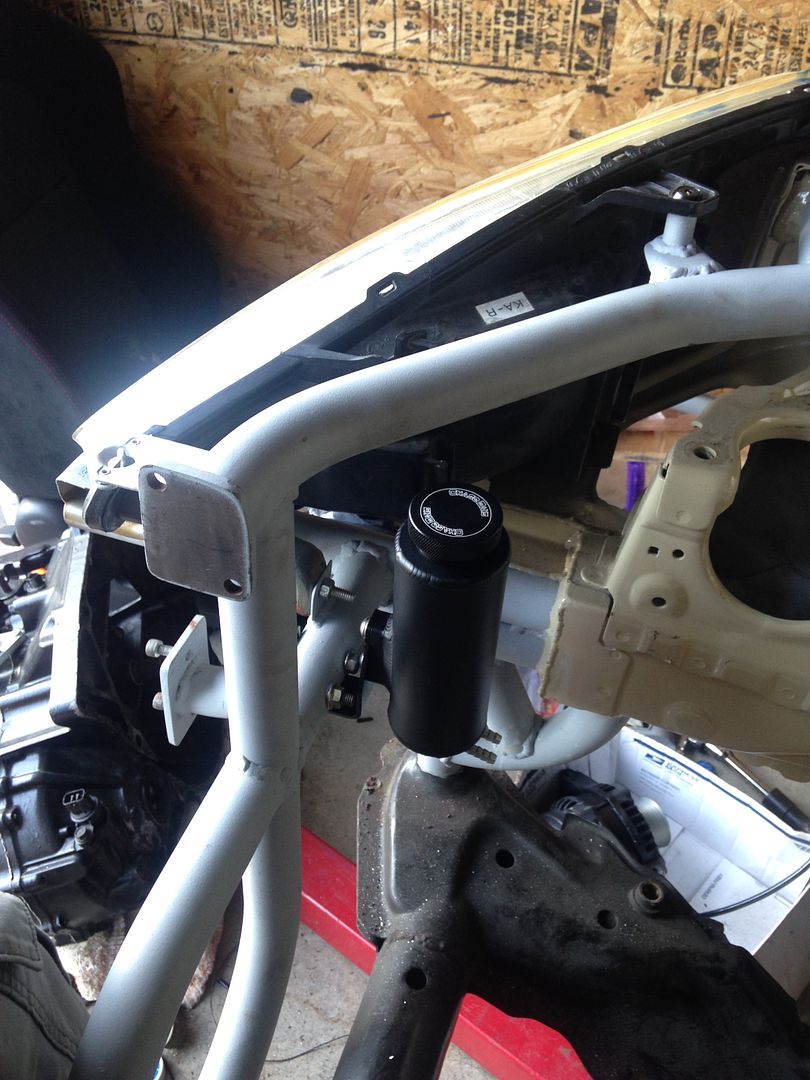
Last I managed to get to was the new Chase Bays coolant reservoir. I chose bracket option 1 and hooked it around the tube frame. Nice, clean, and out of the way.
top notch update
patiently waiting still.......
Most likely won't be too much happening the rest of the month and into September. I have to get her all packed up, bolted together and ready to move to the new house. In the mean time, I do have some welding to get done, so I can always update on those few items.
There are currently 1 users browsing this thread. (0 members and 1 guests)
 Posting Permissions


Bookmarks