

 Reply With Quote
Did you use spray cans? Car is looking nice man!


Love your little ek!

Did you use spray cans? Car is looking nice man!

Thanks Hasbro. I love this little thing too. Even with the single cam motor the car feels very nimble. With a B series swap this thing would be some crazy fun. That won't be til long from now though.Originally Posted by Hasbro

I did ! Took my time over the course of 4 days to let the base coat dry then wet sand then shot the parts with clear then wet sand and ended with 3M rubbing compound. The grille, skirts came out really good. The front lip however I need to do more work on. It simply has too many rock chips. Thanks bud !
Nice so it was a clear with hardener? Im thinking of doing little peices on my ep3 but dont want to take to a shop and pay an arm and a leg.
I didn't use hardener. I feel you on the prices. Paint and body work is very expensive. I did the same process on my replica Type R wing on the Ep3 a number of years back. It came out pretty damn good. The shine lasted until I sold the wing. But long term I would definitely go all out. I am really getting into detailing/painting and such. I am looking into getting my own equipment. I knew a guy that basically flipped cars. Bought them cheap, did necessary mechanical work and he knew body work/painting as well. I am looking into something like that maybe not sure yet. I for sure want to know how to paint though.
Hello all. Hope everyone is swell. I have some updates with my projects, well the Ek (Ej6) primarily. I am uploading a great deal of pictures and have plenty to write and detail. Hopefully I can start some kind of discourse with members and possibly encourage them to be motivated and continue visiting the site. I will only say this for now; I did indeed learn how to paint cars with a proper spray setup. I painted the daily and it came out pretty decent for a first time. I will detail costs/my personal procedure as much as I can.
I am taking the time to upload the appropriate pictures so bare with me as this may take a day or two.
Once again, hope all the Ephatchers are doing well, old and new.
Alright here I go attempting to update the aforementioned daily hatchback.... There were many more photos but I shortened it down so as to eliminate any redundancy.
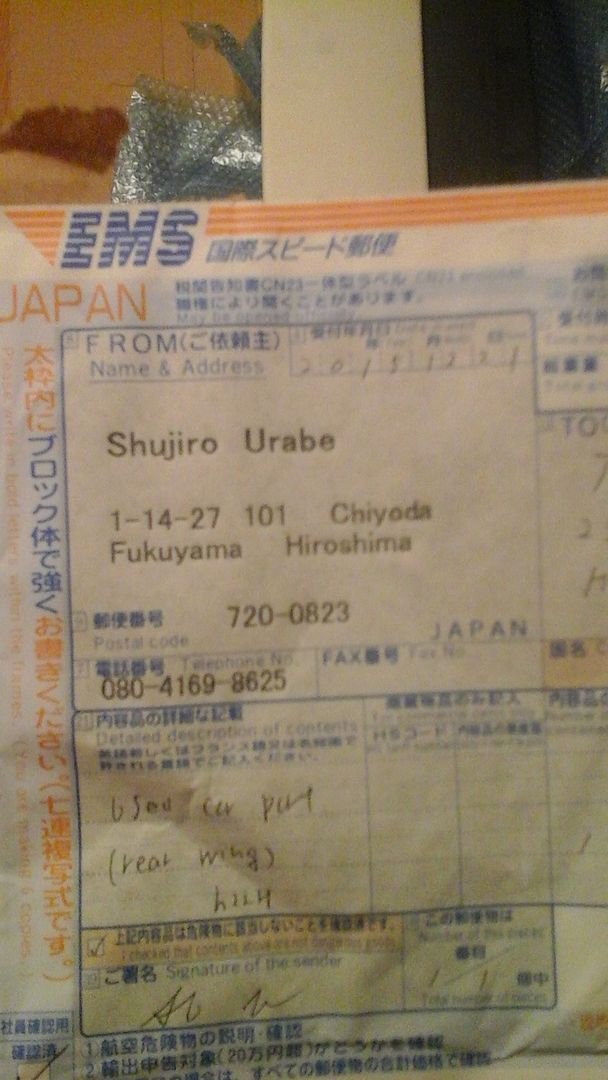
Back in early February I ordered an OEM Type R rear wing. The original color was championship white so I rattle canned it black so it could semi-match the car. I prepped, sprayed black base, clear, then wet sanded and buffed.
Here's a pic of where it came from. I like keeping things like this. Knowing how far it traveled I find cool, call me a dork I dunno.
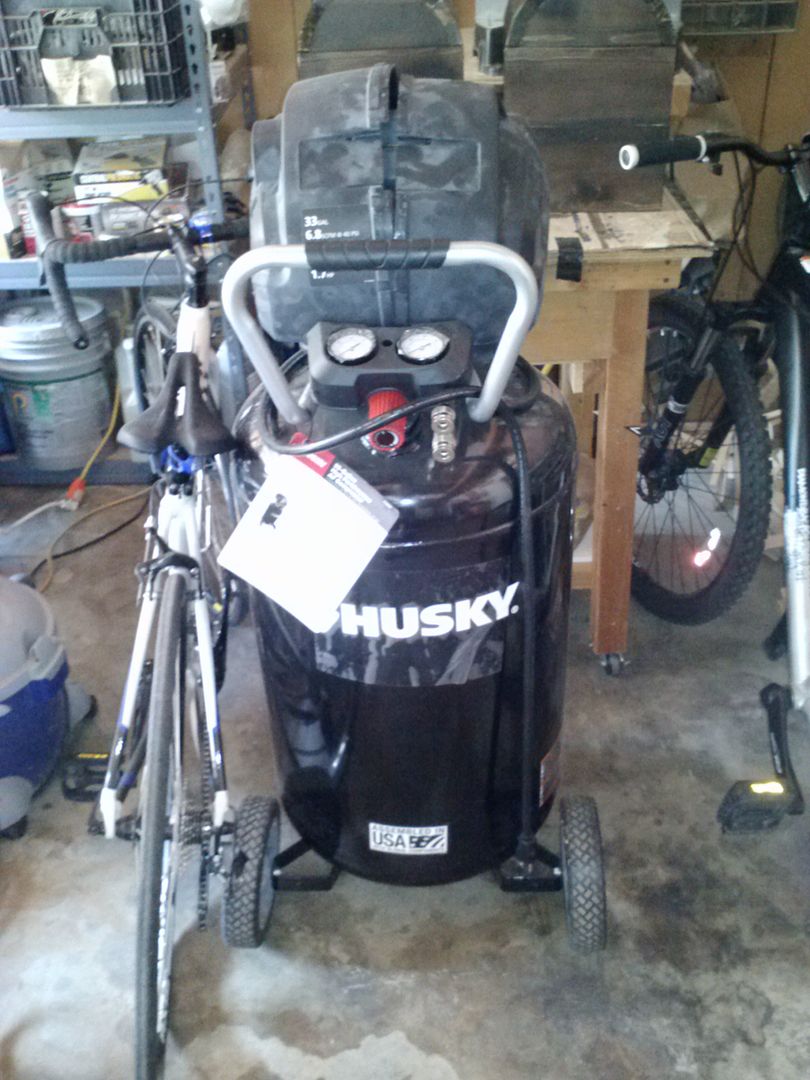
I purchased this beauty in early May as I knew I wanted to eventually paint the car and it never hurts to have some new tools : ) I got a great reduced price as the shroud covering the motor is all out of shape. I can easlily take it off and adjust/fix it so I went ahead and took advantage of the price !
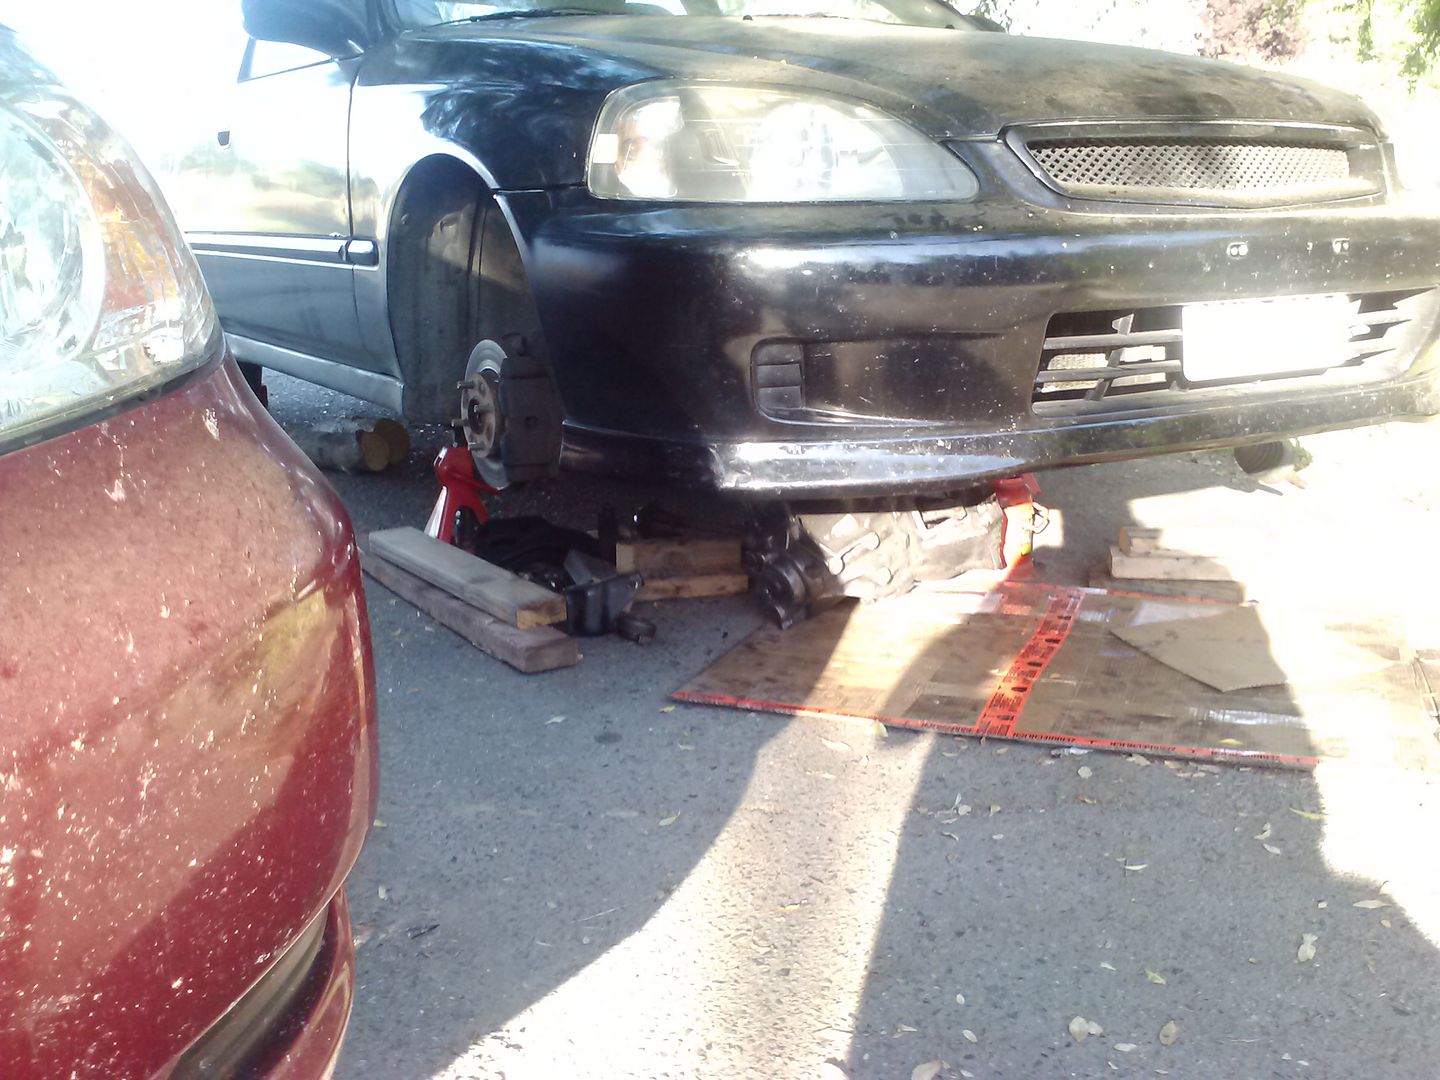
I then tackled changing the clutch and flywheel out. Since I received the car, I put over 100k miles on it and failed to ask the owner if he had changed out the clutch. It felt good but since this was my daily car I wanted to be on the safe side. The whole process wasn't too bad plus I saved a considerable amount of money doing it myself plus I learned something new and that's what matters most to me. Here is when I dropped the tranny.
The process was painless except when getting the damn tranny back on. It was perfectly aligned with the centering tool but I could not get the damned thing lined up perfectly with the splines on the flywheel for it to "pop" in. I got it eventually though and was a happy camper. I also purchased a new impact gun because I first tried to remove the axle nuts by hand/with a breaker bar.... Yeah that didn't work. I was amazed at how easily the damn thing removed that axle nut when I was struggling for a good 3 hours with PB Blaster/4 foot pipe and lots of foul language.
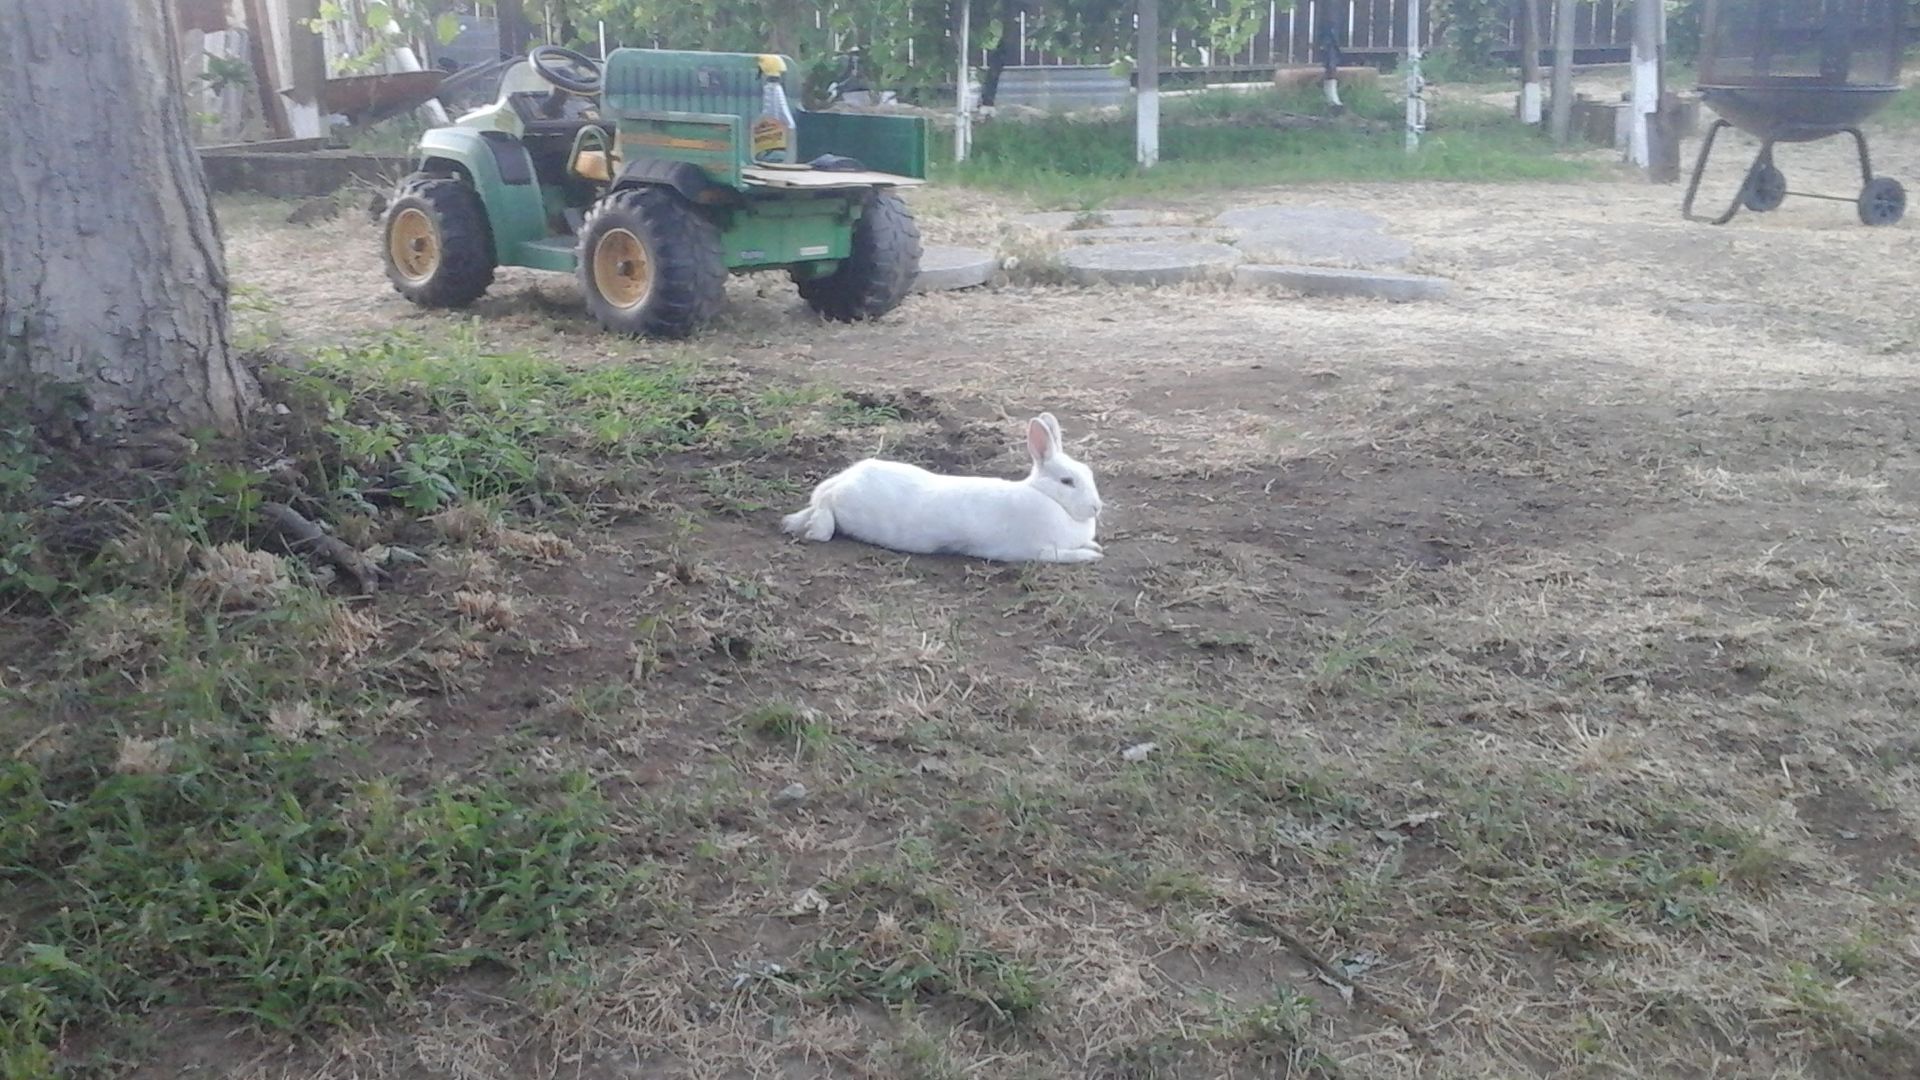
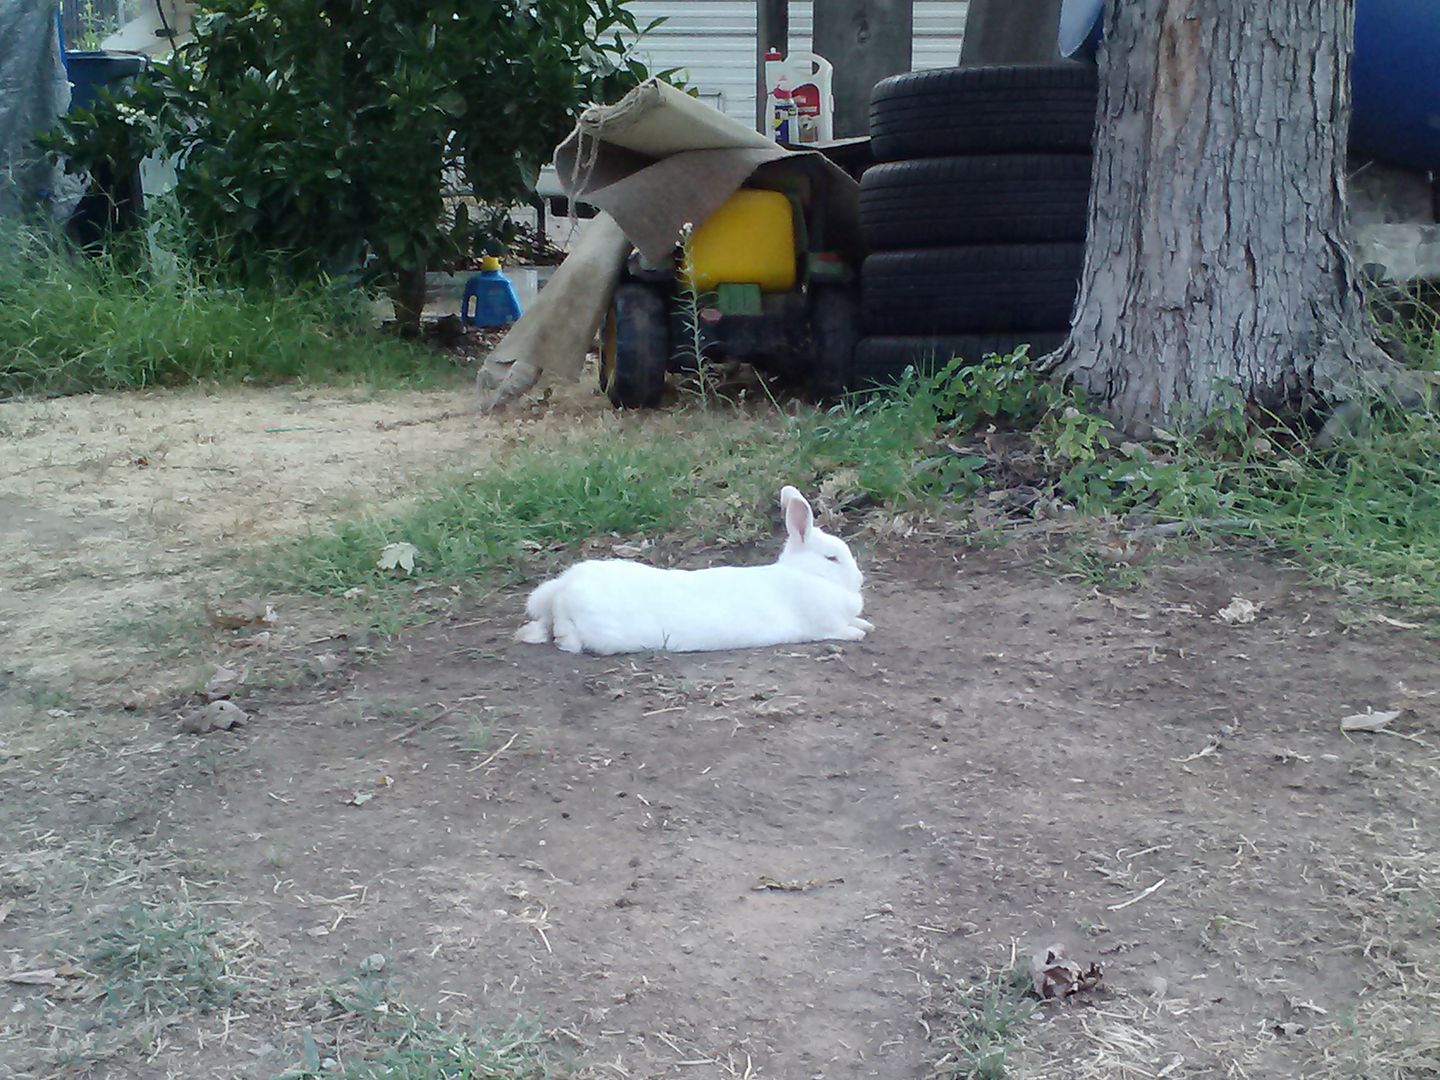
Let me introduce you all to my helper during the summer....... Chubs, the backyard bunny. Here she is taking a break in the shade after doing some serious wrenching....
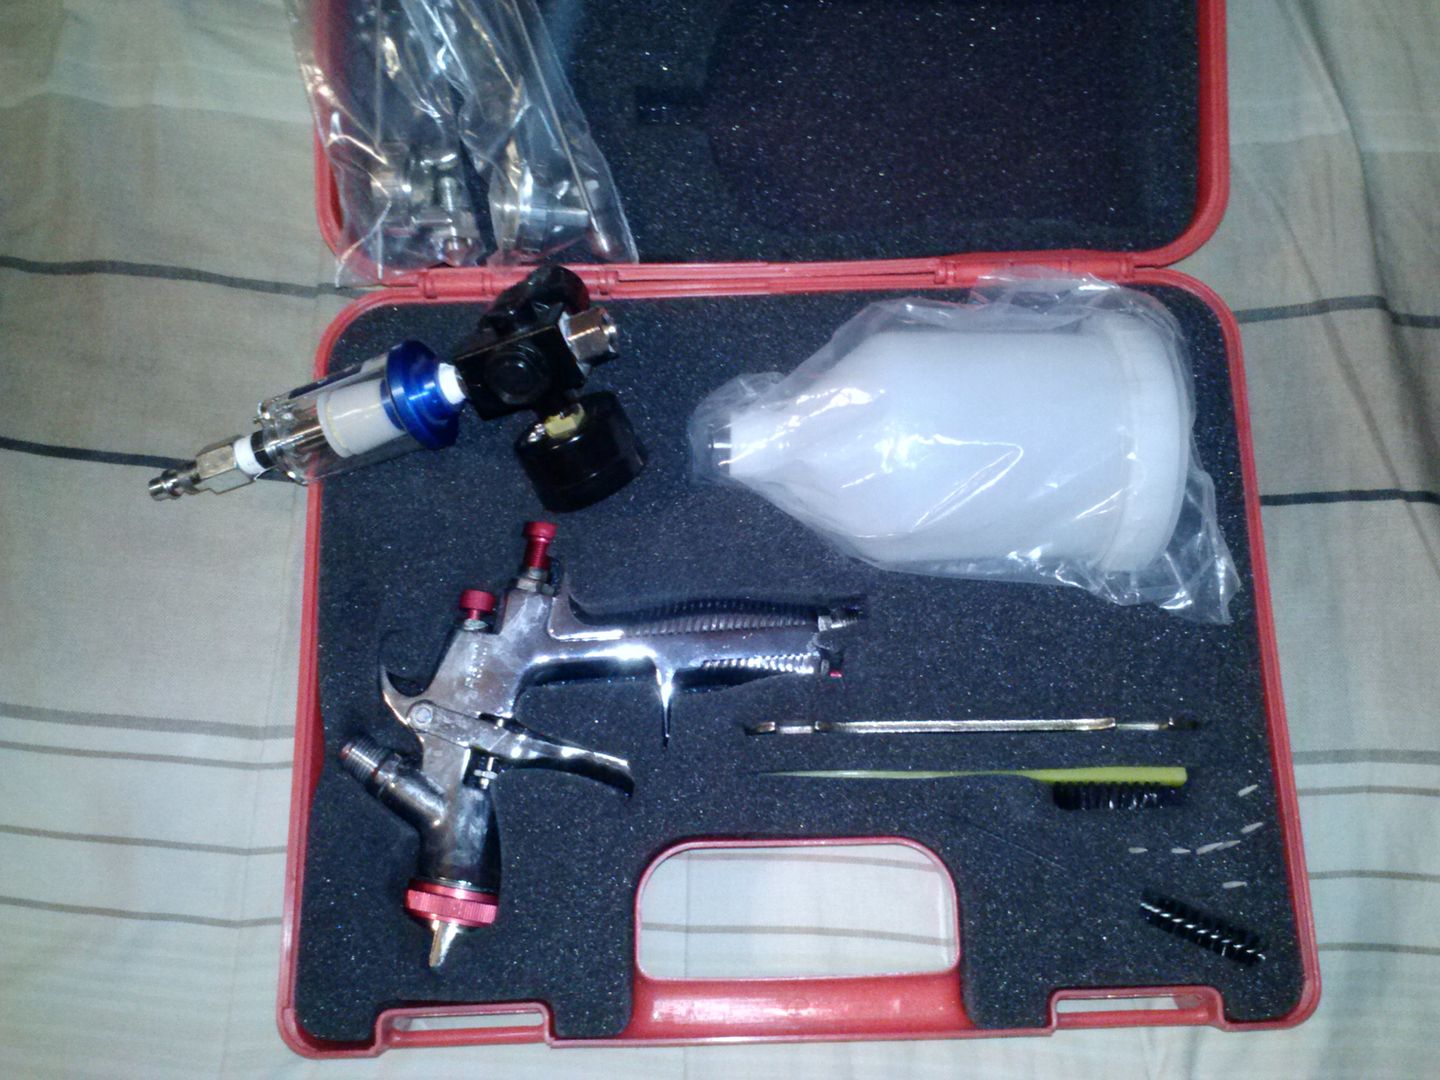
As mentioned, the desire to learn how to paint cars was itching away at me for quite some time. For a year I actively began to purchase DIY books off Amazon and I watched countless videos from YouTube on the process. All I can say is that I have the utmost respect for the trade and it truly is an art. I opened a whole new world of things to learn and I haven't even scratched the surface. Here is the spray setup I purchased. It is an "LVLP" setup. Similar to HVLP but is supposed to be easier on your compressor but after using it I am not so sure I would concur.... My 33 gallon compressor was kicking on quite a bit. MINIMUM for painting a car as far as compressors go is 30 gallon. But many would argue that CFM output is a more important number. Either way I would have loved to purchase a 60 gallon compressor but I simply did not have the space for such a large tool in my garage.
For those of you that are wondering if you should do it yourself, I say you should. If you have patience, the space to do it you really can beat learning something new and having the satisfaction of telling people "yeah, I did that".
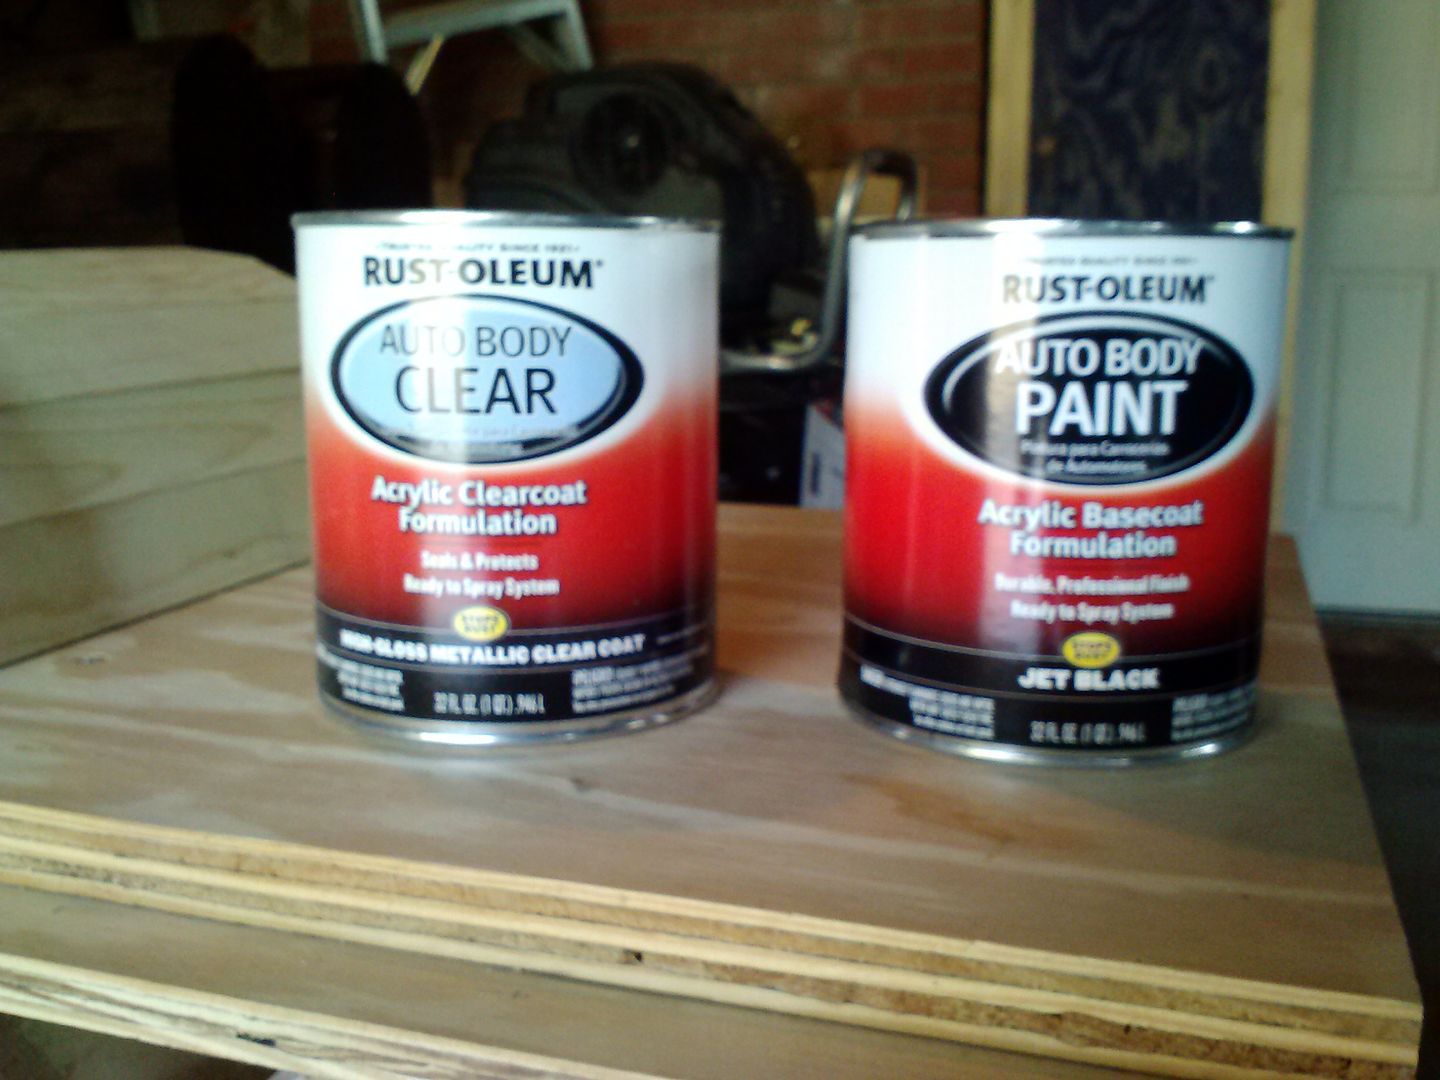
I purchased OEM JDM thin side mouldings for the car but I didn't think it was necessary to post a pic of that. I then purchased an air sander and tons of prepping material to go ahead and move forward with my DIY paint job. Here is the product that I used:
My cost of paint, without materials ? A whopping $140. Yes I could have gone to MAACO for $299 but you never know what you're going to get. Plus that is a single stage paint without clear. Granted, there are excellent paint jobs out there that are single stage etc. I just wanted to be on the safe side. I almost didn't really need a whole paint job but every time I washed the car with the pressure nozzle, large flakes of clear coat would fly off and expose the base coat on sections of the car. That bugged me. Tremendously.
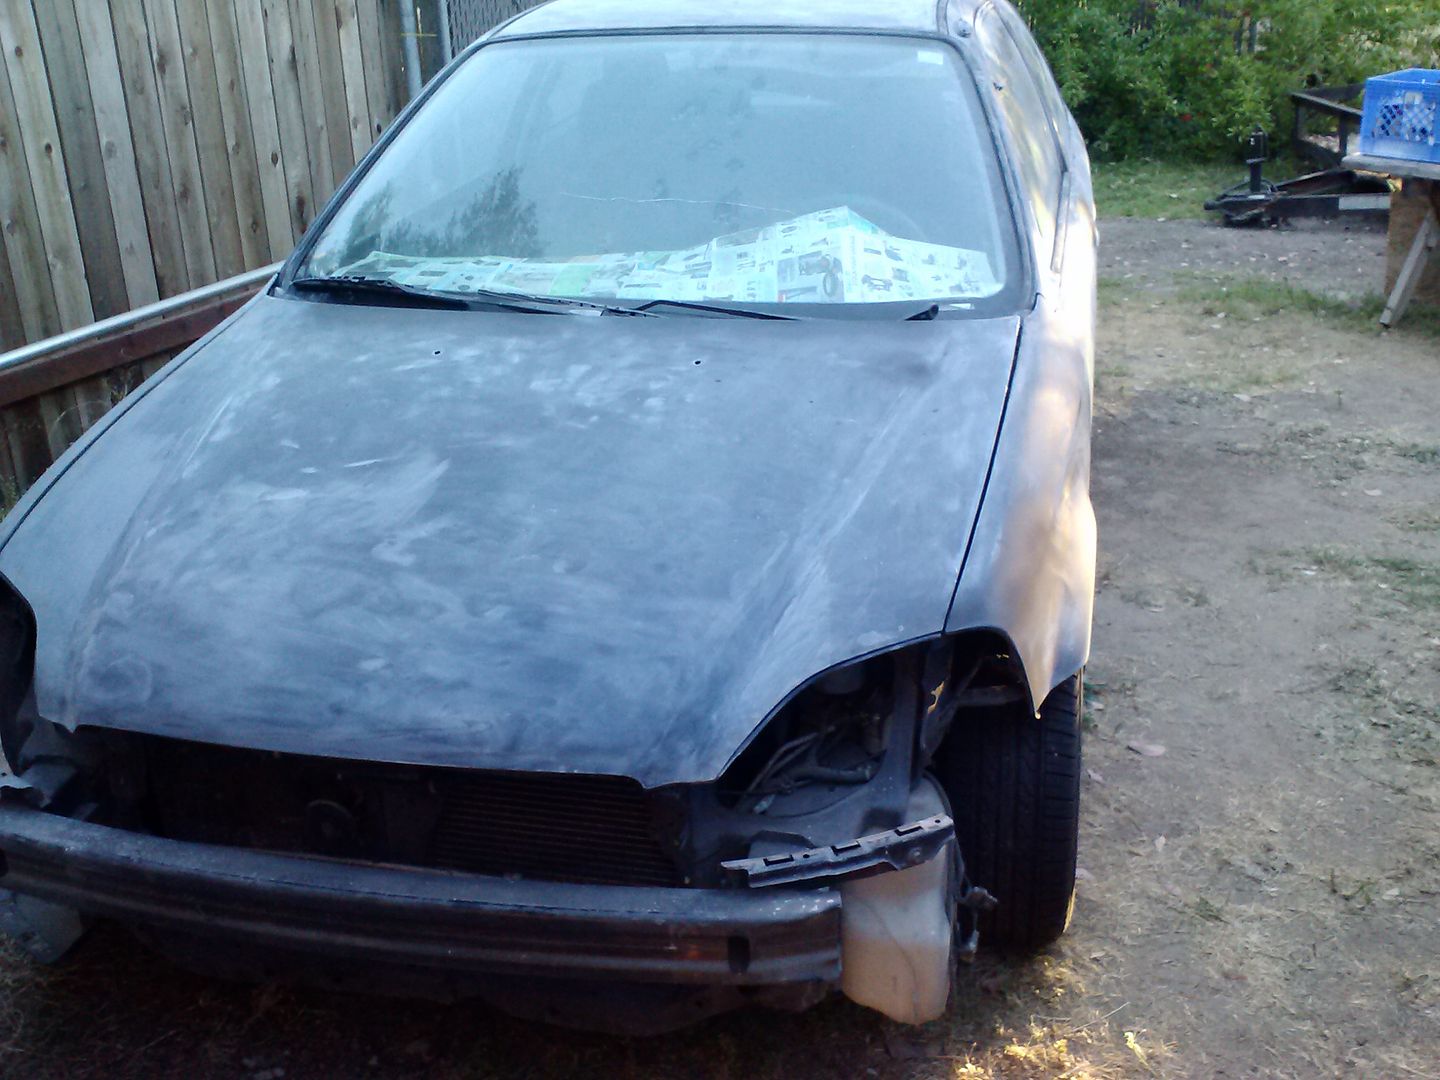
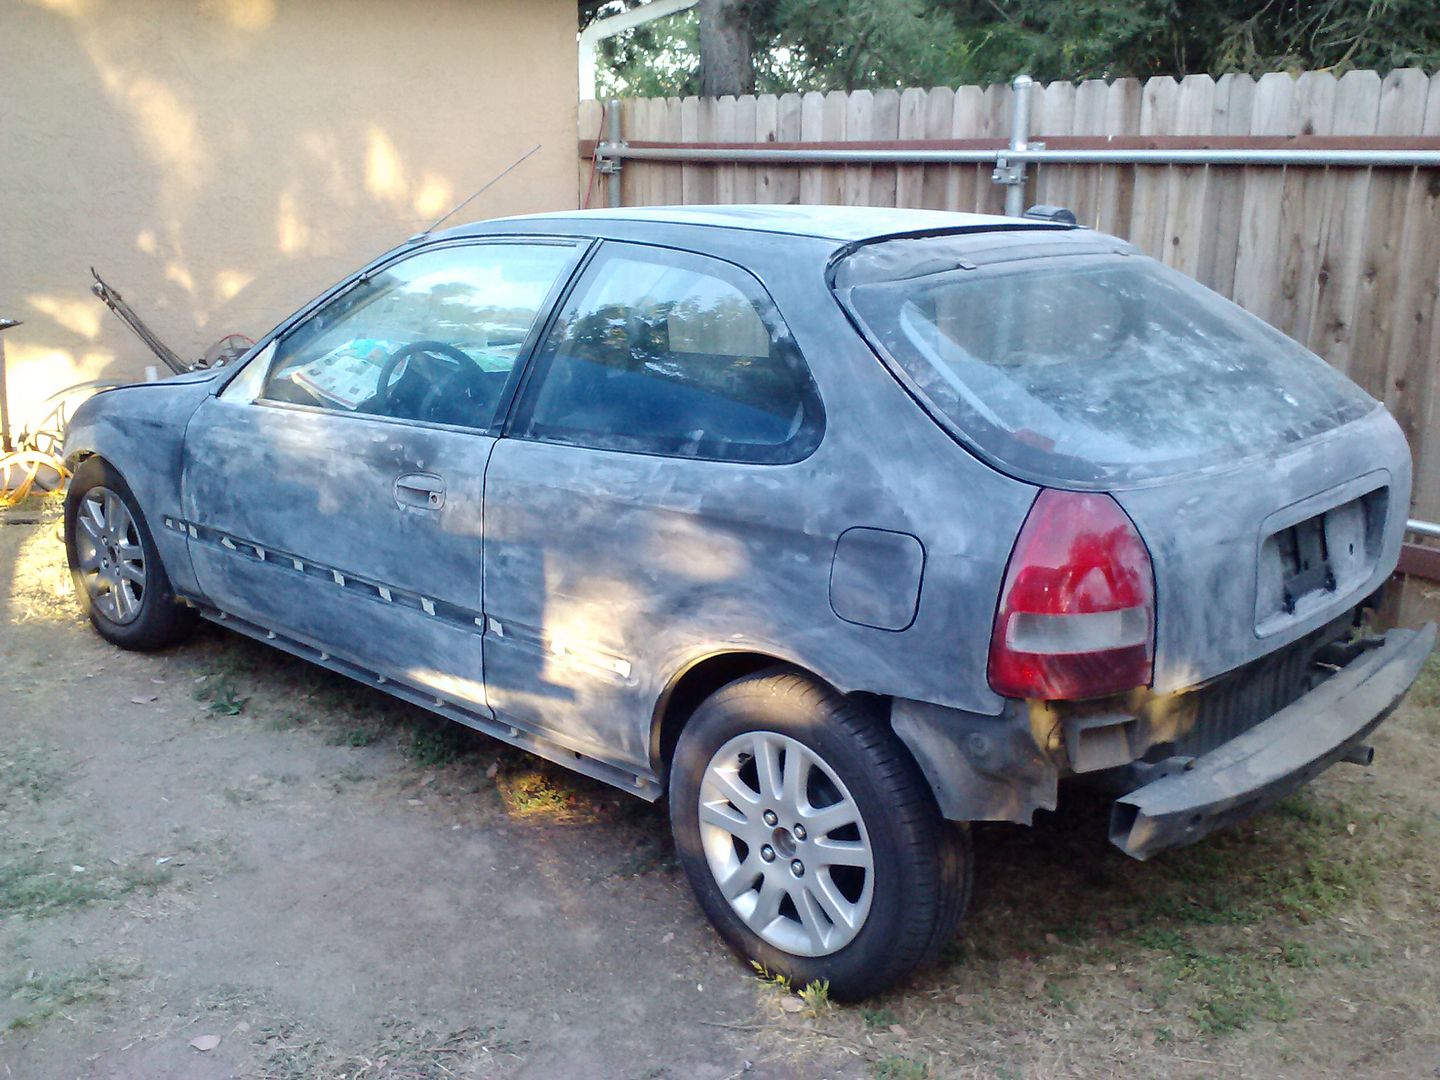
*** DISCLAIMER *** Even with all the research I did I simply did not do enough. I got too excited for the project and "jumped the gun" so to speak. Would I use this paint again ? A resounding NO !!! This is an acrylic lacquer and from what I have read this requires an experienced painter to lay on smooth without excessive orange peel. And boy did I end up with orange peel. Some areas like the fenders and rear hatch came out great. But the rest of the car I honestly could have done with rattle cans it looked so terrible. More on that in a bit. Here are some pics of prep work.
So I only sanded down the clear and base without a primer. Why ? It was my clear that was coming off and the base was still adhering to the metal very well. It's a bit of a gamble but since I was doing it myself and the paint didn't exactly burn a hole though my pocket I went forward with it. There is debate on this as well. But I figured I would roll the dice. All in all the prep wasn't that difficult. The pneumatic sander definitely helped expedite the process...
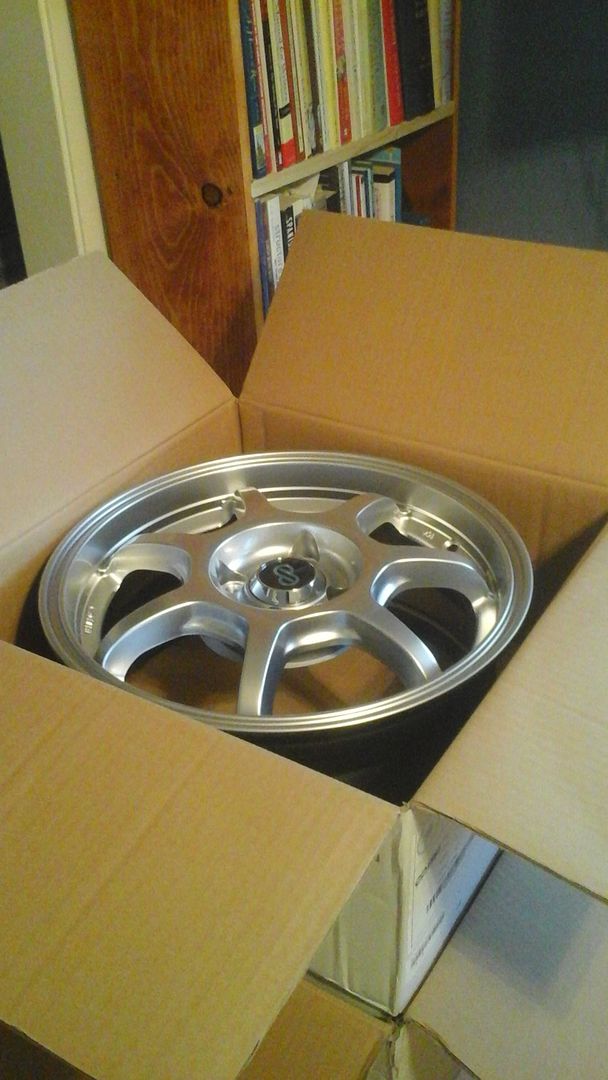
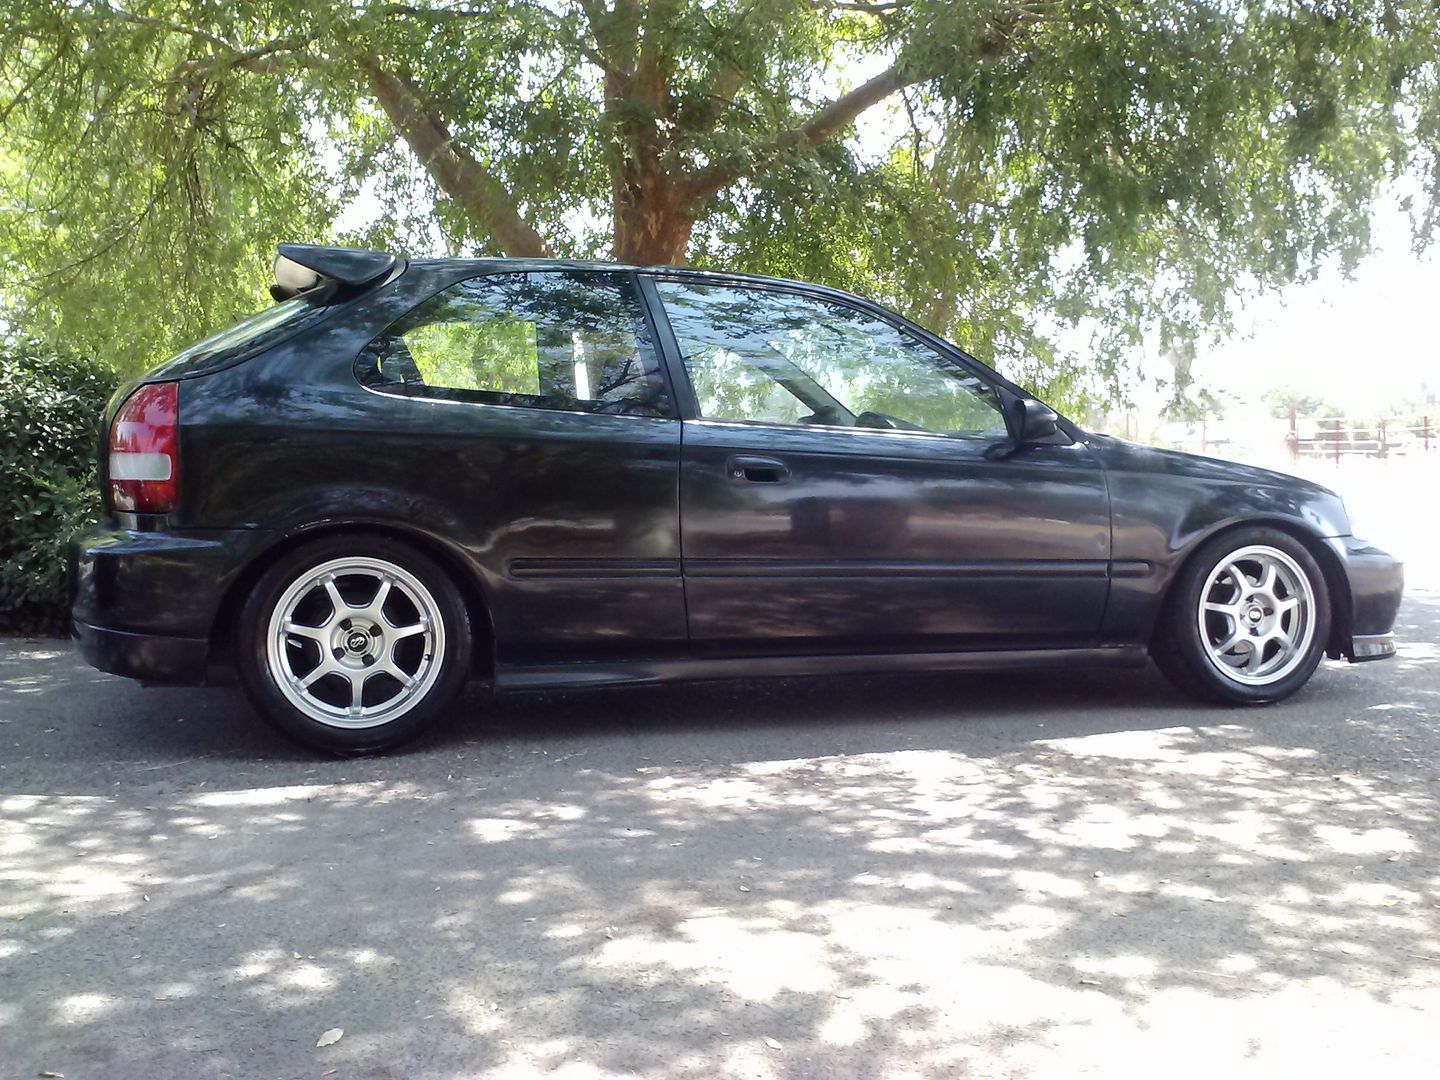
While prepping the car I had ordered some new wheels from TireRack. I went with 15" as I think 15s look best on the EG, Ek chassis. I went with Enkei GT-7 and wrapped them in generic brand tires at a local shop when they arrived.
I also ordered a set of new coilovers. I went with a non-adjustable (dampening) TruHart setup. They were only $400. They have yet to make any noises so I am ok with them at the moment. But for $400 what is one to expect ? With the Ep3 I will definitely purchase a nice set. No pics of the TruHart though. I adjusted them pretty much as low as they can go. The car is much lower than it was. Not slammed though.
As I mentioned, I wasn't quite prepared to learn how expansive auto painting was. There are so many variables involved, air temperature, humidity, gun pressure, type of paint, spray setup, etc. the list goes on and on. There is no other way to learn but to do it !!! Make mistakes, learn. Many of you will not have access to a spray booth and neither did I. I set up tarps and used Rubbermaid trashcans with weights to set up a temporary booth.
I concluded that I would not recommend the above listed paint for others to use based on what other people have said about that specific product AND the type of product (Acrylic lacquer). I ordered it off Zoro.com but afterward I noticed that AutoZone has a Duplicolor product that is also (acrylic lacquer), ready to spray like the Rustoleum product and shares the exact same color names as the Rustoleum product. Maybe they have become the same company, not sure. A quick Google search would surely solve that.
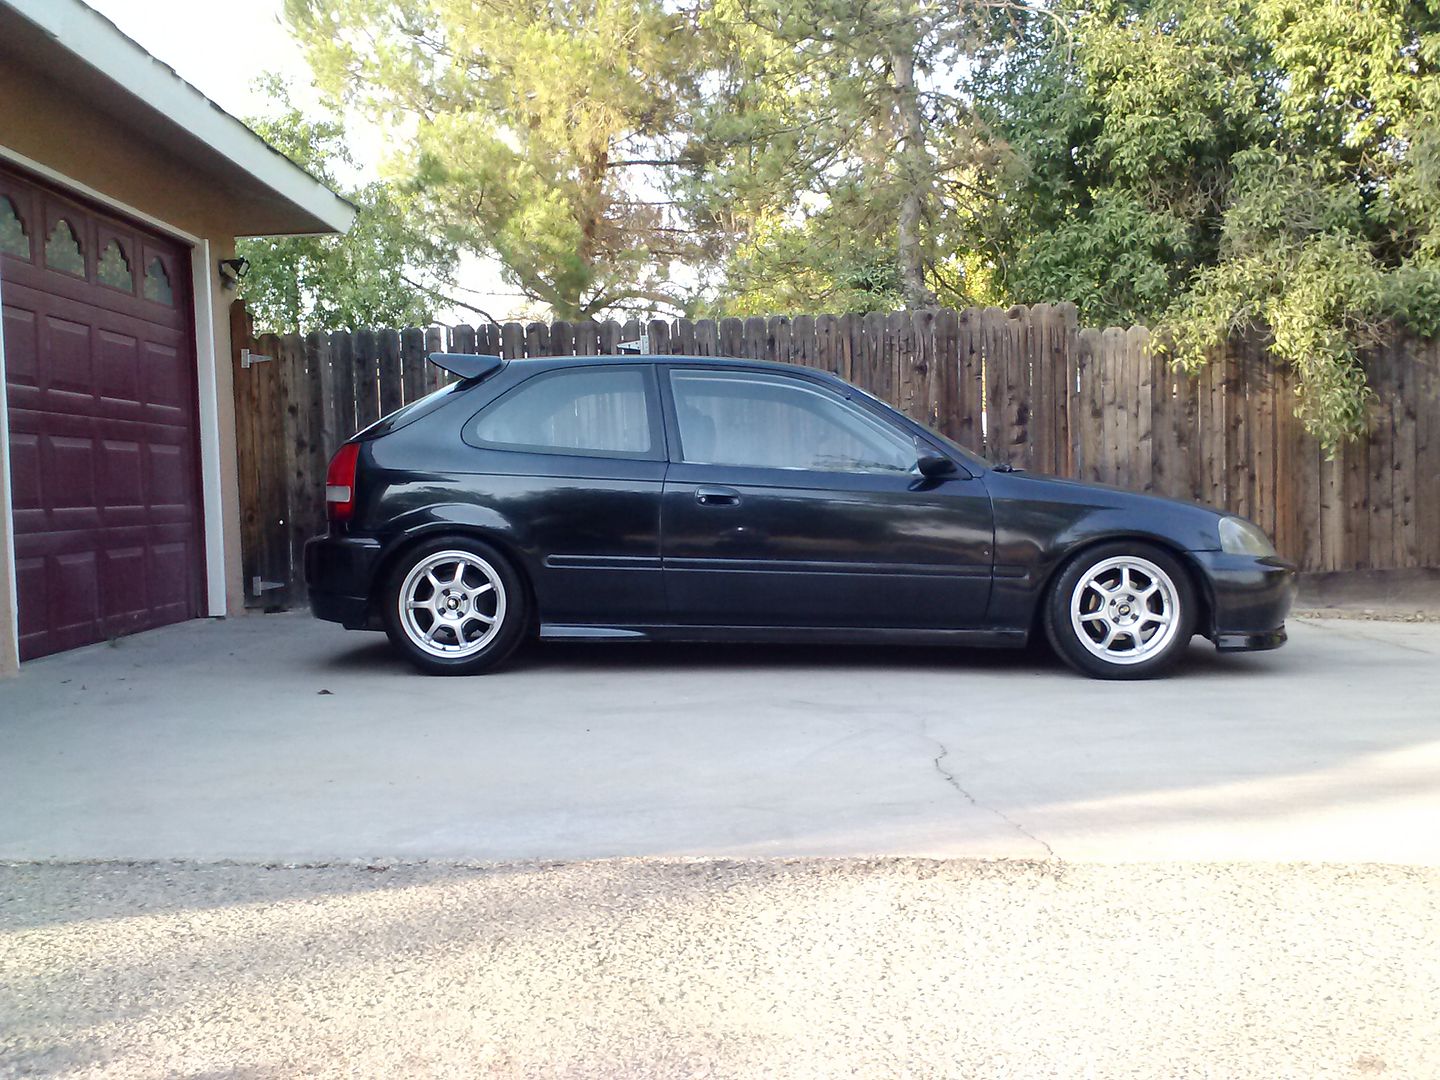
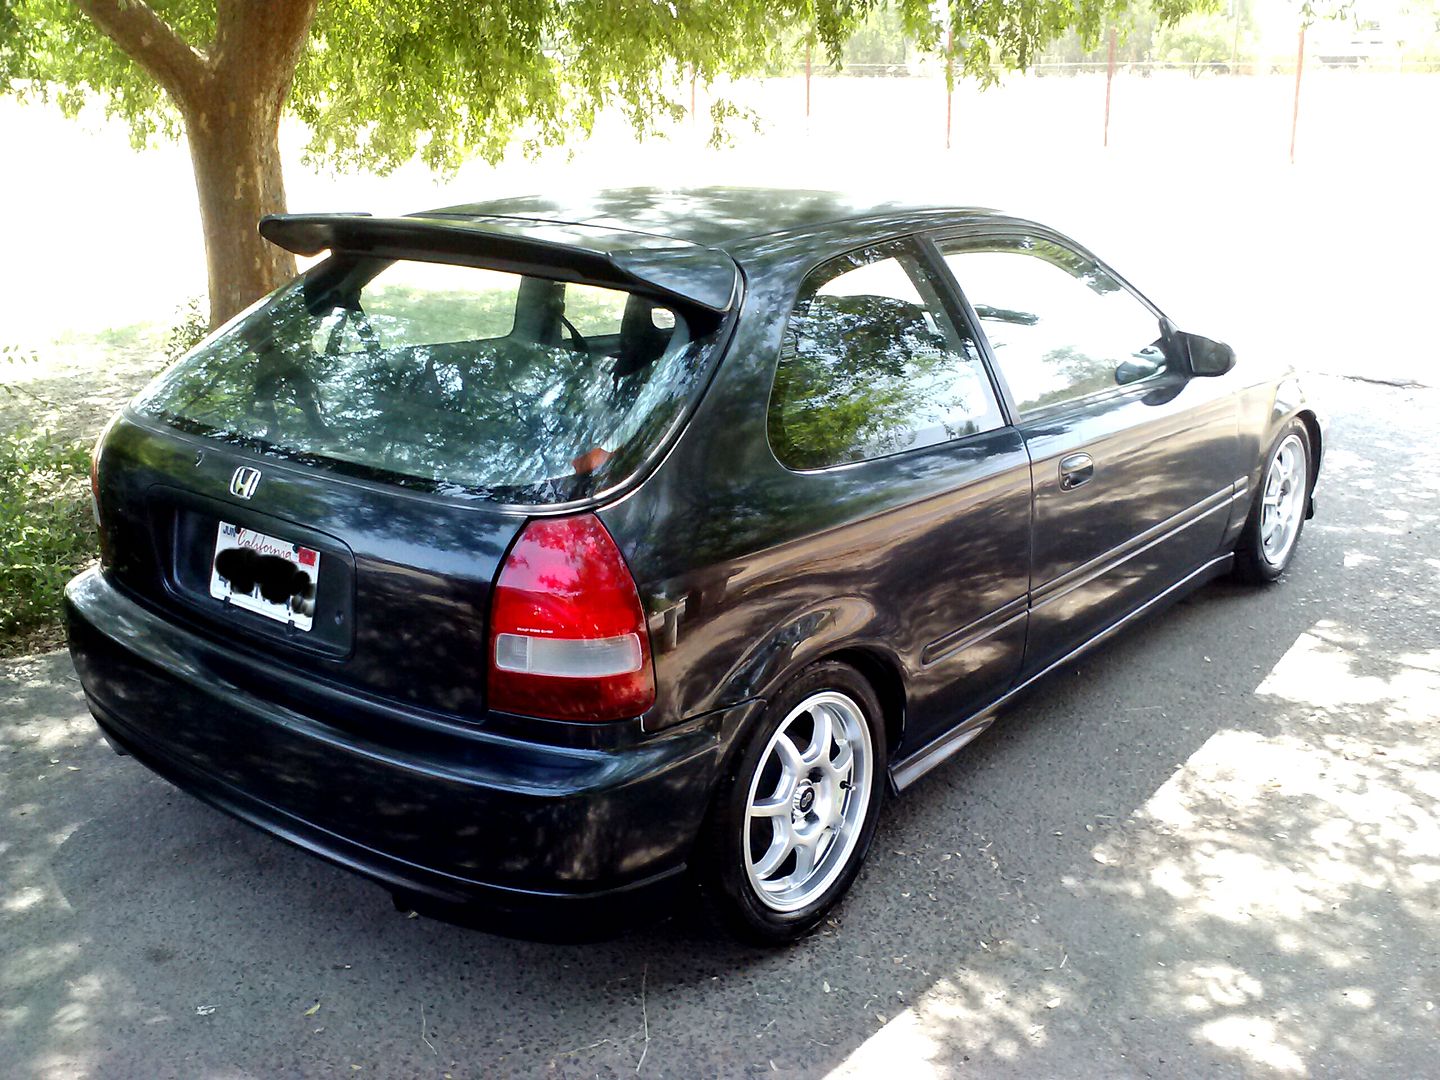
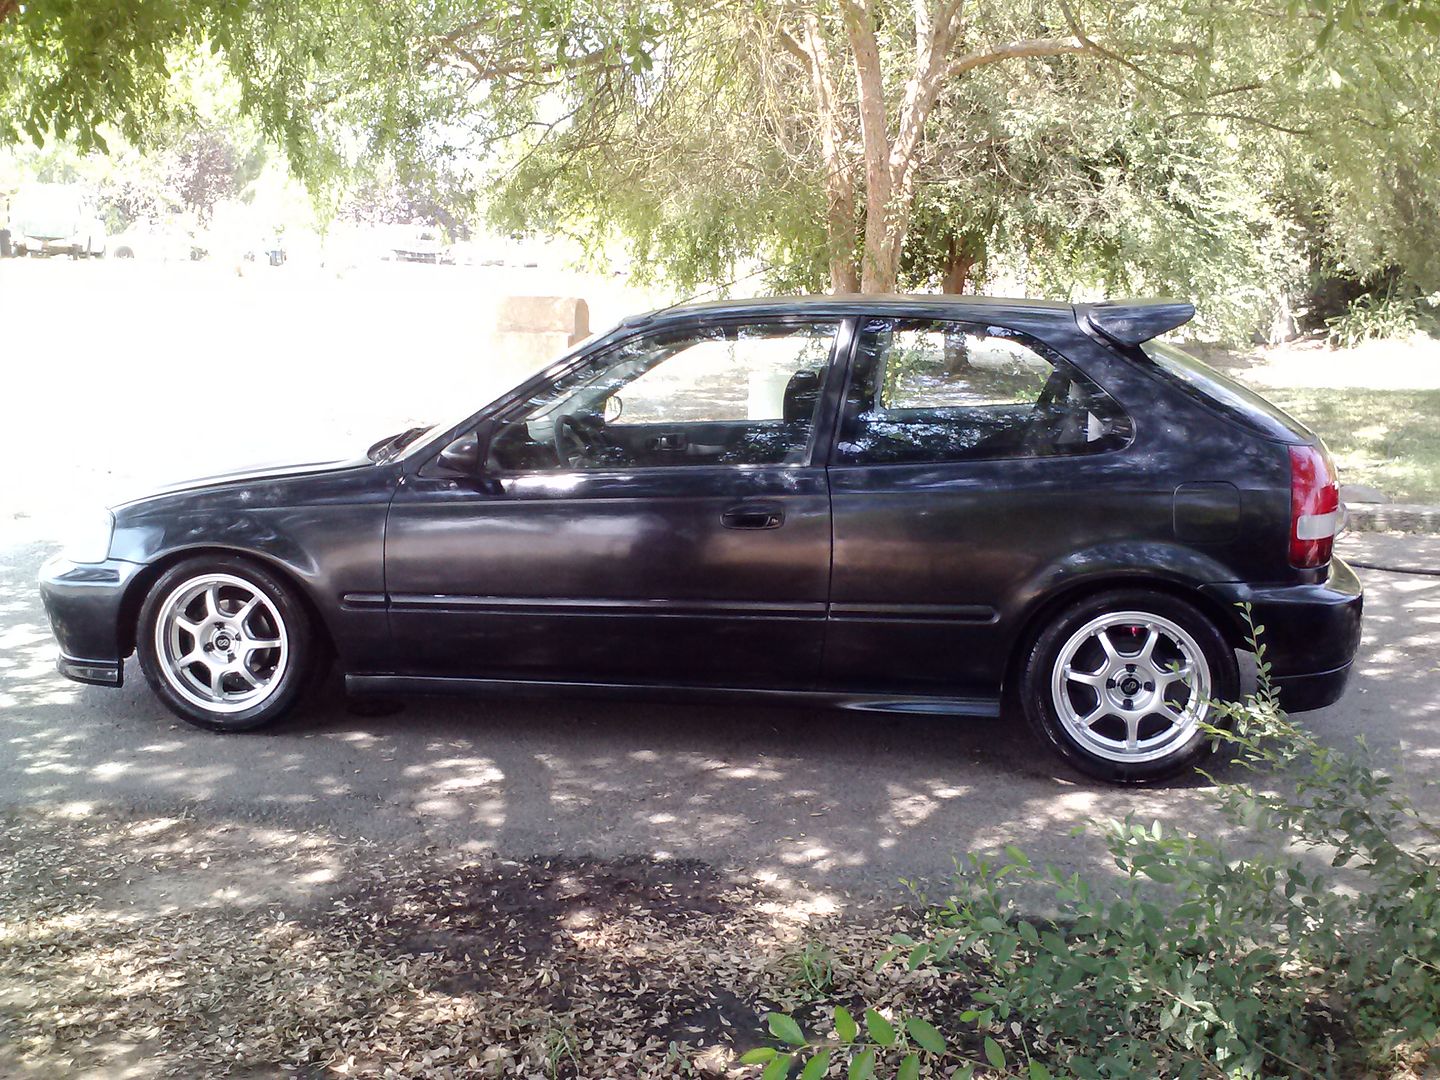
When I do it again I will use a more pricey 2k, 2 stage paint with a high solids clear. It costs much more but when you lay your clear coat, it almost looks like glass. I had to wet sand the entire car with 1500 grit, then 2000 grit to knock down all the terrible orange peel. I topped it off with 3000 trizact paper. Then followed with rubbing compound and a buffer. All in all, I am very happy with what I ended up with. I still need to buff out the hood and roof because I had to respray clear on those areas. Those two were very hard to get right for some reason. Here are some end result pics....
This is the best pic to illustrate the level "stance" of the car. The other pics are on an uneven driveway.
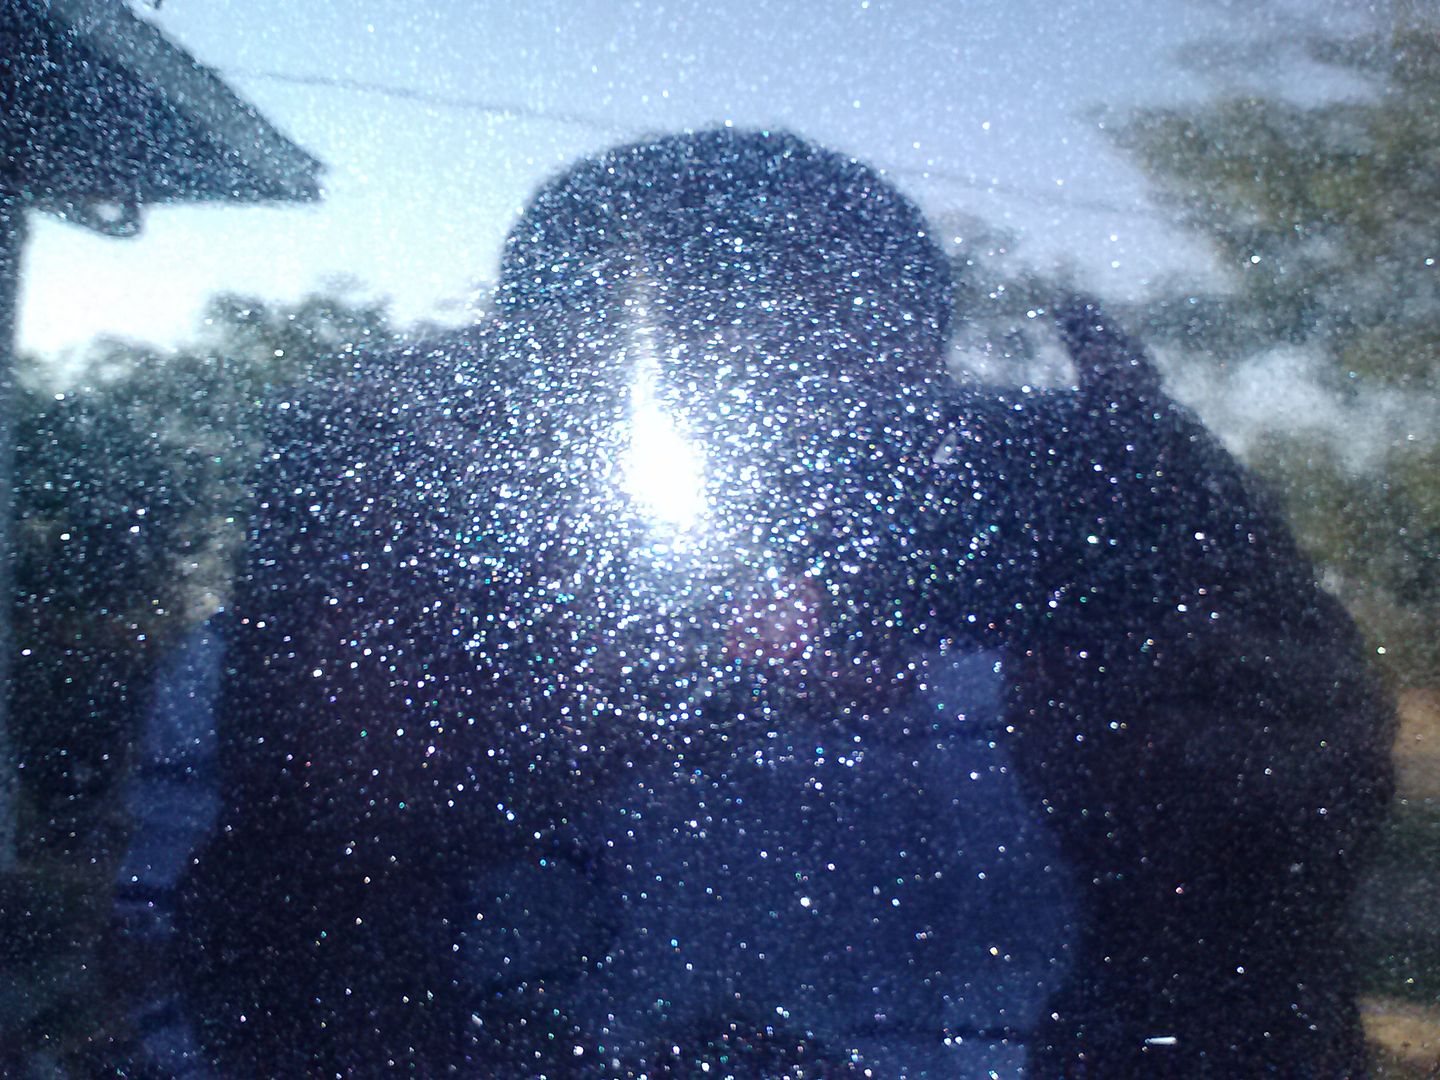
Here is a close up of the paint itself. There is quite a bit of metallic flake in it. I was concerned it was too much at first but I'm coming around. It's mostly silver flake but there is some red and blue flake at certain light/times of the day. I guess I like that it's a bit different.
And finally, here is another picture of Chubs when all was said and done. I think she approved. The sandpaper was put away, the wrenches were back in their boxes, the dust had settled and all was peaceful again. Heh.
Let me know what you guys think. If there are some experienced painters on here I would very much like to hear from your expertise.
Cheers.
There are currently 1 users browsing this thread. (0 members and 1 guests)
 Posting Permissions


Bookmarks