

 Reply With Quote
Going to look sick. How wide are you looking to run?


Can't wait to see the fenders!

Going to look sick. How wide are you looking to run?

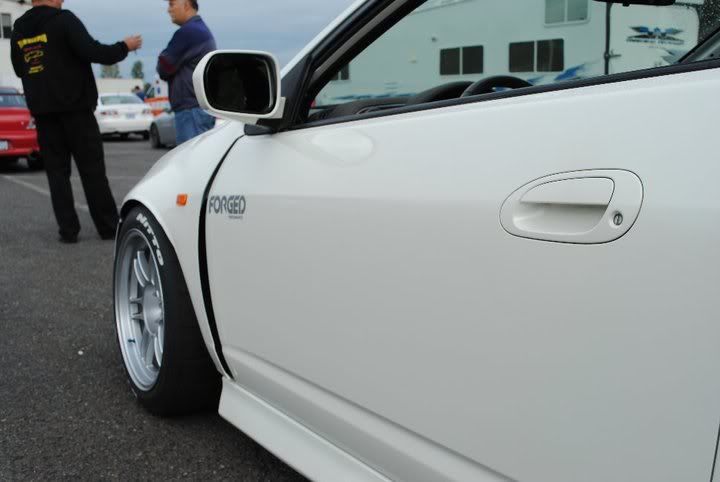
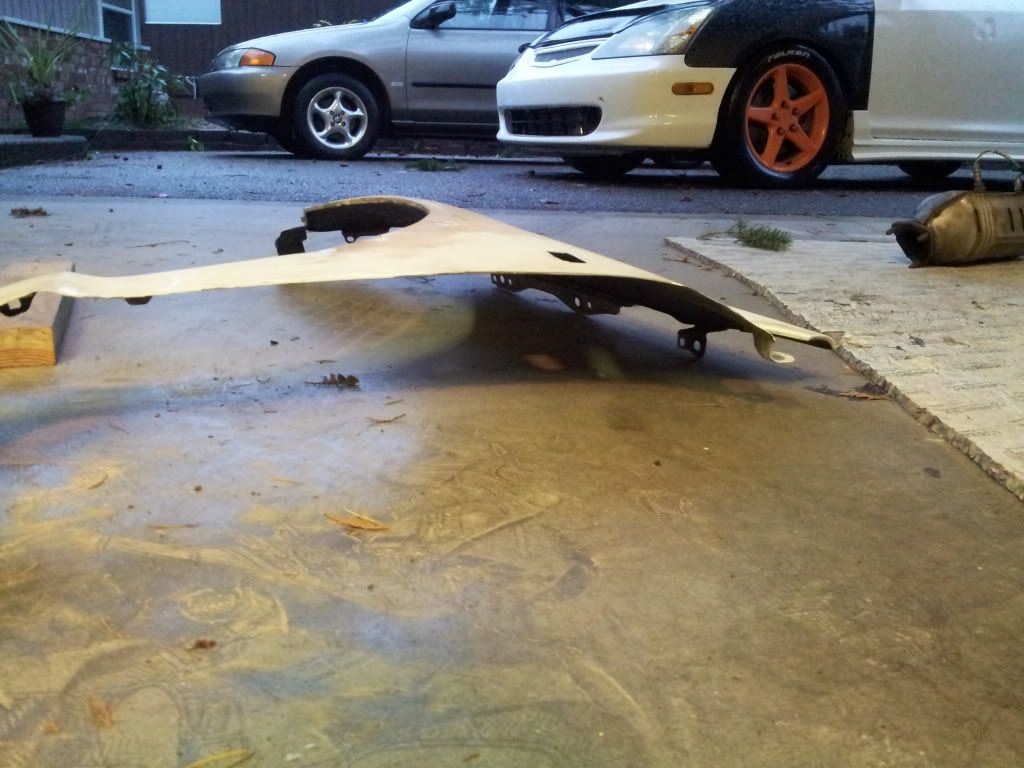
I have a simple set up that really isn't to extreme right now. I put on my 15mm spacers on and it was impossible to move the car. My wheel gap was the thickness of the metal part on our keys. This will hopeful move it out of the "danger zone". I do plan on getting something by 9 in the future. Might as well get prepared for it now.Originally Posted by tlikethedrink

I will be working on them tonight and the rest of the weekend. I will post progress picture and updates. Stay tuned!
Sick. Good luck bro!

Were you thinking something like this? Very well done.
Hasbro you know the rules, no porn allowed outside the nsfw section lol
Yes, That is what i'm looking for. The flare is pretty extreme on that tho. I'm debating on if i want to keep it flush above that body line.
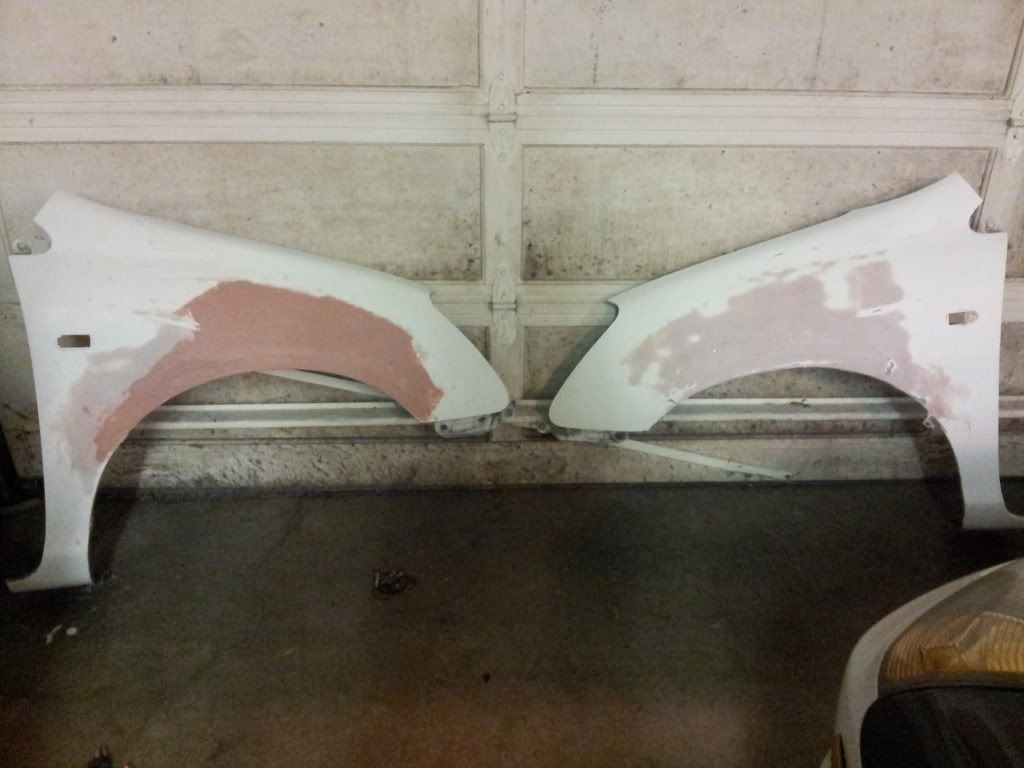
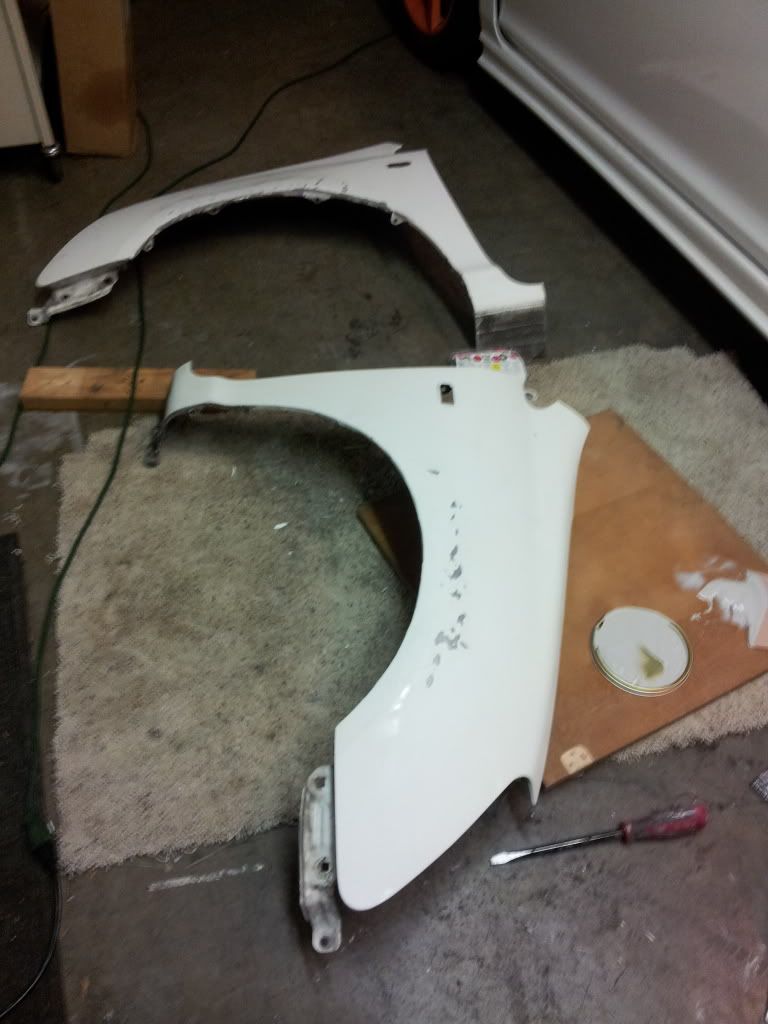
Finish re-working the passenger side. I sanded off the clear coat on both and start fill & fairing them out. I'm hoping to have the shaping finished by this weekend. Shitty pics i know. I will get better ones today.
That's what I'm doing except I left them on the car to get width correct and also because I'm lazy. What body filler are you using?
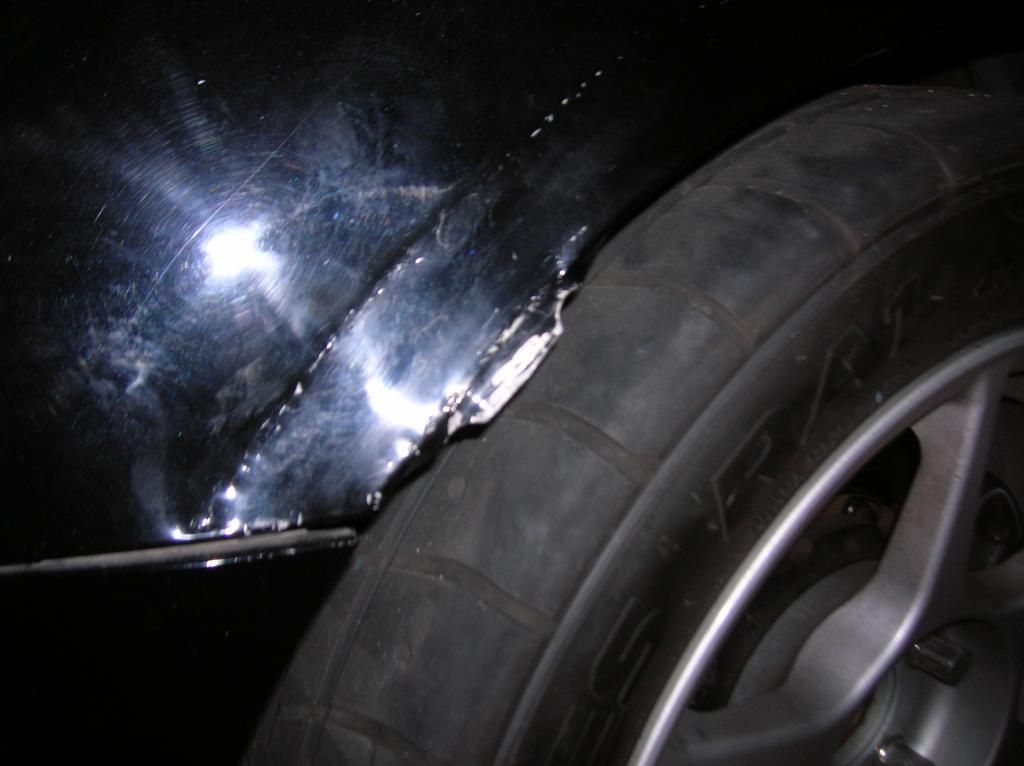
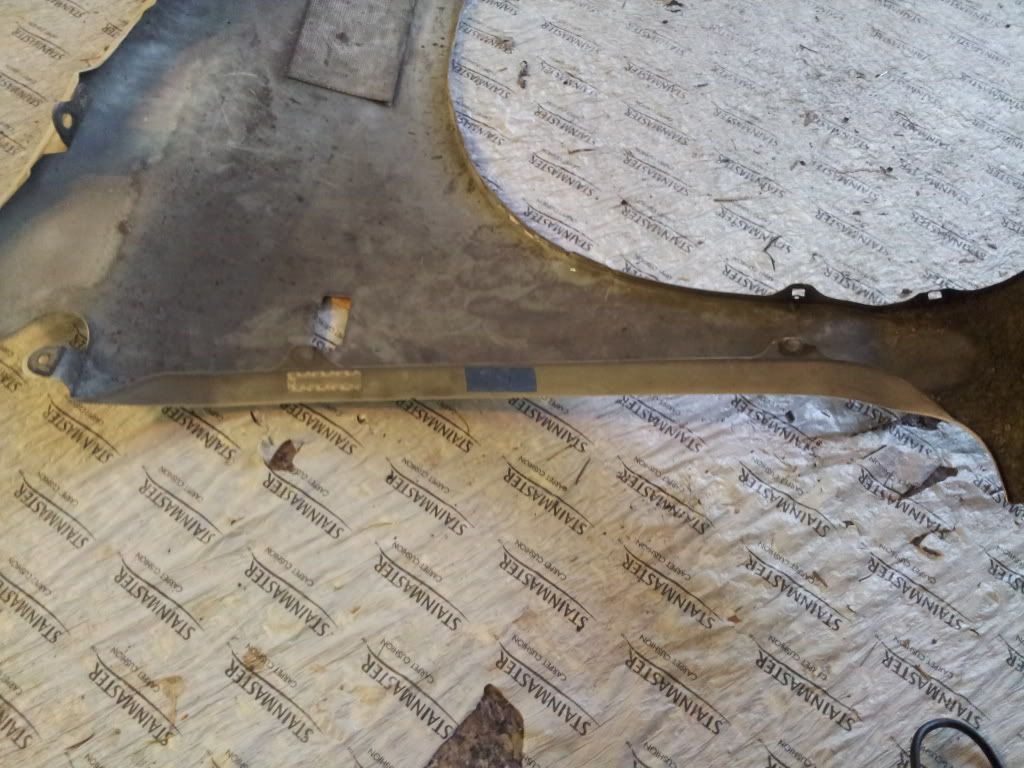
I tried to take a photo but camera says I'm out of memory. I thought the computer erased everything, damnit. Anyone know what I should do? Any way, I pulled the lip out for more fender (7/16") but it will require some small pieces of sheet metal to make continuous. I was thinking of brazing instead of welding but haven't researched it. I figure with brazing I can change the shape if I don't like it.
Here's an old pic;
Last edited by Hasbro; 11-02-2013 at 02:57 PM.
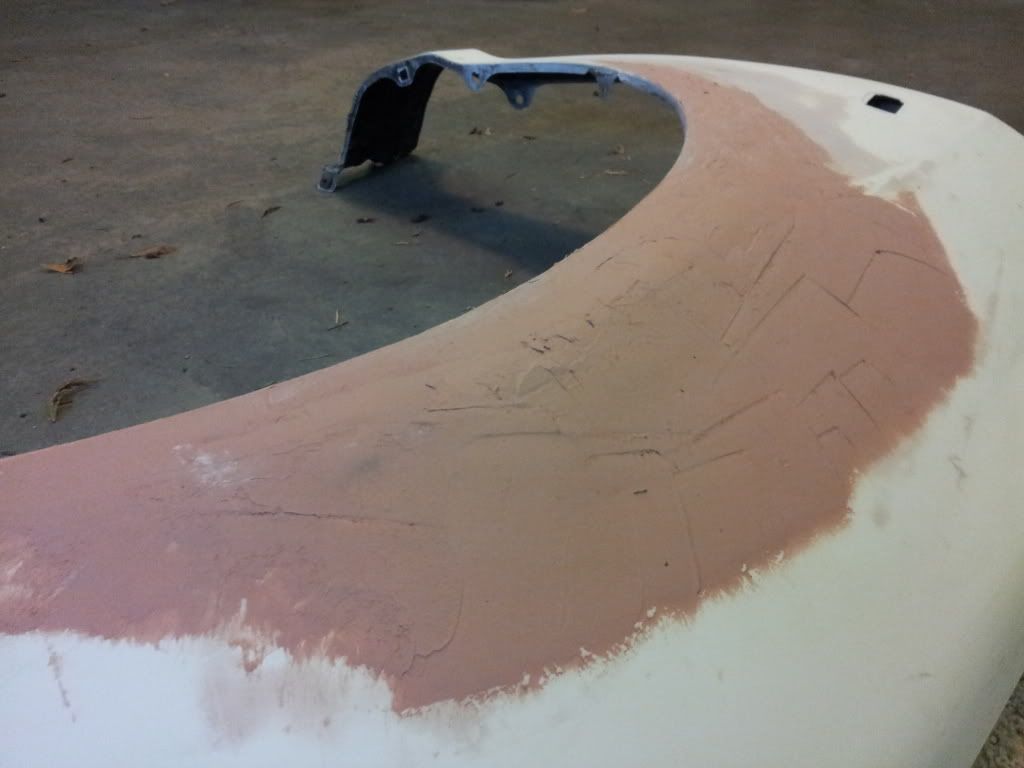
I'm using 404 High-Density Filler from west systems. It's a high strength filler used on boat and airliners.
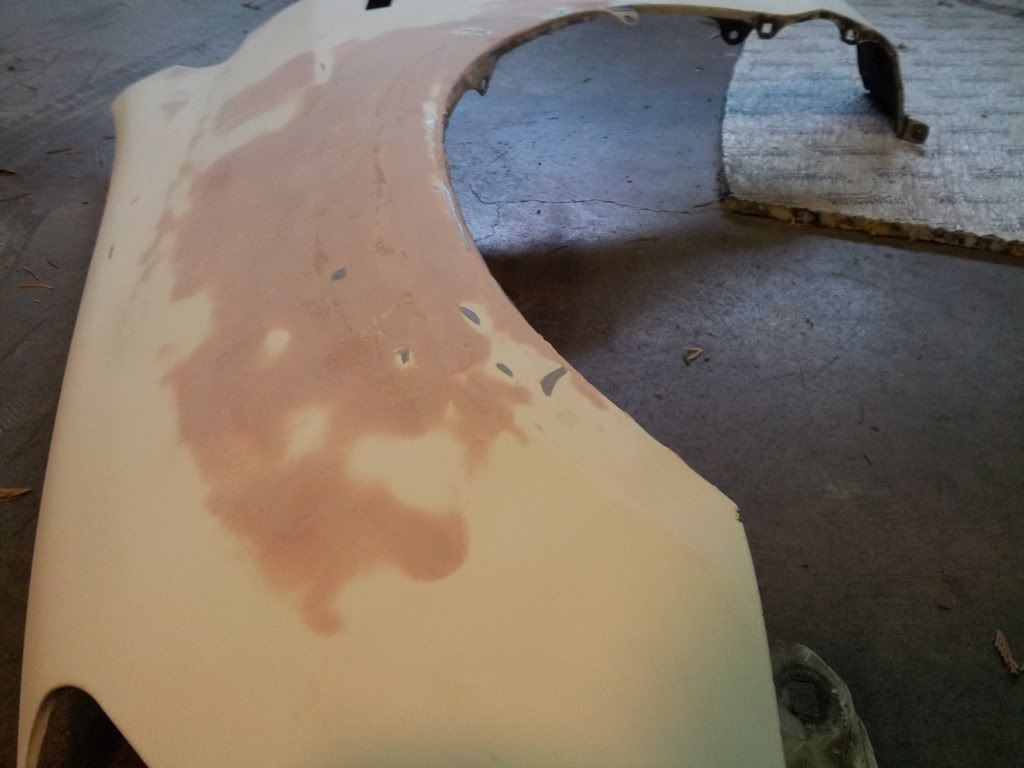
For now I'm just fairing out the lumps from the rough shaping. Once that is out of the way ill do a mock up and start getting the even shape together.
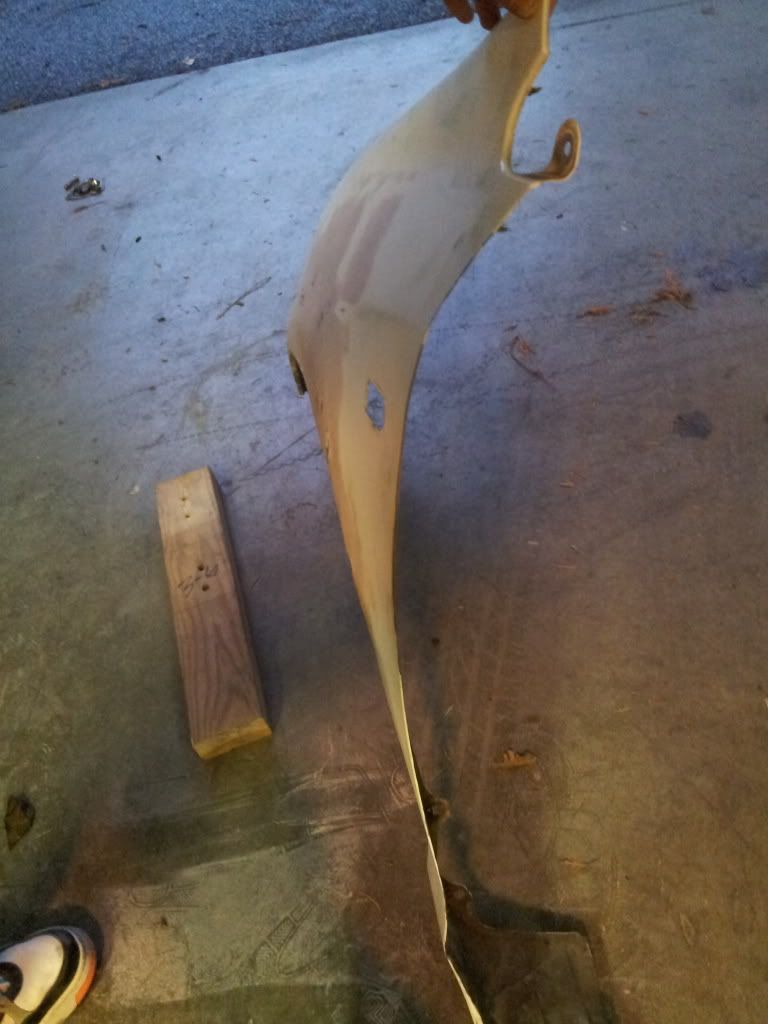
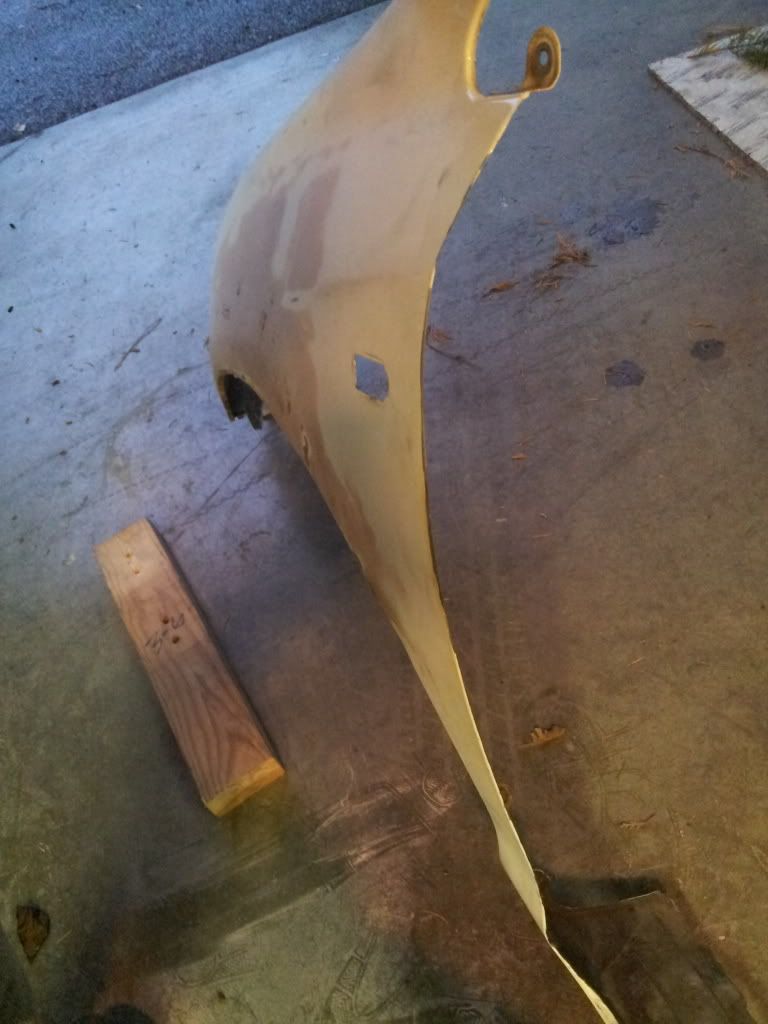
I see, You pushed the body line in to push out the lip. I thought about going that route but i felt like it was going to throw the transition from the bumper to the fender off. What i did is i beat the body line out more and about an inch above it for the flare. Near the bumper i left the oem body line but slowly blended it into the flare.
Pics for reference:
Last edited by MajorJones; 11-02-2013 at 03:18 PM.
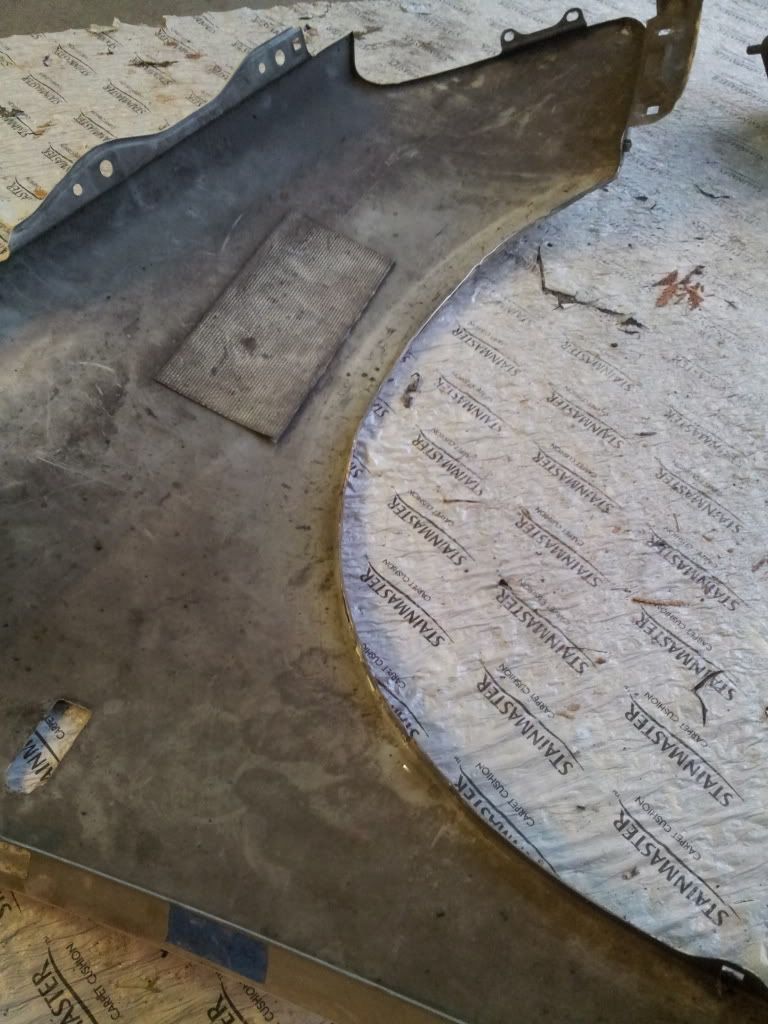
No, The body line is only slightly pushed in at the end there. I will hammer it smooth and pull it some more. The front bumper will eventually also be a couple of inches wider. I bent the 1 1/4" flat edge of the fender to the same angle of the curved fender. I muscled the curved portion (the whole fender) out about 1 1/2" so the angle doesn't change, instead the whole fender sort of puffs out if you get my meaning. I tried to keep the fender at the door line in instead of pulled in case I want to cut that fender section to push it in several inches for air flow (Gurney flap).
This will be enough for a 3" wider track and the extra tire width, about 2" each side iirc.
Appreciate all the pics! It's nice to see someone else doing fender work and you seem to actually know what you are doing, lol!
Last edited by Hasbro; 11-02-2013 at 03:36 PM.
Honestly, I'm just using what I know from work and a little bit from the internet. Compare to what i do i work sometimes, this is pretty easy. I make interior bin compartments for major airliners from scratch to finish product. So, laying fiberglass, using filler, and prepping for paint is an everyday thing for me.
Since i rarely have free time, I will be working like a mad man this weekend on these. So, A little before dinner update for you guys.
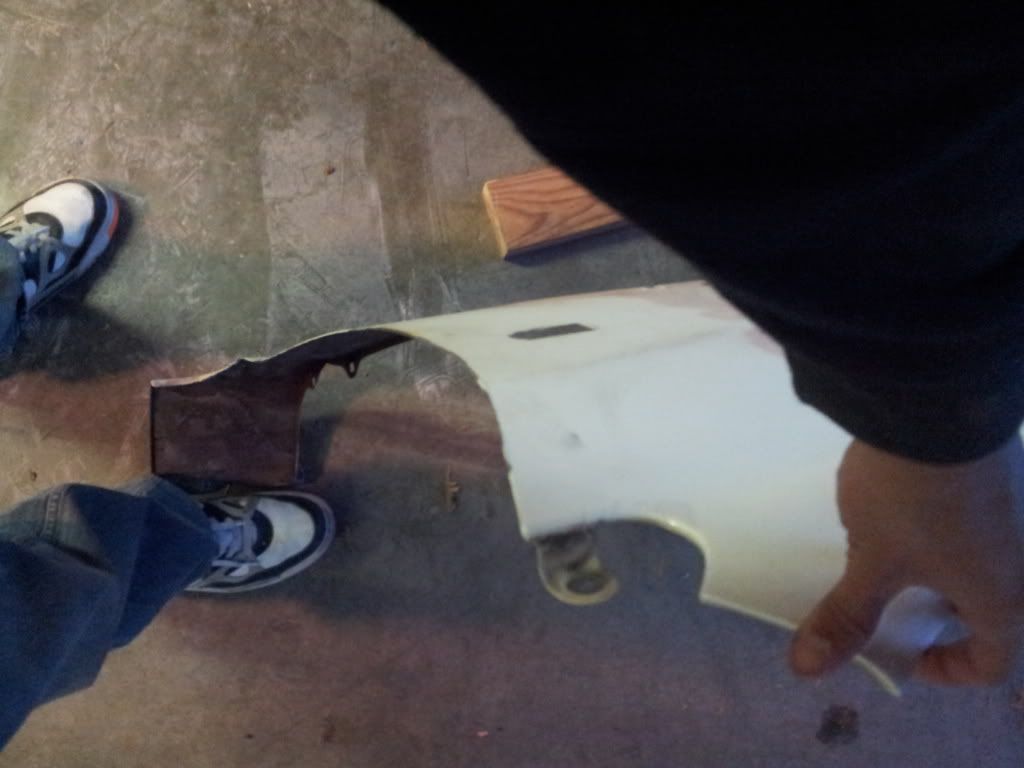
I'm STILL shaping these damn things... I did however i shaved off the back vent edge portion and the fender lining tabs. Still shooting to getting mocked up on the car tonight.
Another update. I still need to fine tune the shaping. I did mount then to the car tonight and add my 15mm spacers in the front. The vent gap is at 5mm right now. Im unsure it i want to push that out to ten.
Eating Pho. Pictures of them mounted on the car will be posted tonight. Stay tuned!
Any pics of this car from diff angles?
Side note... Love Pho. ***
Fenders look like they're coming together very well. Looking forward to the pics!
There are currently 1 users browsing this thread. (0 members and 1 guests)
 Posting Permissions


Bookmarks