


Please make this post sticky, as I don't remind myself saw a related tutorial before but people keep asking about it.
As you keep reading down on this DIY, you will have an idea of what tools/materials need to be prepared.
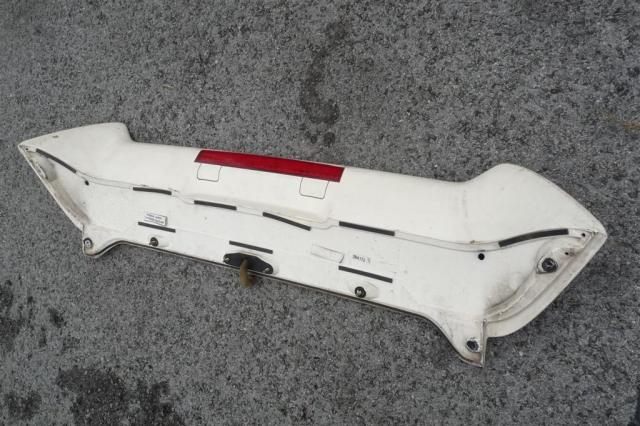
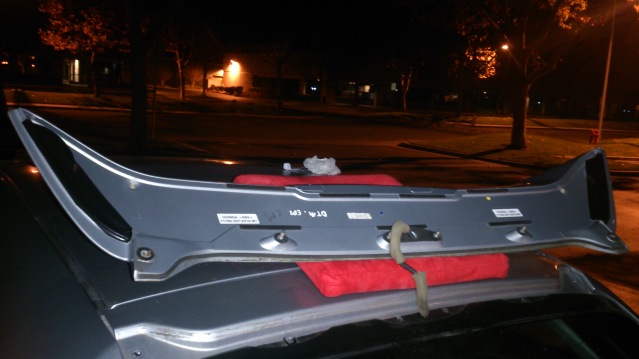
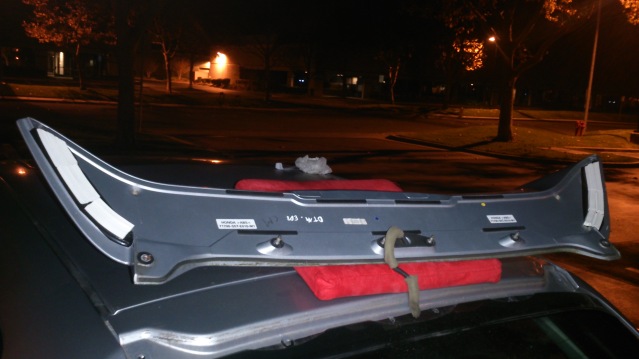
First, let's take a look at the difference between Type-R Wing and HFP Wing:
Type-R Wing:
HFP Wing:
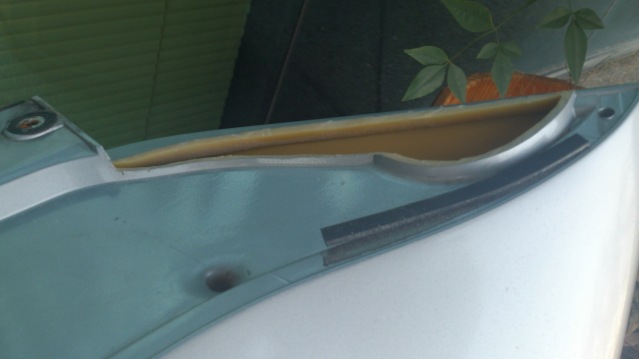
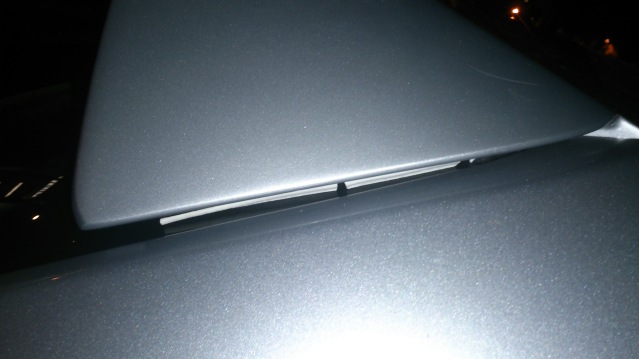
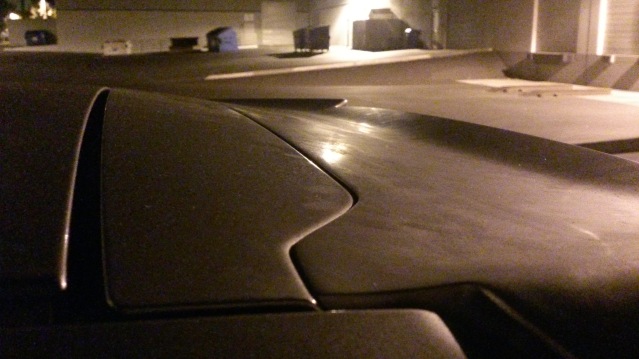
As you can see, they look idential except Type-R Wing has the sides way thicker than HFP Wing. Therefore, some cutting is required. I used Dremel rotary tool with cutting disc to cut off the excessive parts.
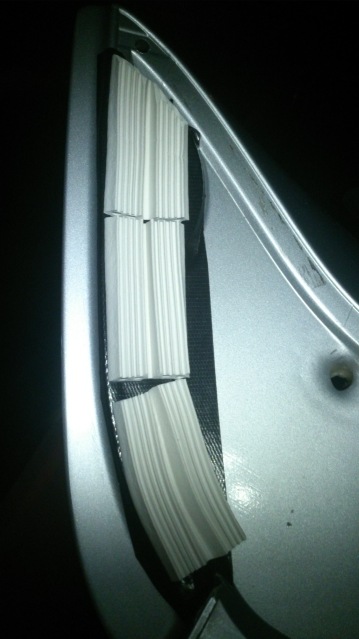
Original thickness (disregard the hole, it was on progress and I only shaved off the top):
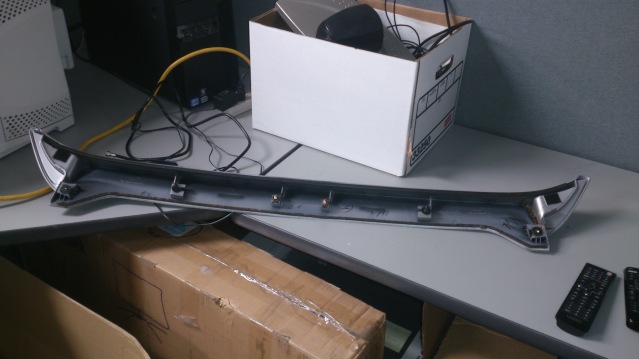
After cutting:
Make sure to wear goggle and put on face mask to prevent dust from cutting getting into your eyes and nose.
When you are done, sand and smooth out the surface.
You can remove the OEM spoiler now.
(For EP newbies)
There are in total two #10 nuts, two #10 bolts and two plastic clips to remove:
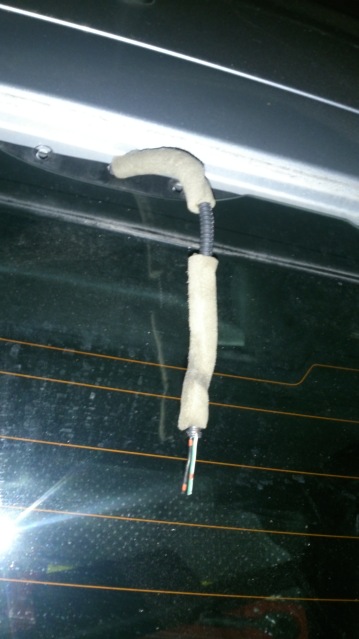
Drill a big hole in between where two bolts go. I don't have the right tools (step drill bit), so the hole I drilled was too small to let the connector went through. Therefore, I cut wires and fast connect them again after I installed the brake light instead:
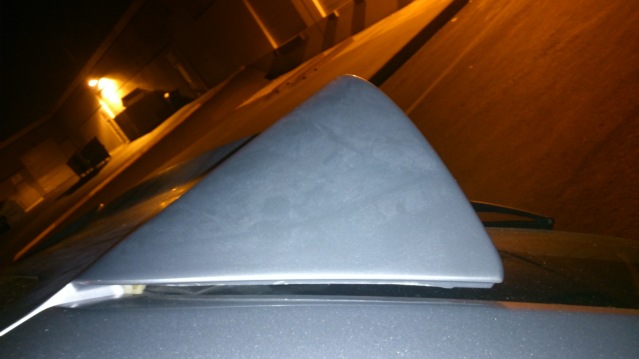
Before you continue, test fit the spoiler first. You will see a gap like on the photo below, and you actually can move the spoiler up and down, which definitely will cause rattle while you drive.
There are various of ways to fill the gap, but I used the most cost effective way to accomplish that.
First, I used weather resistant duct tape to seal those two holes (of course, need to clean up dust from sanding first), and used heat gun afterwards to make sure it stays firm on the surface.
Then, I added a layer of heavy duty weatherstrip seal on top of the duct tape. This will be used to prevent rattling with the rear windshield.
A closer shot of what my idea looks like:
This is the weatherstrip seal I was talking about, I bought it at Walmart:
You should clean the rear windshield area where spoiler will sit on before installation, because once you installed the spoiler, I don't think you will ever remove it just to clean up that small part of windshield.
You can install the spoiler now. Those two plastic clips will be replaced with two screws, so get another two #10 nuts and tighten them.
What it should looks like after installation:
Put the plastic cover back and you are all set!
Here are some pictures to show you the filled up gap and how spoiler should sits flush with the body:
Finished product:
Thanks for reading this! Hope my DIY is useful for you!


 Reply With Quote


Bookmarks