

 Reply With Quote
Can't wait to get mine Friday if all go well


Alright, I believe this DIY is pretty much as universal as it should be. No matter what kind of door sills you have, you should be able to do almost the same thing. Here we go...
Things that you will need:
- A big roll of 3M outdoor mounting tape (grey with red cover), about $14 at walmart but you can use just one roll on front lip , rear lip, side skirts, and door sills all together!
514lito-l5L._SY300_.jpg
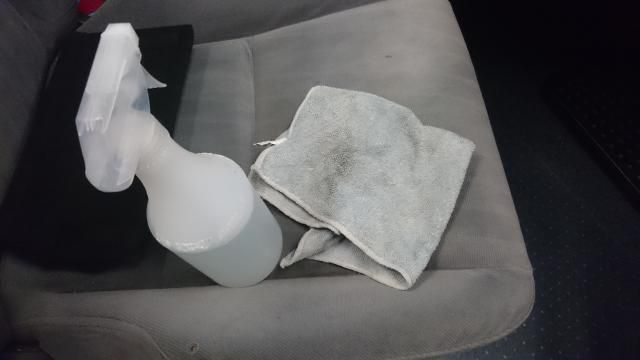
- spray bottle with water mixed with soap/dishwasher in it
- clean cloth
- Scissor
- Heat gun
Optional:
- Goo Gone
- 3M adhersive promoter packet
- fine grade of sand paper (1500 grit or above)
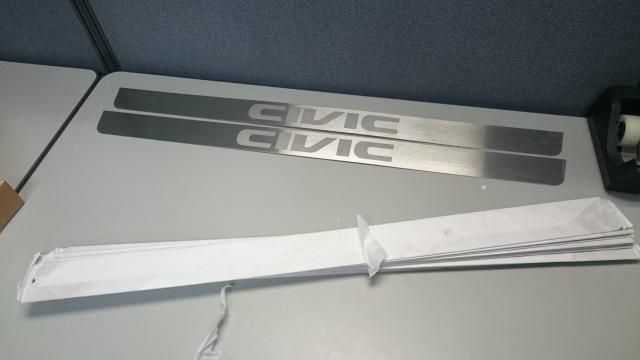
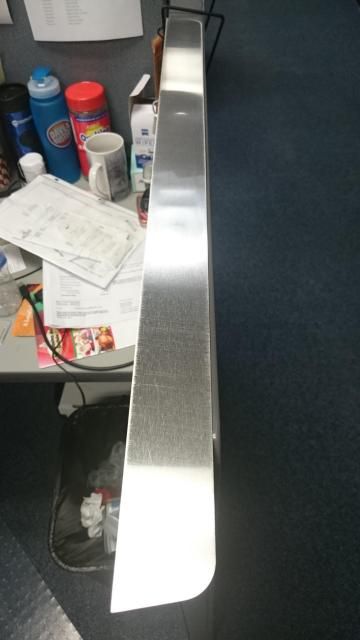
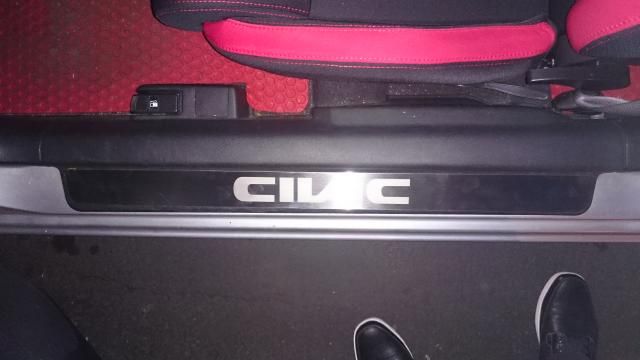
1. Admire on the new door sills that you received!
2. Prep work: use water mixed with soap/dishwasher to clean the back of the sills. If they have tape residues, make sure you wipe them all off! Something like Goo Gone will help, but again make sure you clean the surface after that or stickers won't stick on! You can also use sand paper to smooth the surface if you feel like to.
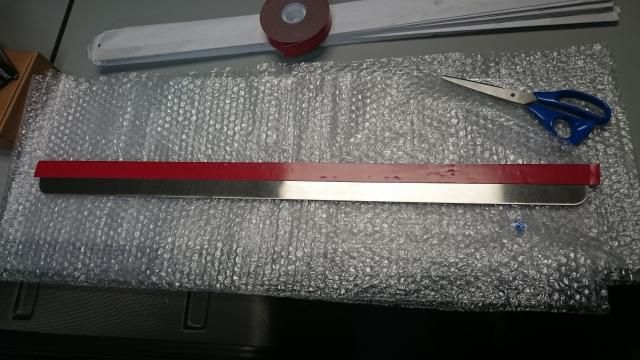
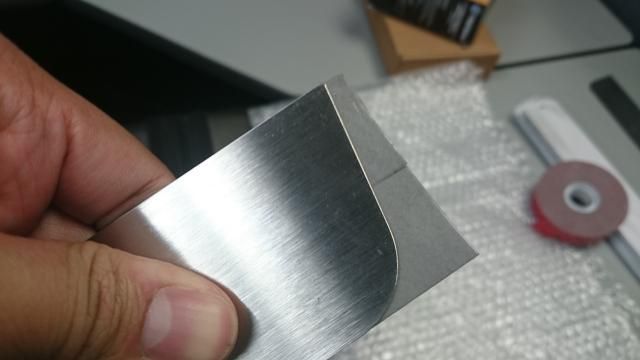
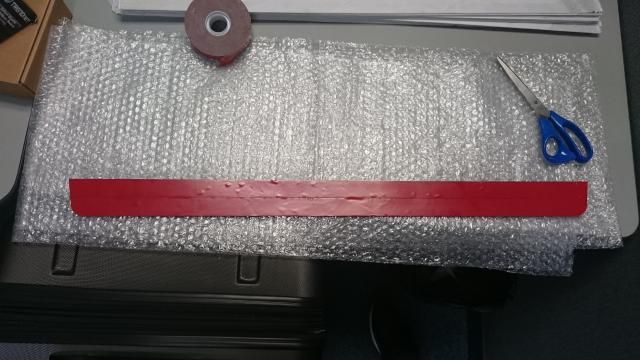
3. put 3m outdoor mounting tape at the back of the sills. work on it slowly and make sure you won't stick it out of the sills area. Try not to peel it after it sticks on, because this mounting tape is very strong that it will change shape if you pull hard.
4. It's always a good idea to leave a bit of the tape at the side of the sills so that you can use scissors to cut it off. The sharpness of scissor will determine whether you will get a clean cut off or not.
5. Double check that you covered the whole back sill area. Disregard bubbles since you will push pretty hard to make them stick onto the original plastic sill area.
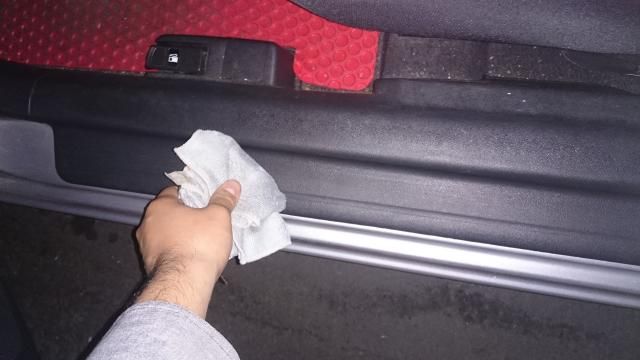
6. Clean your plastic sill area with soap water and clean cloth, wipe slow and make sure it's clean and dry.
7. Slowly adjust the position of your new door sills and put them on. What I would suggest is hold the edge of both side and slowly mount them on. Once the sills sit on the plastic surface press it HARD to stick on. You may want to keep putting pressure until the whole sills sits firmly on the surface.
8. Use heat gun to blow hot air onto the sills. If you have sills that are made with plastic, don't put your heat gun too close to them! All you need is generate enough amount of heat to make 3m mounting tape sits firmly on the surface. If you really hate/afraid of using heat gun, here is where 3M adhesive promoter packet comes in handy. wipe it fast on the plastic surface to make it sticky with the mounting tape.
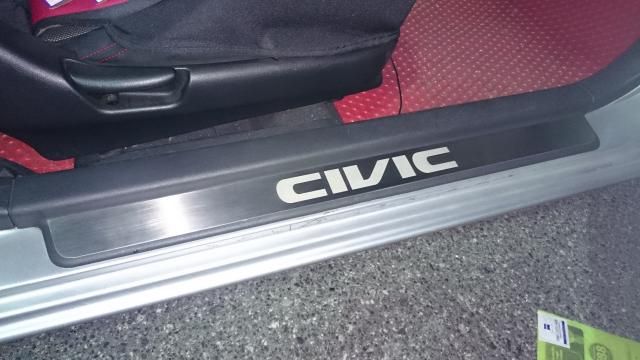
9. Clean the surface of your door sills and you are done!
There is nothing better than a pair of door sills to boost the appearance of your interior, so you better do it right on the first time!

Can't wait to get mine Friday if all go well

Looking good man
There are currently 1 users browsing this thread. (0 members and 1 guests)
 Posting Permissions


Bookmarks