


I'm not sure if this has been covered in the past but if it has I could not find a DIY for this. I hope this helps ppl out that are looking for installing an HID kit into Depo's.
Refer to pictures if you are stuck on any step. I hope I didn't miss any steps
Here go's:
2003 ep3
Depo projectors (SSR) for an 02-03 ep3
HID kit -55w 5000k (H1 bulb replacement) they were ordered though a friend so not sure where he got them.
Step one: Remove front bumper
Step two: remove headlight (I suggest removing one at a time if you have never removed the headlights before, good to compare both when installing them back in) Headlights don't have to be fully removed from all wiring. Just place the headlight face down on the headlight housing (just make sure to have a towel in had so you don't scratch the plastic exterior lenses)
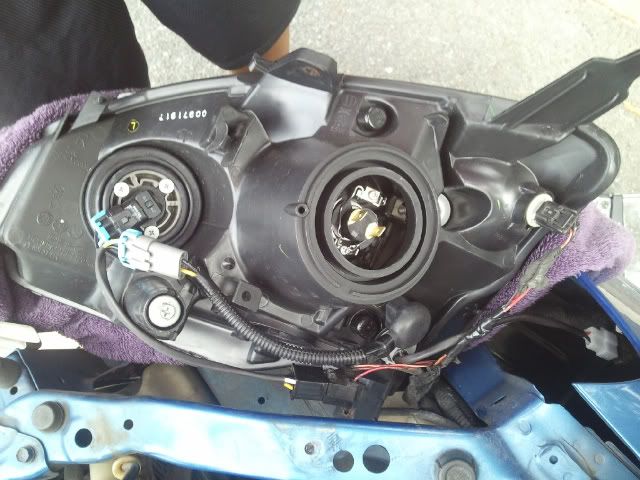
Step three: Remove rubber cover to low beam's along with bulb. My low bulb is H1.
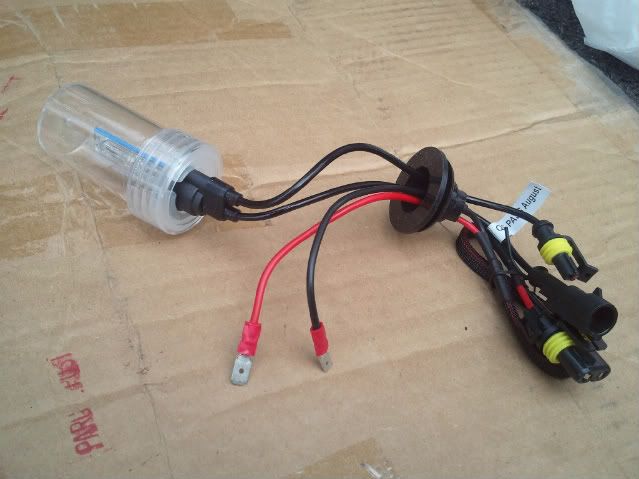
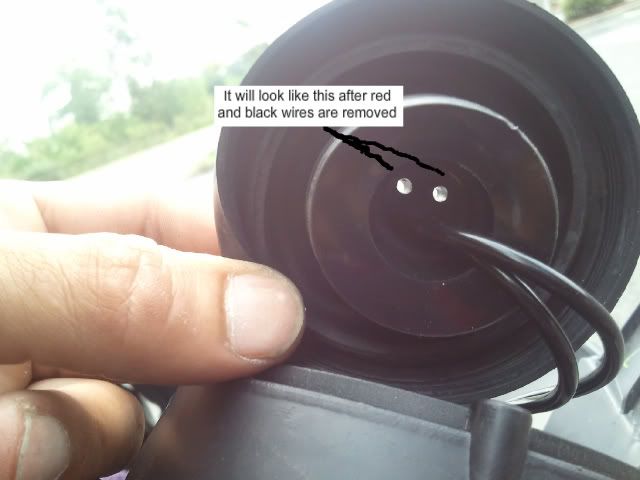
Step four: I removed both red and black wire's from the HID rubber housing because I didn't want the two wire's to be fished out through the rubber housing from the Depo's. I pulled both wire's through the hole's from which they were in the HID rubber housing. Be careful pulling them through the rubber holes as the rubber may tare.
It should look like this (below)
Step five: remove HID from plastic cover (DO NOT TOUCH HID BULB)
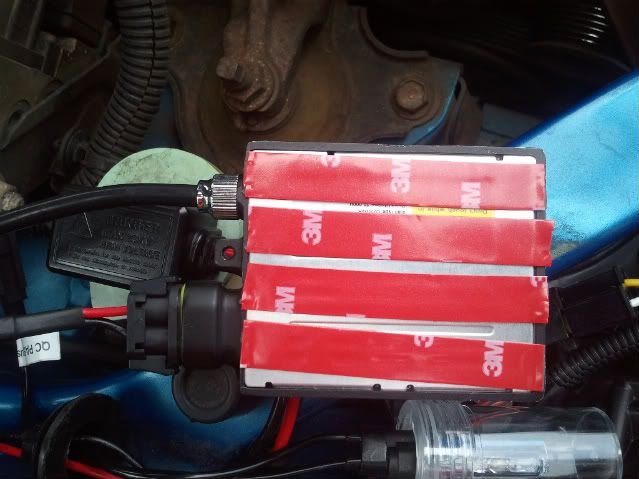
Step six: Find a placement for the HID ballast. I ended up using double sided tape behind ballast to adhere to it's location. Make sure if you're using this method (double sided tape) to properly clean the area. I just used water and a rag as that's all I had with me during the install.
Step seven: Place HID ballast to it's determined location and have all proper plugs "plugged" into ballast (It's easier to have the plug into the Ballast before mounting it onto its determined location. I learned this the hard way because the location I choose for the Ballast there was a piece of metal from the frame of the car which was right in the way of the plug that plugs into the Ballast.
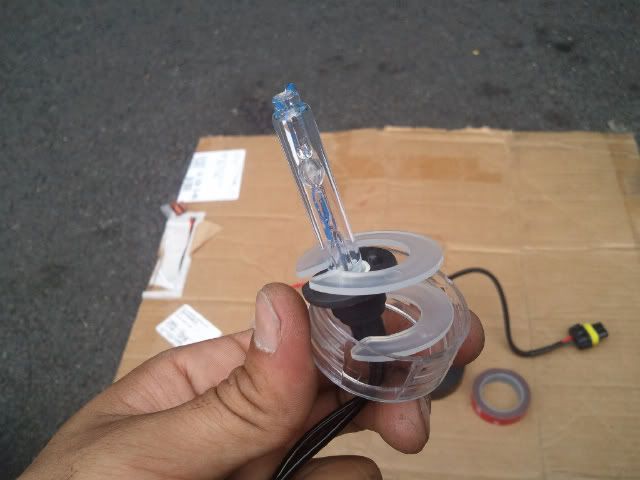
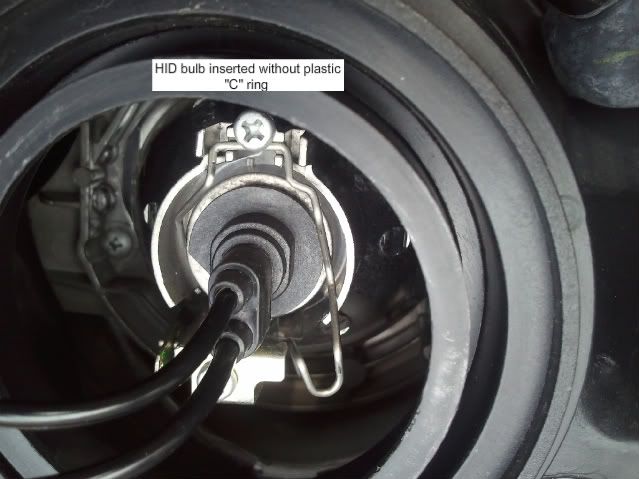
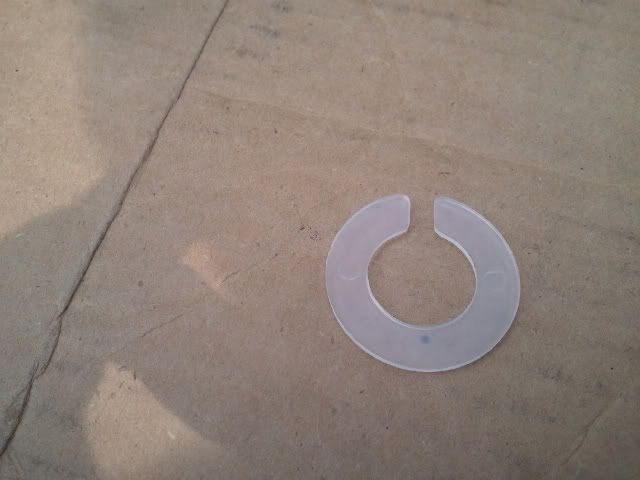
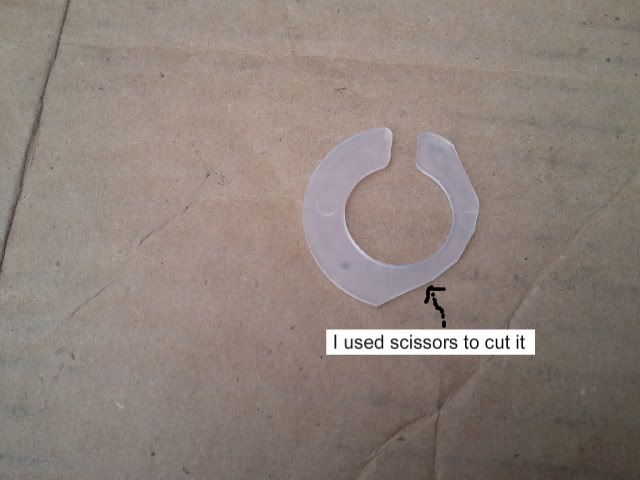
Step eight: Insert HID bulb into low beam housing. My kit didn't come with X-clips so the HID bulb was loose in the housing. I didn't want to order X-clips so I manufactured my own. I used the plastic "C" shaped plastic ring that was inside of the HID bulb cover. "Please refer to the picture to see what where I cut the plastic ring for proper fitment inside the low beam housing".
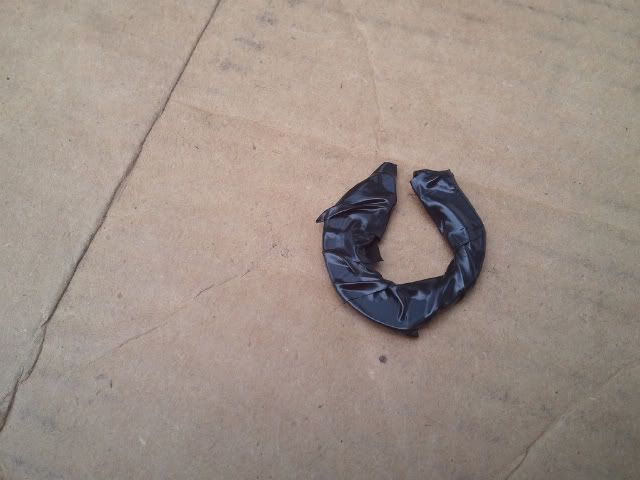
Since the HID bulb get's really hot I decided to wrap the plastic "C" ring with electrical tape as electrical tape can withstand allot of heat. I used only "one" plastic "C" ring per housing.
This mod will hold the HID bulb like a charm. Good tight fit so the bulbs aren't moving around and no chance of escaping the Depo housing.
"c" ring had to be cut like so for proper fitment inside Depo housing
After electrical tape applied
"c" ring inserted on top of HID bulb
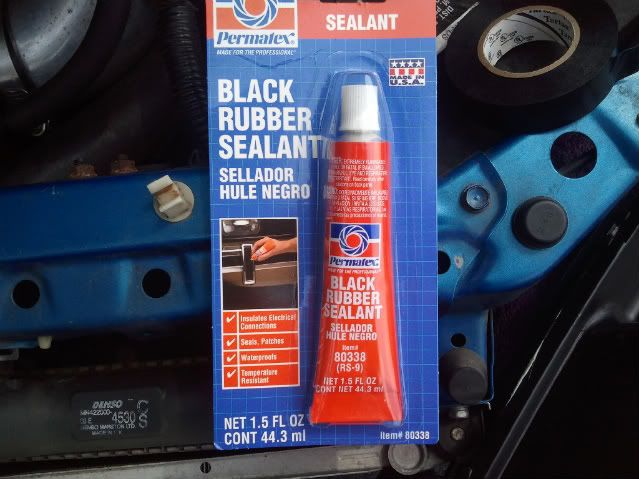
Step nine: There will be "two" holes on the rubber piece where the HID bulbs are attached too. I used this product above to properly seal both holes. This has to be done as water will get into the housing and will ruin your lights.
I used this product to seal both holes
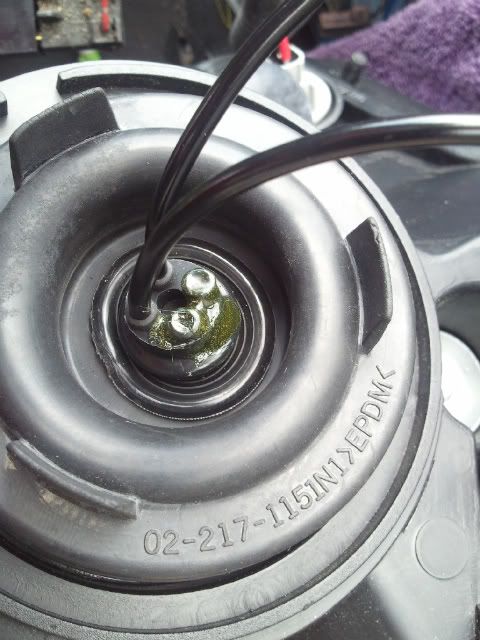
After
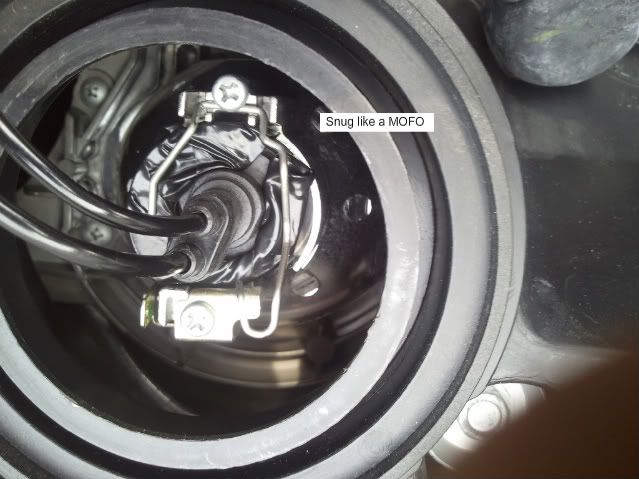
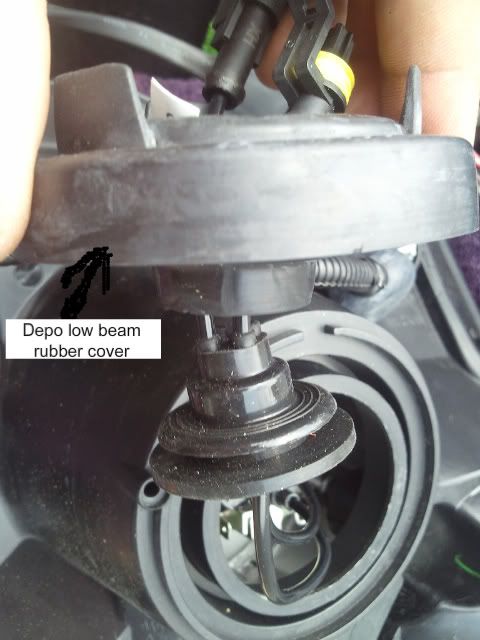
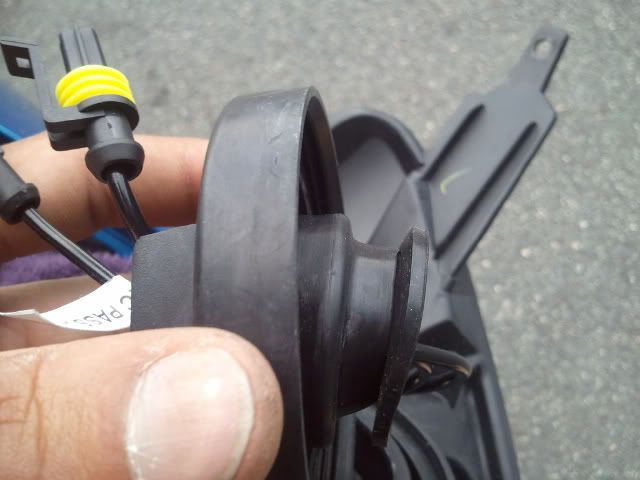
Step ten: Feed the HID wires through the Depo rubber cap. On the center of the HID's there is a rubber cover which there is "two" parts to it. One wider then the other. I pulled the thinner part through the rubber Depo cap and left the wider part inside of the rubber cap for proper seal. Refer to pictures to see what it looks like.
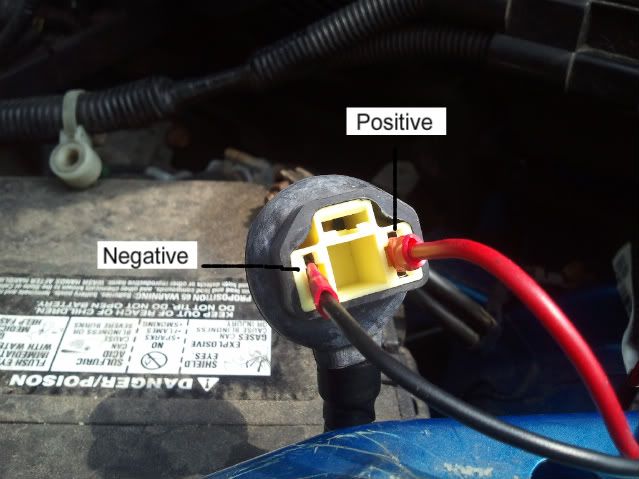
Step eleven: Now comes the wiring. On the HID's there is a "red" and a "Black" wire. The "red" wire from the HID's will be going into the "positive" side of the Depo low beam plug. The "black wire from the HID's will go into the "negative" side on the Depo low beam plug.
I'm not sure if this go's for every Depos but on mine the positive wire on the Depo plug was a "Yellow" wire and the negative was a "Black wire. On both driver and passenger side low beam plugs, the "positive" wire was on the right side of the plug (not sure if this goes for every Depo so make sure to check first).
Step twelve: You will need to electrical tape both "red" and "Black" HID wire into the Depo plug. Easy to do, just make sure to apply the electrical tape in a way that it pulls the wire's into the plug so it will be a snug fit without any play (this will make it so there will not be any chance of the wire's loosing up therefore cutting electricity to your low beams. Electrical tape it really good as you "DO NOT" want any water penetration into the plug. After you have taped the wire's turn on the headlight to make sure they are working (I had to re tape the wire's twice before I had it snug enough).
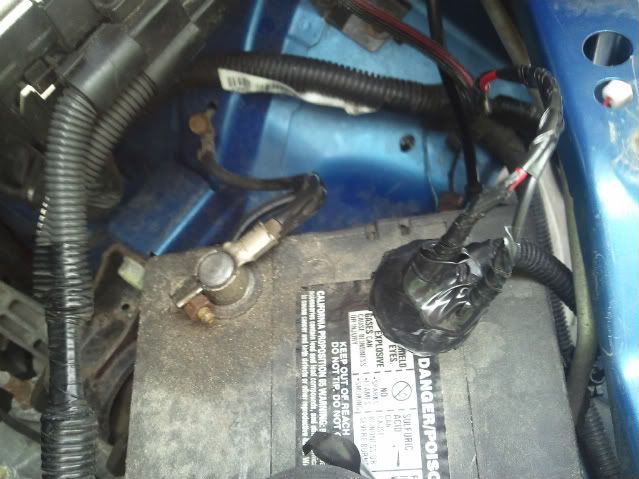
After electrical tape applied
Step thirteen: Tuck the wire's away, Tape what ever you need to for a clean look. Reinstall light and you're done.
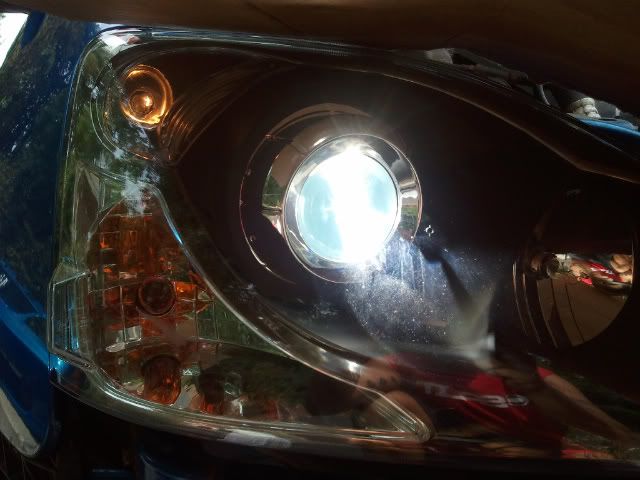
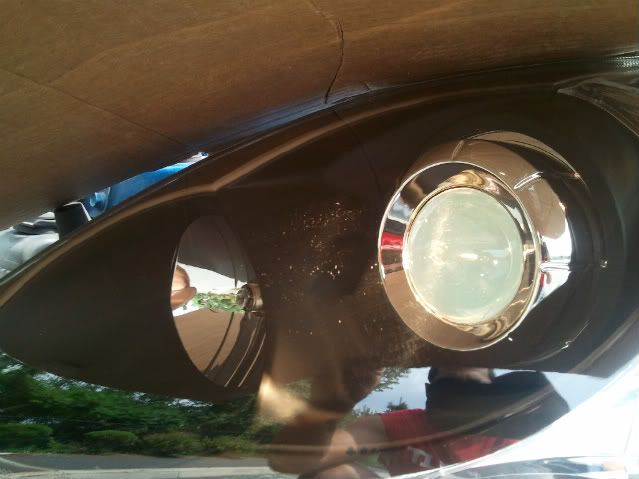
Comparison test (day time)
Passenger side "After" HID install
Driver side with Halogen bulb
If you're doing this outside without any protection from the weather please check your local weather before install or you'll have to deal with this as I did


 Reply With Quote


Bookmarks