

 Reply With Quote
Updated.


ill probably do mines too pretty soon or ill just steal epsode's haha his door wont even close so he can't use it lol

Updated.
Last edited by K20wagon; 10-15-2011 at 11:59 AM.
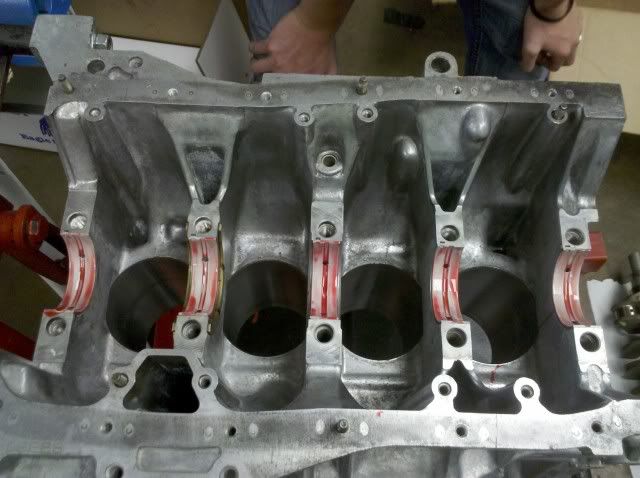
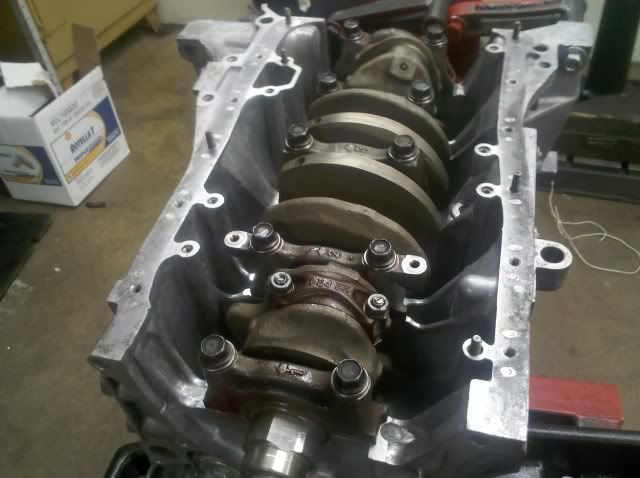
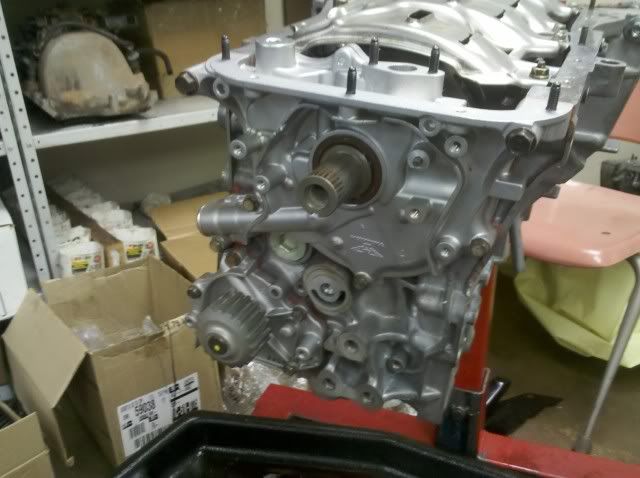
Now I am at the point where I can start assembling everything so went and picked up new main bearings and rod bearings along with assembly lube and more carb cleaner. I started to use carb cleaner on the pistons, block, and crank to get ready for installation. I sprayed the blocks main bearing oil passages good and installed the main bearings and thrust bearings and lubed them up.
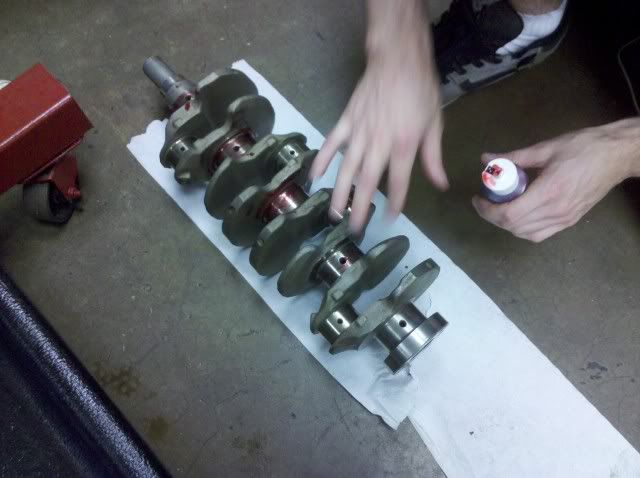
Also lubed up the crankshaft.
Now I got to put the crankshaft in and checked the crank end play, the spec was .004-.014 and was .006 so it checked ok.
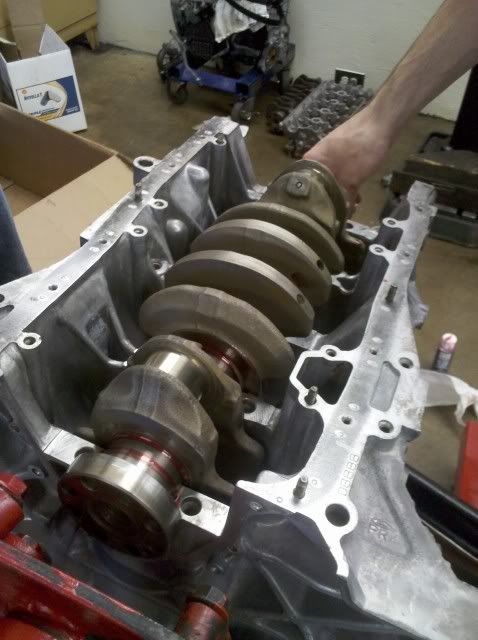
Grabbed the main bearing caps and put the bearings on them and lubed them up and also lubed up the bolts and installed them torqueing them down to its specs and also in correct order. Torque specs was 24 ft lbs then 58 ft lbs.
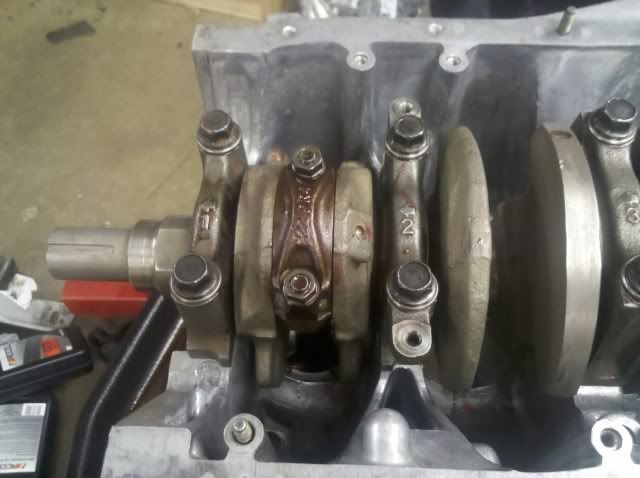
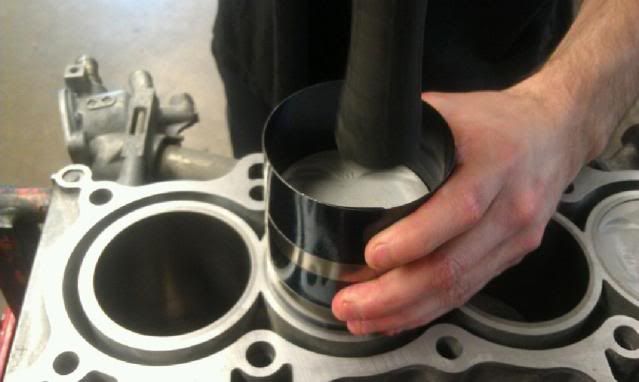
Now I got to the pistons but only had time to install one. I got tranni fluid and lubed up the first cylinder really good. I then put the rings on the first piston and positioned them right on the piston and lubed them up with tranni fluid. Got the ring compressor and tightened it down. Put the rod bearing on it and lubed it up. Grapped the connecting rod cap and installed the bearing on it with lube. Then put the rod down through the cylinder with the arrow facing the side of the block the timing belt goes on. Then knocked it down into the cylinder with a rubber mallet. Put the connecting rod cap on and torqued it down to spec. Torque spec was 15 ft lbs then 24 ft lbs.
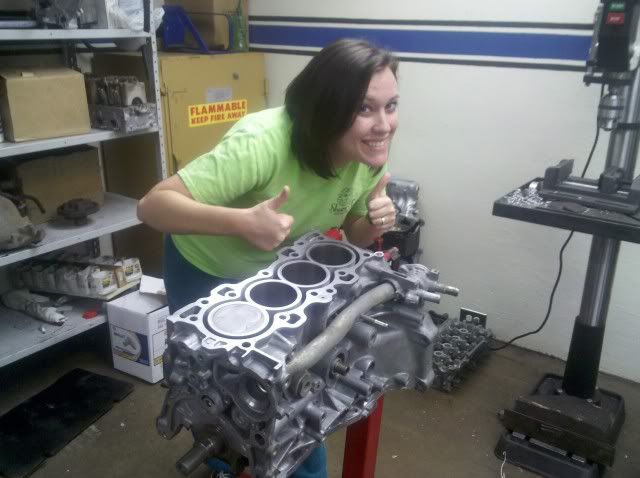
And the wife being crazy lol.
That's all I have done so far but stayed tooned and I will keep you all updated. Thanks for viewing.
Last edited by K20wagon; 10-15-2011 at 12:01 PM.

Looks awesome, wish I had a place to do this stuff!
I am using the automotive class at the college where I live to do this lol.Originally Posted by Ill_eagle94


Thanks man.
I also got my skunk 2 coilover sleeves, front and rear camper kits and probably gonna go with kyb struts and slam the teg on the ground as far as it will go without rolling fenders.
Go lower than that and bat roll them :D
Hoping to hear a first start up video of that engine soon :)
Lol I might just see if I can find someone that has a fender rolling tool and just do that and really slam the hell out of it. And will definitely make a video of the first start up.
Had to update something went wrong with the pics but now fixed.
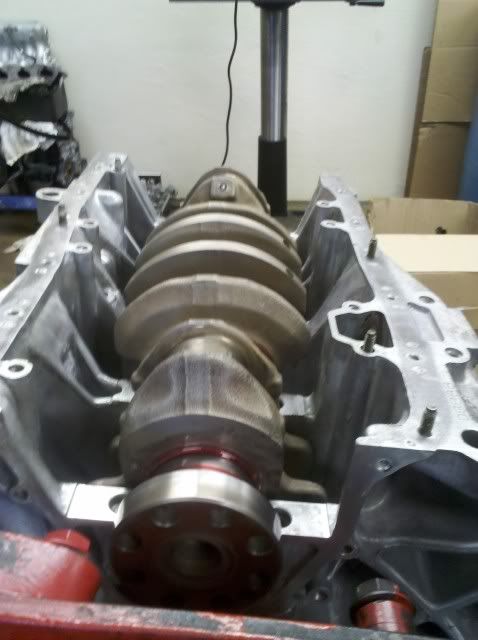
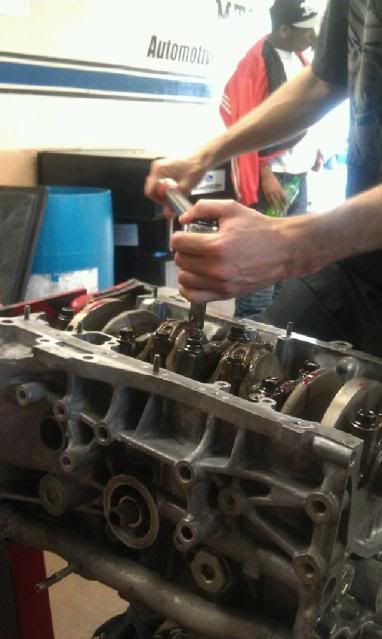
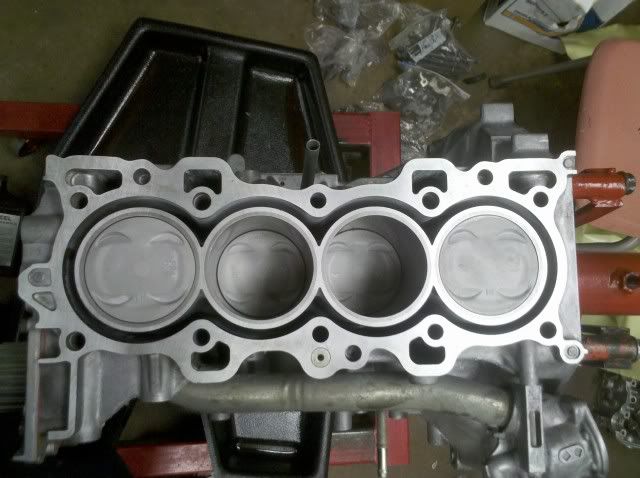
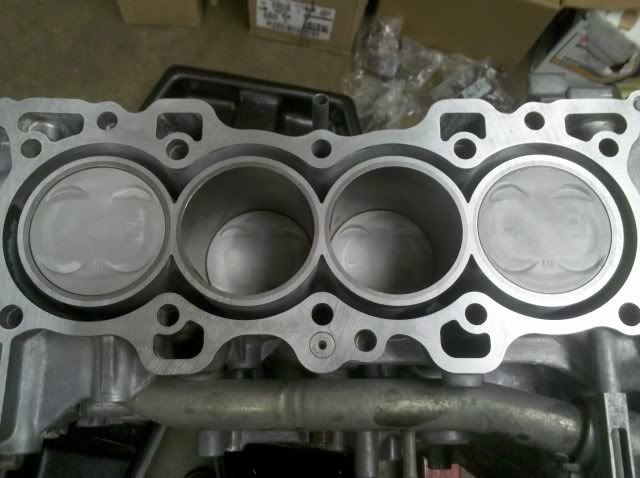
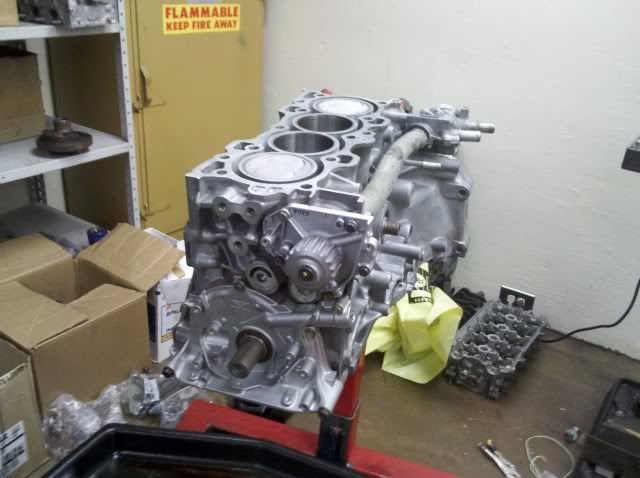
Update on the progress today, I got all pistons in, crank baffle, oil pump and water pump on. First started out with piston 2 and did the same process as the first one, put the rings in order and lubed up with tranni fluid. Put the spring compressor on it and put the bearing on the rod and lubed it up with engine assembly lube. Put tranni fluid in the cylinder and put the rod down into it and hammered it in place and put the rod cap on with the bearing and torqued down to 24 ft lbs. Pics are started with piston 3.
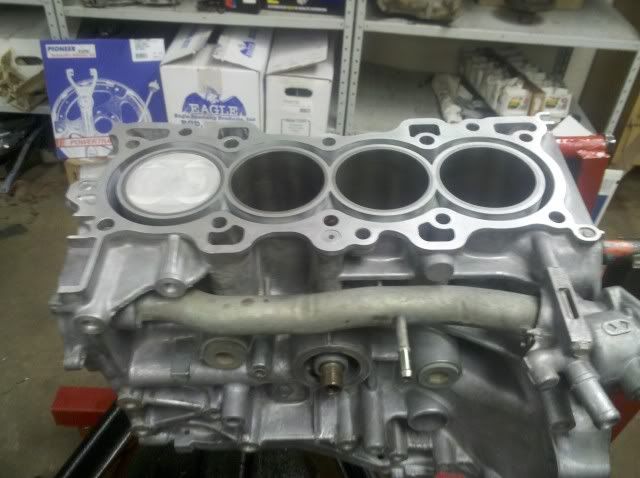
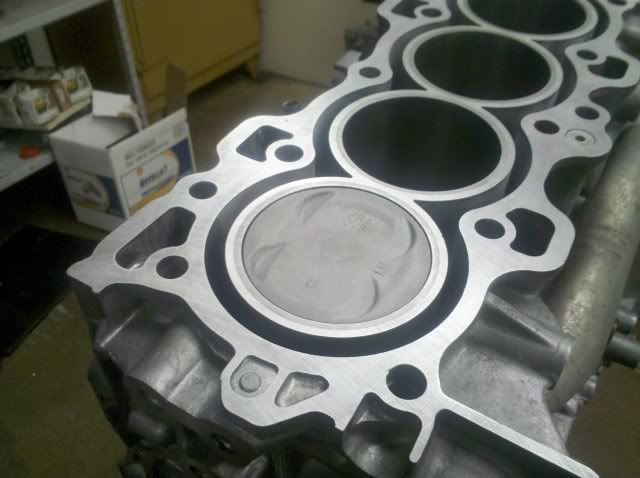
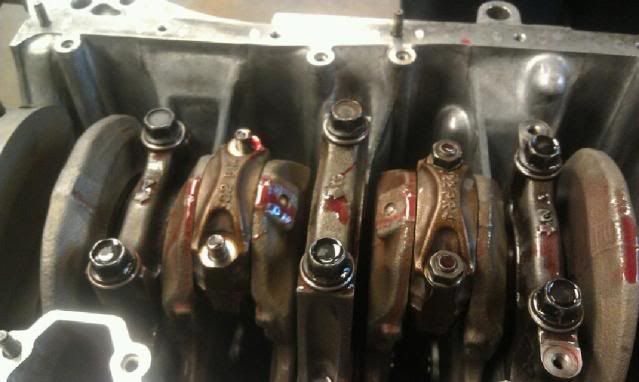
And the finish product of all pistons in.
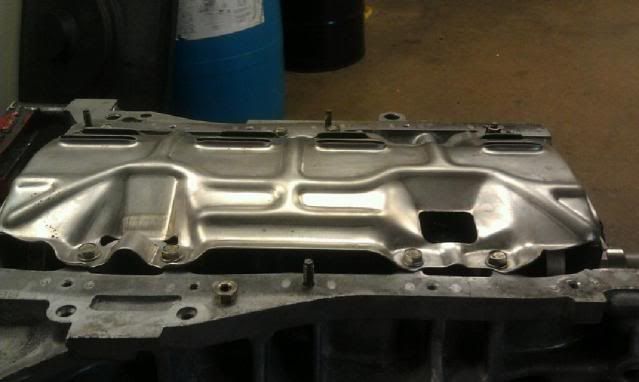
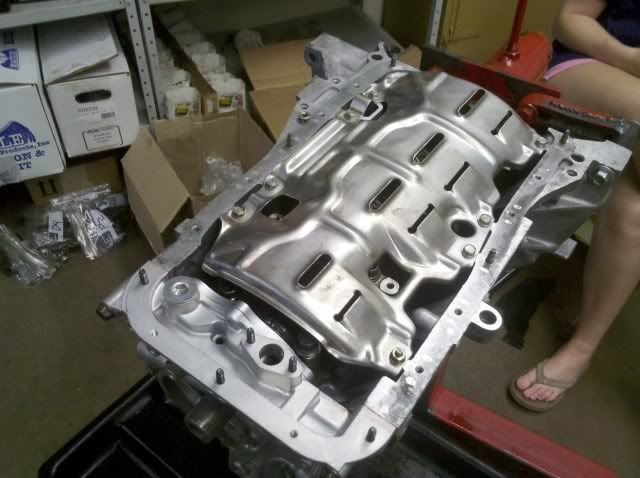
After all pistons where in I got the cranke baffle and put it on and torqued it down to the specs which is 98 in lbs.
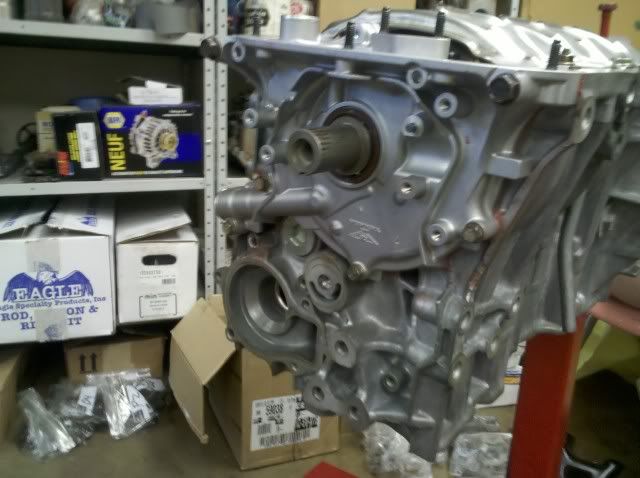
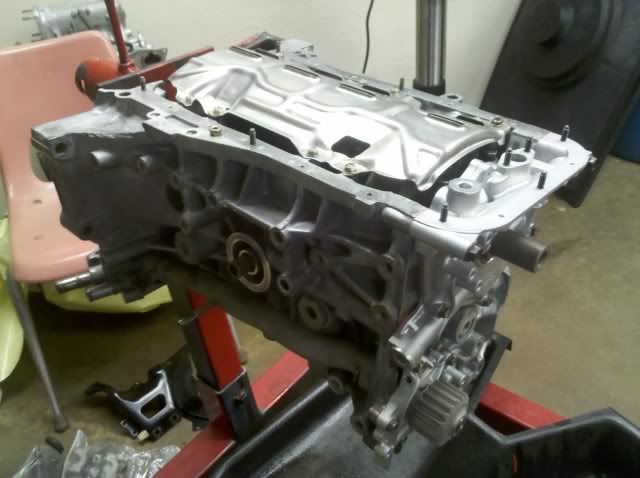
Now comes the oil pump, sadly honda didn't provide me with the o ring or the gasket for the oil pump screen. I found a new o ring round the shop so I got to put on the oil pump on. Got the rtv gasket maker and put it on the block and the oil pump and mounted it on. Put all the bolts in and torqued it down to specs. The smaller 10 mm bolts are torqued down to 96 in lbs and the bigger 12 mm bolts are torqued to 17 ft lbs.
Next came the water pump, put the rtv gasket maker on the block and the water pump and put the o ring on. Mounted it on and torqued the bolts down to specs which where 106 in lbs.
And now the finished product for today.
More to come tomorrow when I go pick up a oil screen gasket and be able to get more done.

lookin good!
i <3 clean parts
Thanks man, and its so much better being able to put it back together without getting all black and crap.

this is looking real good
Thanks, its definitely coming along pretty well minis the snags I run into like honda not providing the oil screen gasket or oil pump o ring lol bastards. I would of got more done today if it wasn't for that. But no problem ill just pick one up tomorrow and finish the block up and probably get to the head.
There are currently 1 users browsing this thread. (0 members and 1 guests)
 Posting Permissions


Bookmarks