


 Reply With Quote
Clean.


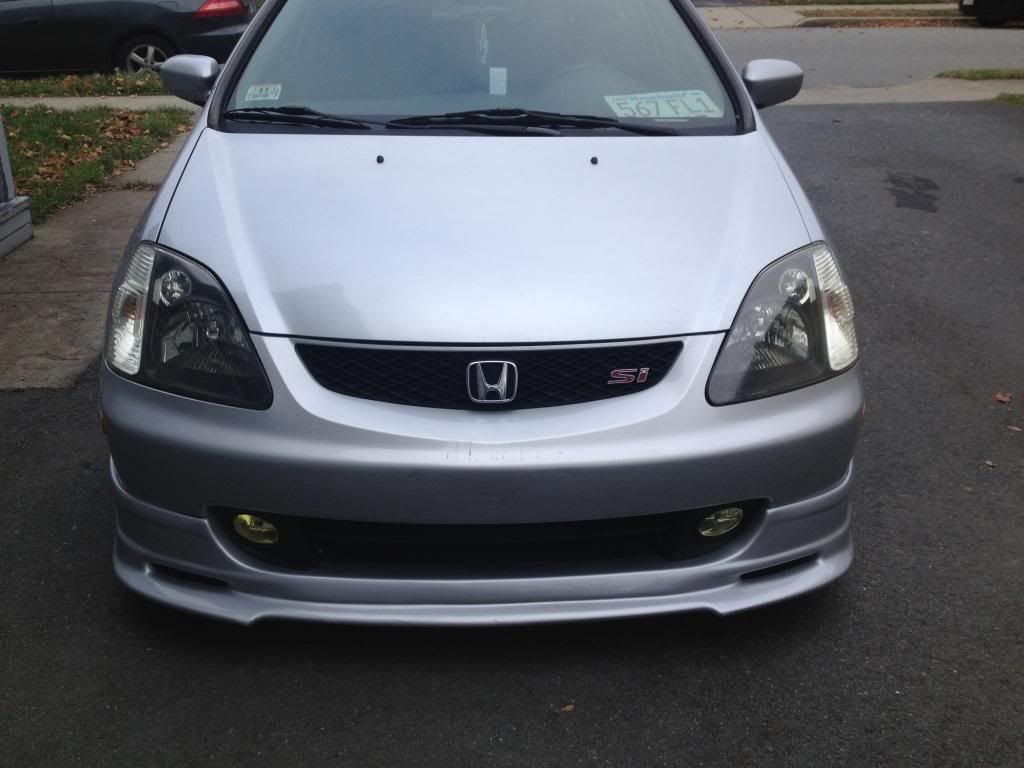
Whats up guys. did my headlight housings black last week and figured I'd post my pics for anyone curious !
Items Needed
- Black (or any desired color) high temp paint
- Flathead screwdriver
- Use of a gas oven
- and some common sense lol
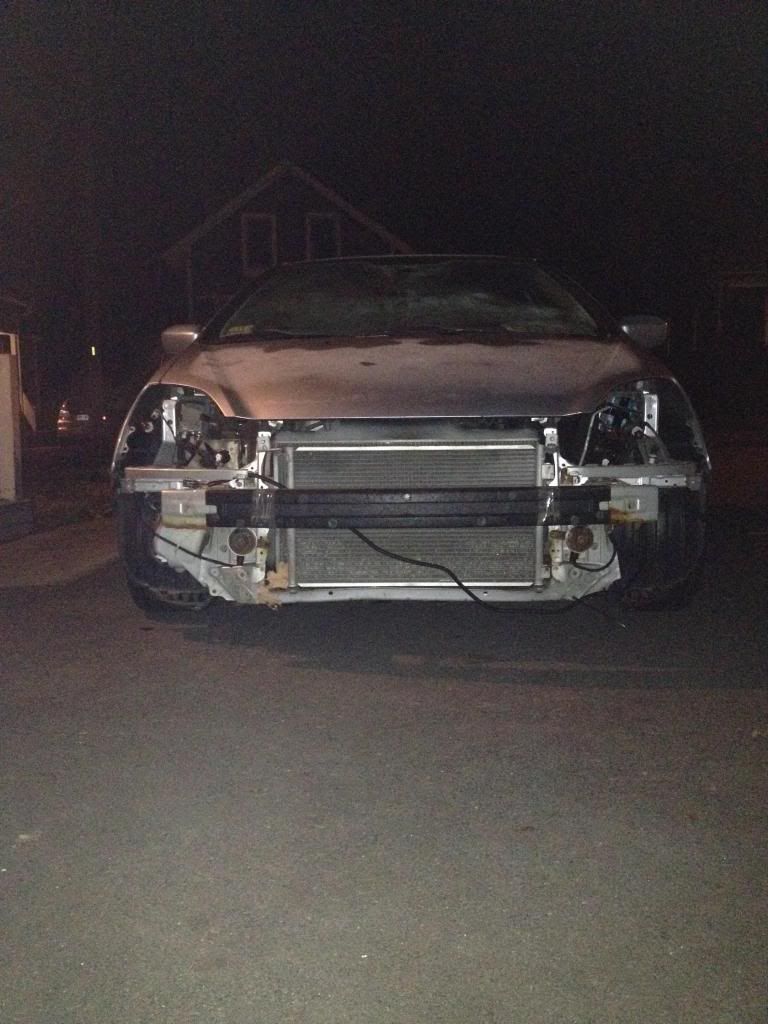
All bulbs must obviously be removed. Bumper off and headlights out * I didnt do this at night BTW, Car sat like that overnight, I installed the headlights next morning! *
Bad hit , the pics of the headlights pre-baked got erased but ill explain the pre-procedure!
- Start off by removing you're bumper
- After you've removed the bumper, remove the headlights, 4 bolts per headlight.
- Once removed, pre-heat you're oven to 270 degrees
- *Make sure you have suitable room in you're oven!*
- Place headlight inside sitting how it would, and let it bake for NO MORE than 4 minutes
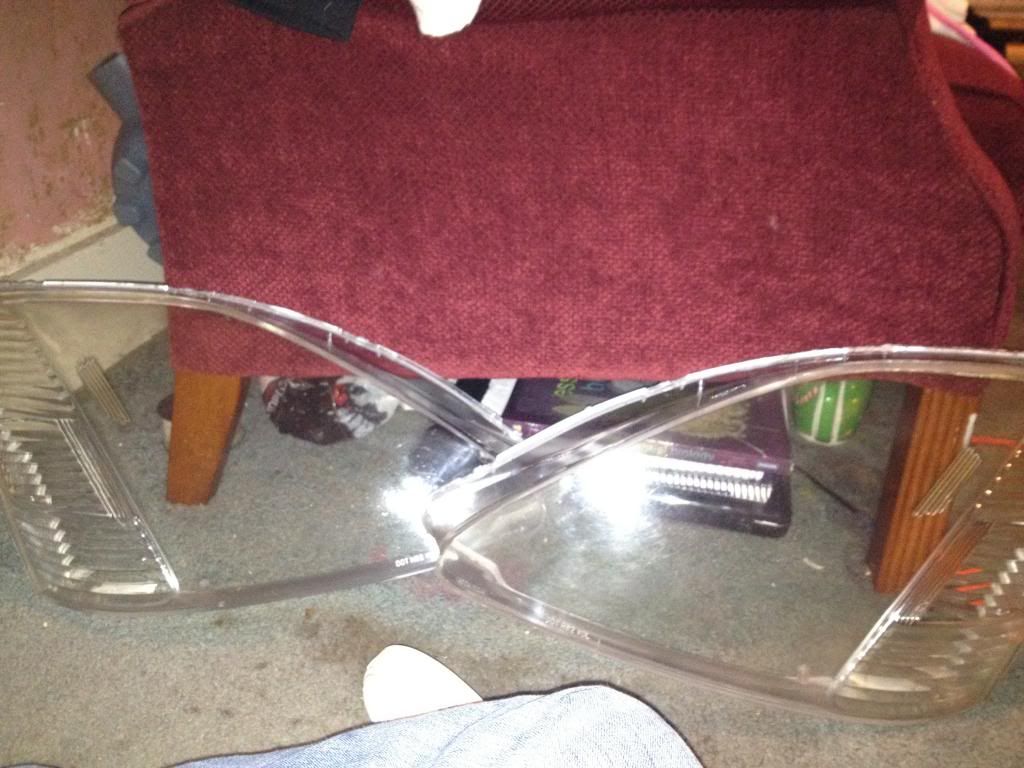
- After 4 minutes take out and start lifting up the tabs on the headlight with you're flat head screwdriver
- Be quick the sealant will harden back up pretty quickly !
- Once all tabs are lifted work the lens off of the headlight, should be fairly easy, the sealant will stretch and go back in place, just neaten it out a bit if its messy.
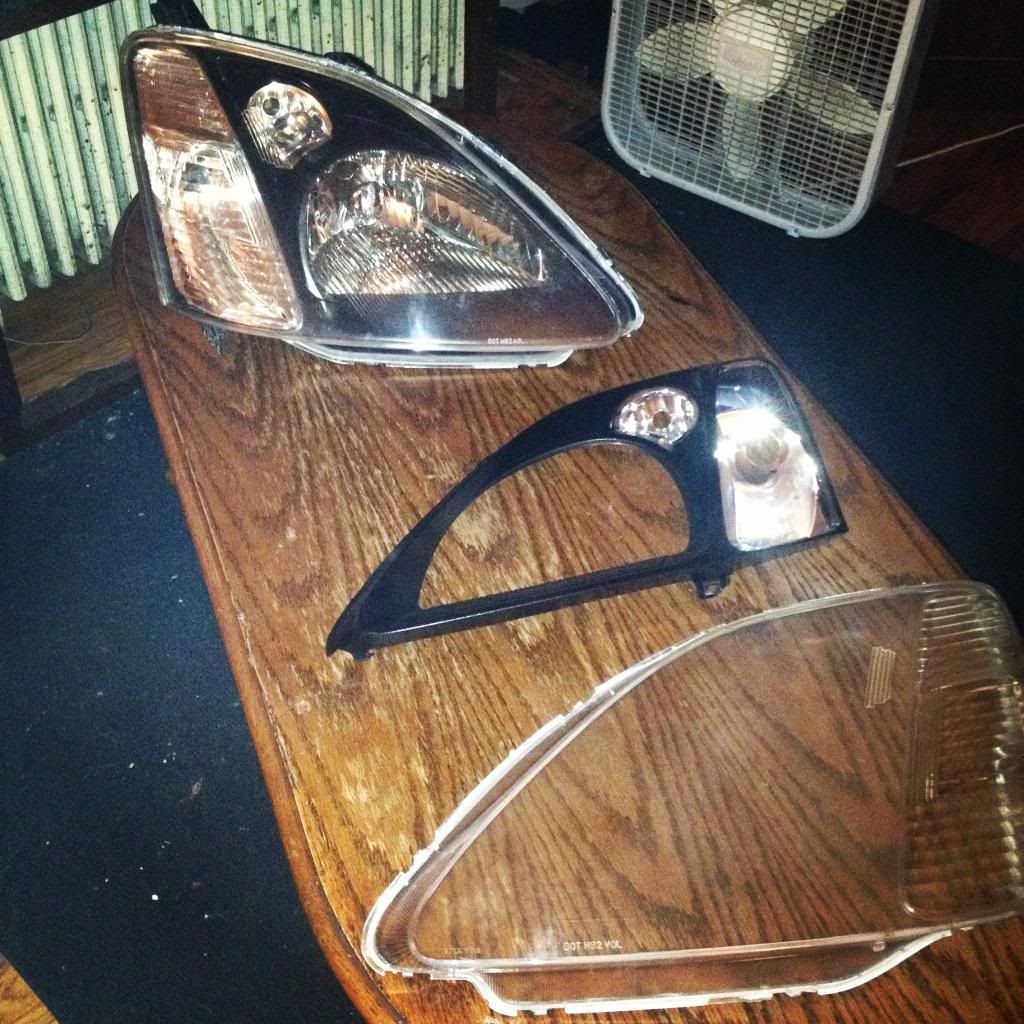
- And there now you have you're open headlight, remove the housing and begin masking !
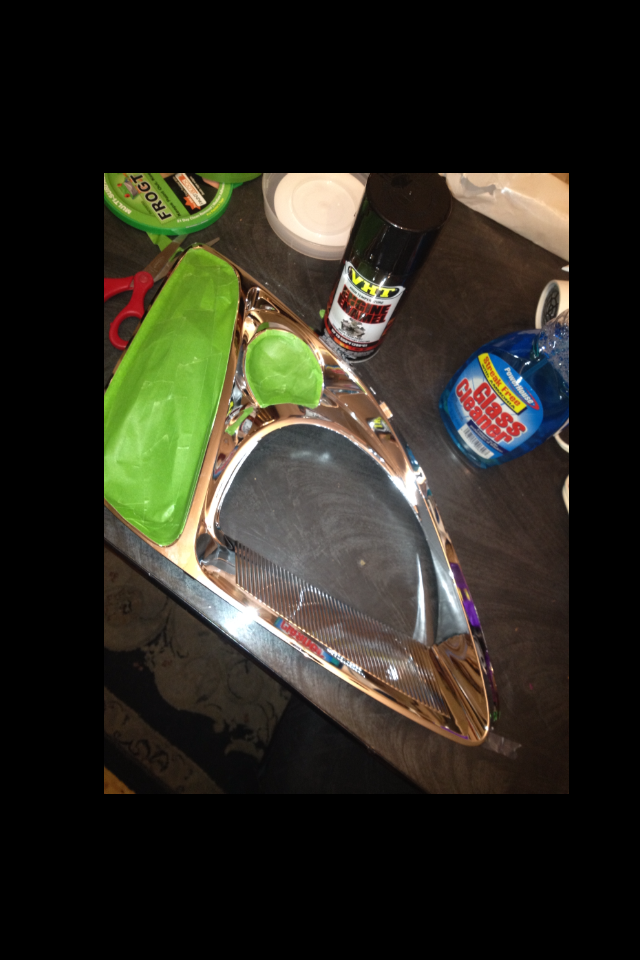
I used VHT high-temp black gloss, these are the areas you'd generally want to mask !
Make sure to clean the housing before you paint, i used windex wiped with a paper towel, then with a micro-fiber rag.
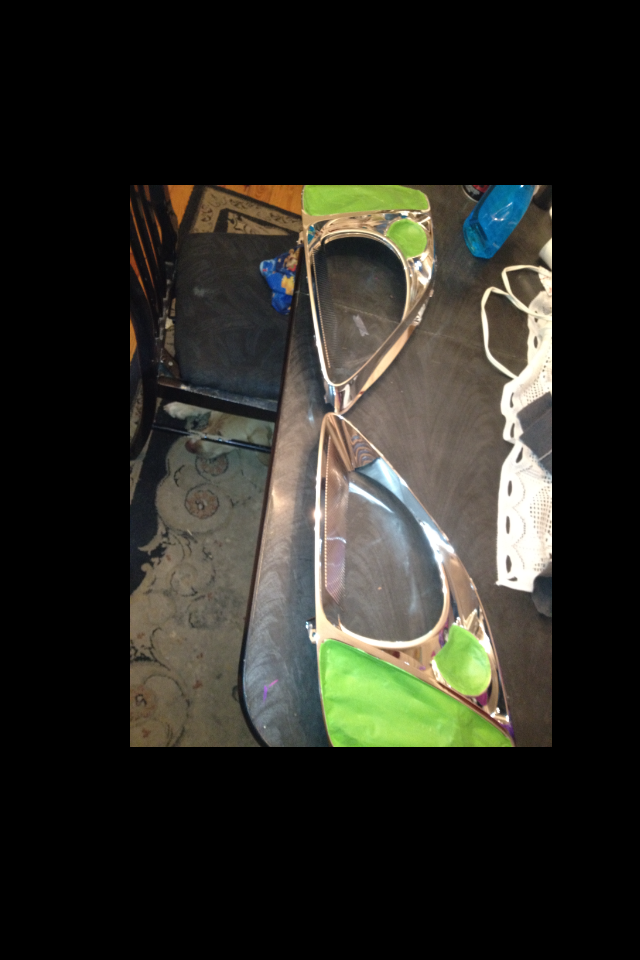
Both housing pieces tapped off and ready to paint !
After tapped off, give it 3 good coats , or read cans instructions, let dry roughly half hour per coat, or what you're can says !
I took the time to polish both sides of my lens's to rid oxidation and restore them to like new OEM headlights !
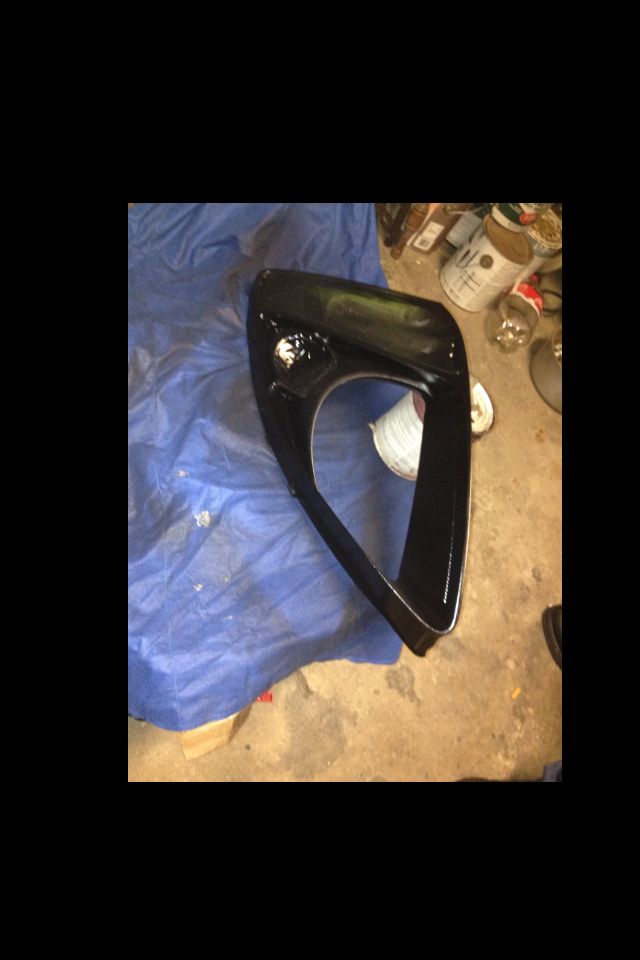
I let them sit overnight to dry, but once dried , you can now put the housings back in and encase them !
Once both encased back in the headlights Repeat baking steps !
- Preheat 270degrees
- put headlights back in the oven for 4 minuts !
- Once times up, take the headlight out, With oven mits! press on the lens and apply the lens back in place
- The goal is to re-heat the sealant and re-seal the headlight how it originally was
!
- Be sure to push all the tabs back down * they should stick right back to the sealant!*
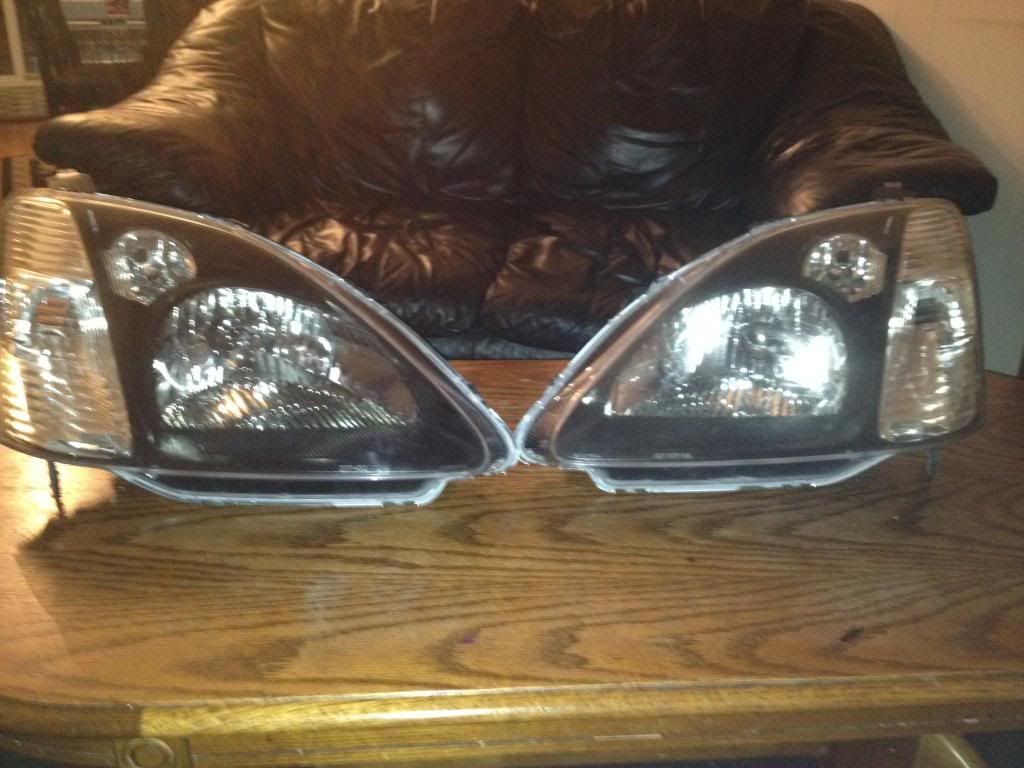
Here are both of mine !
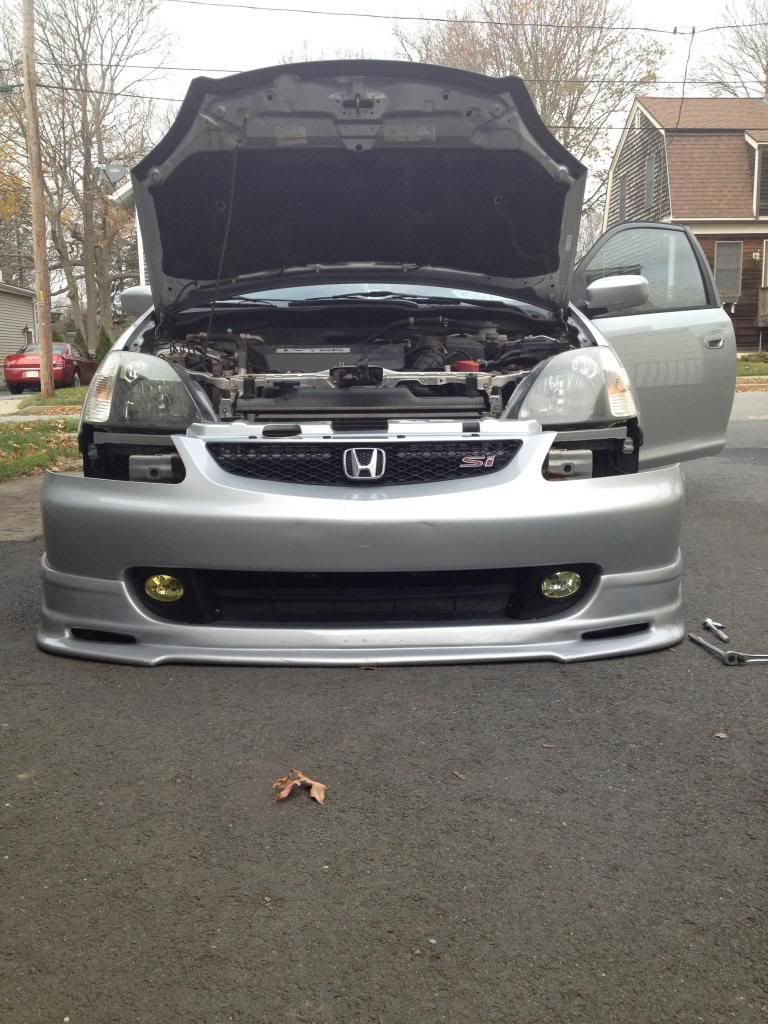
Install them back in to the car, and re-install the bumper
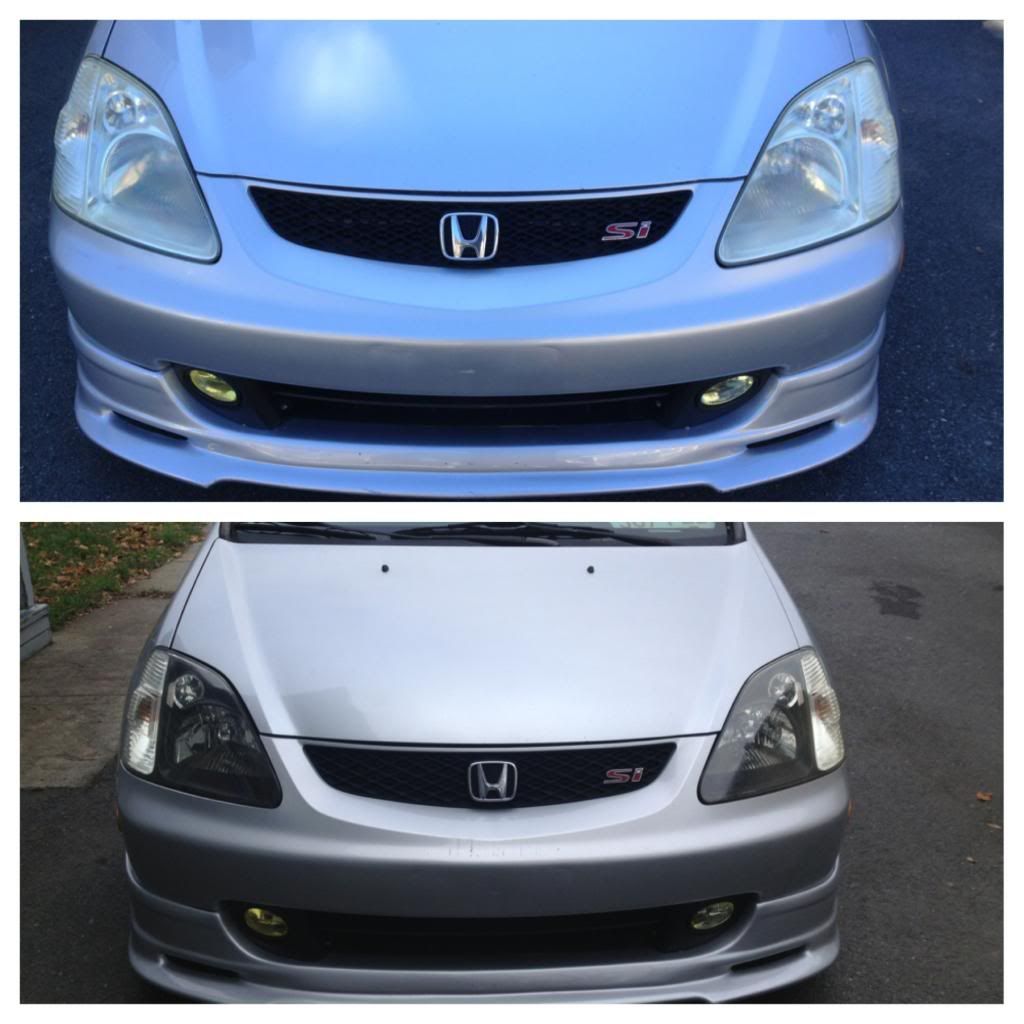
End Results !!
Before and After !
I hope i can be help of somewhat to anybody out there trying to do this themselves! thank you and enjoy !

Clean.
thanks man !
Very useful i want to do this but idk if i want to keep the oem look decisions dicisions

very nice.. what lip is that btw?

I should definitely try this mod. I have 3 sets of headlights for my EP for some reason -.-
Looks really good tho, I wonder if anyone has tried it in SSM to get a different styling/ any other paint match?
It's a "type m" lip.Originally Posted by Her-Name's-Ally


eBay type M lip.
Nice write up. I used to have my lights exactly like yours with the very edges kept clear, before i got Depo CTR style projectors. I knew some people who blacked out their housing completely and It didn't seem like it flowed with me. haha
Looks nice, if i didn't had the depo i would consider that.
yes "mugen replica" lip haha
thanks man , i like the depos, but i also like DIY projects ! =p especially if they can come out nice and save money !

gonna do this maybe after christmas but imma do it in gun metal like the type R headlights! xD hopefully it comes out looking ligit. Got depos at the moment but there starting to oxidize and id rather go for the typr R headlight look lol cant wait
also! do you have to use VHT spray paint? and if not why did you?
VHT is good paint..great for high temps. Dont use junk if your going to do this DIY.
does vht come in alot of different colors?
nvm... i just checked it out. but as long as i use one of there paints with a temp of more than 270 degrees i should be good right?
just dont want to mess it up lol
There are currently 1 users browsing this thread. (0 members and 1 guests)
 Posting Permissions


Bookmarks