


Hey guys, this is a how to on replacing your SRS pre tensioner/OEM seatbelt buckle with a non SRS unit for use with an aftermarket bucket seat or when using harnesses. Using this how-to will allow you to remove the unit while still keeping the rest of the SRS system functional, and will turn off the seatbelt light on the gauge cluster.
The reason for replacing this unit is that it cannot be properly and safely mounted on a bucket seat due to the mounting not being the same as our stock seats. Also, at least with my seat (Memoryfab S68) the OEM buckle is far too high to be able to pass the oem belt through the right side harness hole so the belt is tight against my waist.
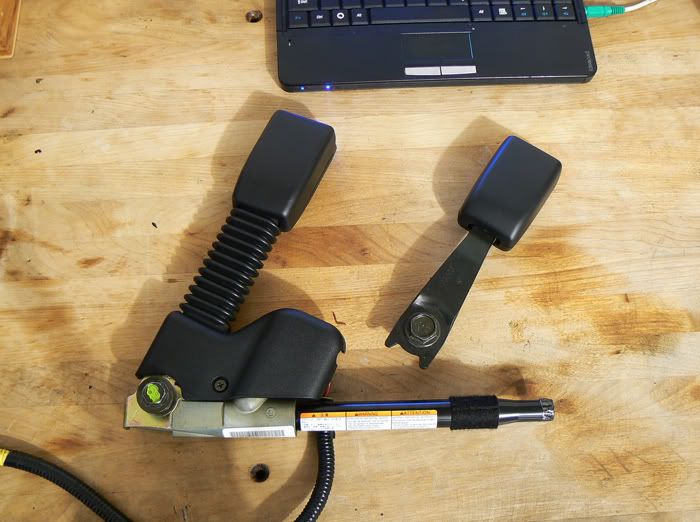
In case you guys are having this same issue you can use a driver or passenger side male buckle from a Mitsubishi Lancer Evo 8. Im not sure what other buckles will work but from what Ive seen no other non SRS Honda female buckles will work with the EP3 male buckle.
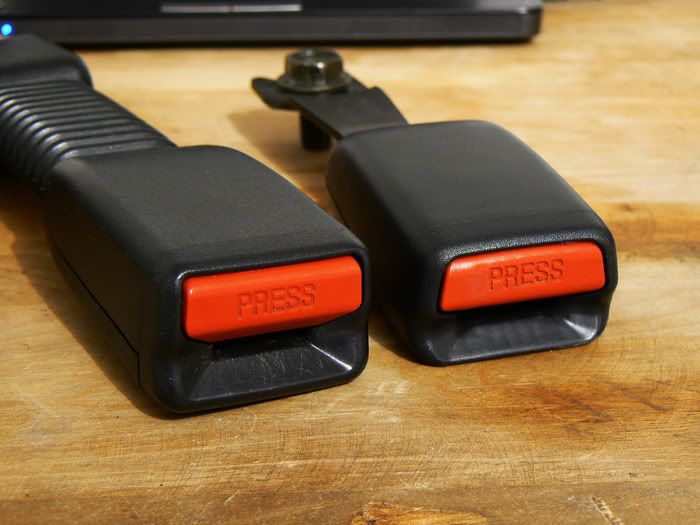
Here is the EP3 male buckle vs. the Evo 8 buckle...
.
.
Now onto the wiring...
*Always disconnect your battery before doing any work on the SRS system*
*If for some reason you need to reset your SRS light here is a How-To on doing so - http://www.ephatch.com/forum/showthr...ight=reset+srs
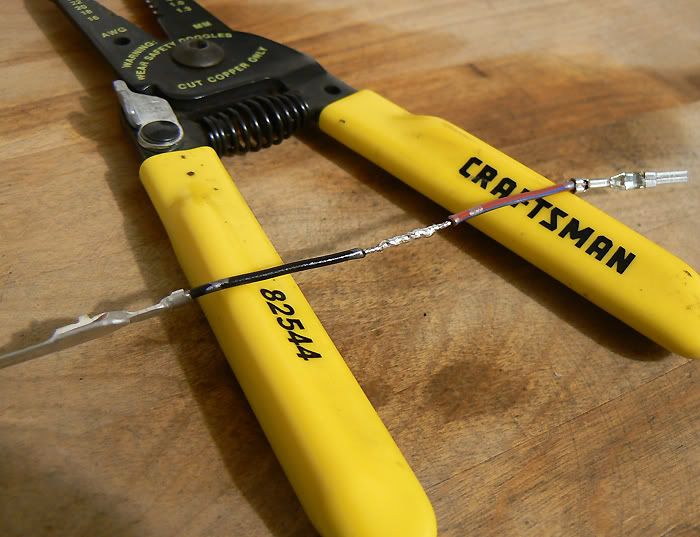
You can either do what I did and make a plug and play jumper with the female side of the plug or you can simply stick some leads into the male plug. I prefer making it look and function as close to OEM as possible.
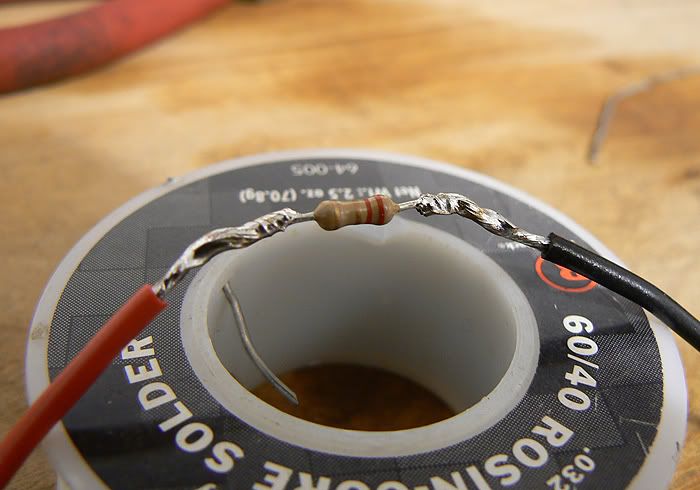
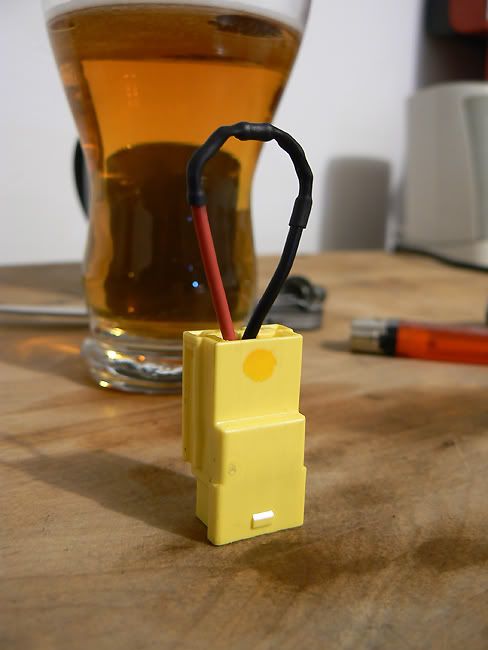
I started with the SRS plug. All you need to do with this (and bypassing pretty much any SRS component) is jump it with a 2.2 ohm resistor. This plug is mounted to the bottom of the seat.
.
.
Next up are the leads for the buckle itself (ground, seatbelt light signal, and SRS signal).
You will need to remove the dash light lead (center lead - blue/red tracer) and jump the SRS lead (left lead - red/blue tracer) to ground (black). This plug will be mounted beside the SRS plug.
.
.
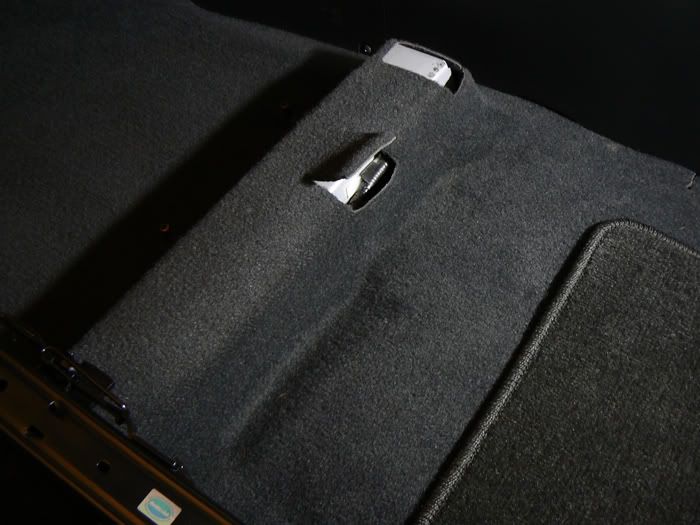
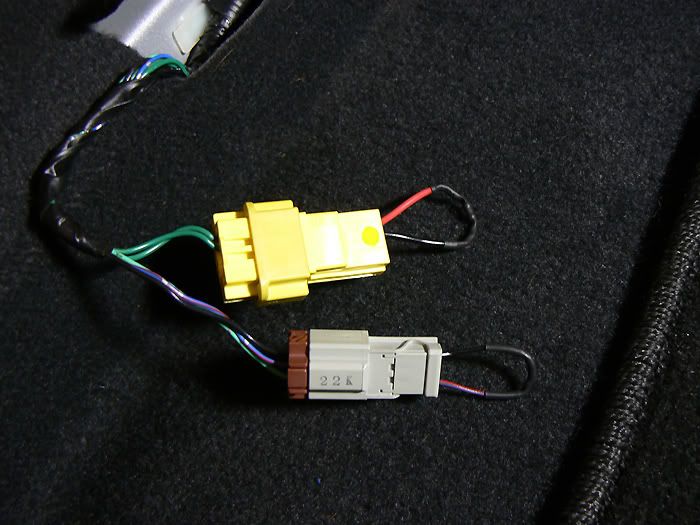
And here we go... Both jumpers installed. Nice and clean!
.
.
Tucked away!


 Reply With Quote


Bookmarks