


Well, I've been working on this off-and-on for about 2 months now. I'm not quite done yet, but I feel like I'm at a point where I can show the progress.
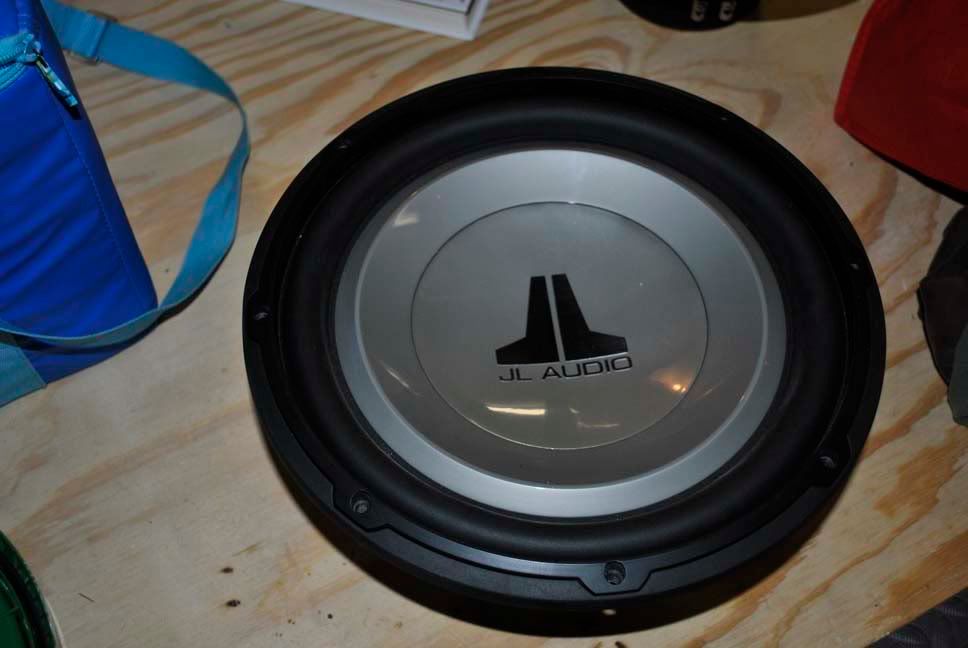
So first the backstory. Someone at work had 2 of these JL 12W1v2 subs for sale for a good price. They were in great shape, barely used. I had been wanting to get rid of the little 10" I had that was mounted in a small wedge box. It didn't sound that bad, but I didn't like the box taking up my trunk space. I always carry stuff back there, and it was just getting on my nerves. I guess I didn't strictly have to buy a new sub to make a new box, but it certainly made me more motivated so that the money I spent on the 12"s didn't go to waste.
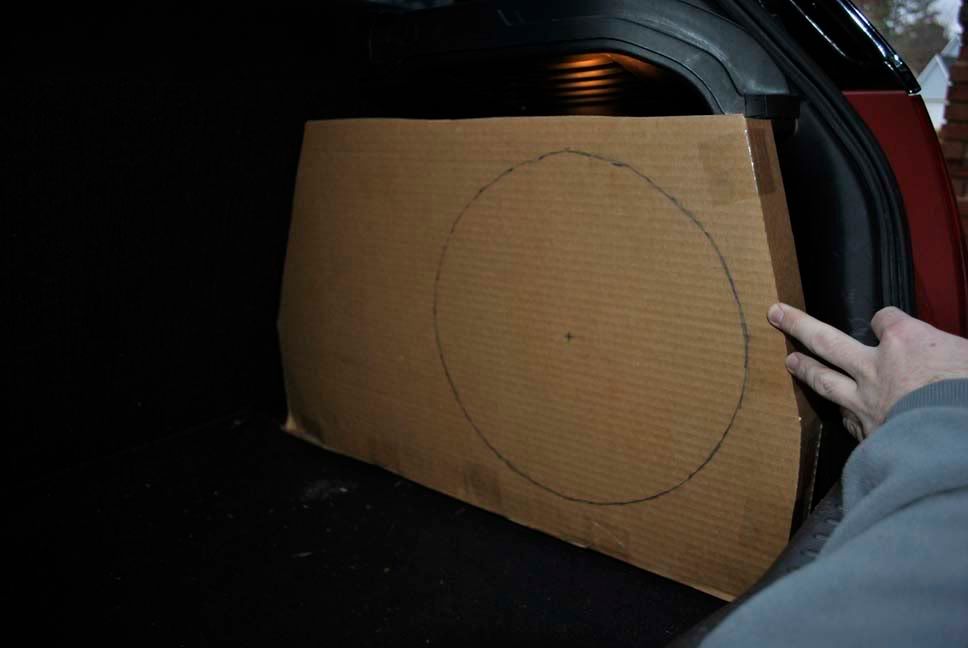
So my first step was to mock up what I wanted with a bit of cardboard. It didn't turn out like the mock-up in the end, but it got me thinking about ideas. I was going to try to build it out of all MDF, and make it fit into the side cavity back there. After a couple hours of mocking and testing, I soon decided there was no way my carpentry skills could make a box to fit those curves. So I then decided to try my hand at fiberglass. My only experience with it was working with the UA Formula SAE team, building a seat. Which they already had a mold for. All I did was lay it flat in the mold and hand it off to the upholstery dude for finishing.
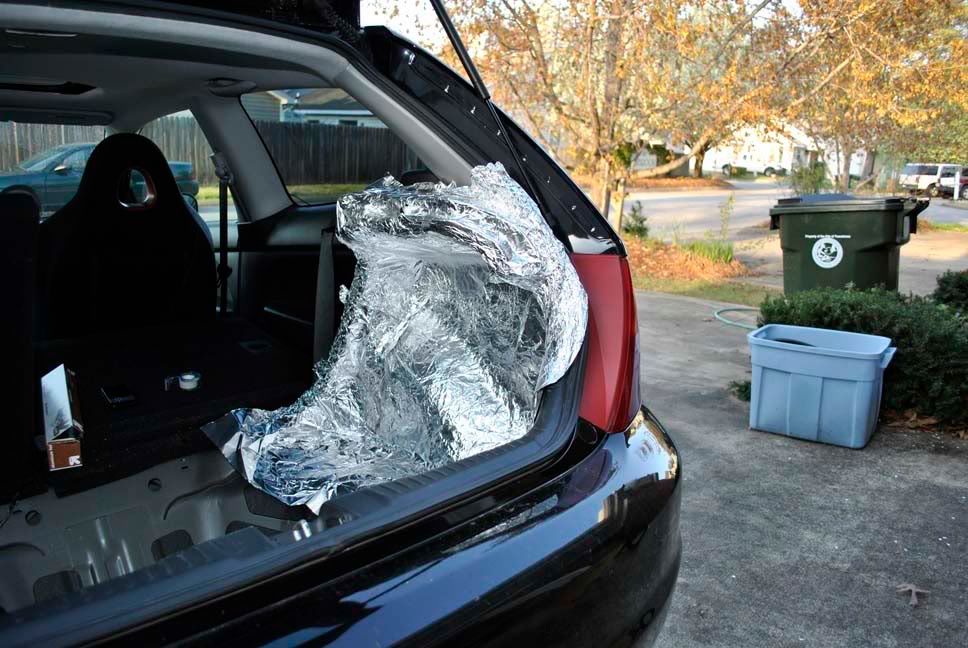
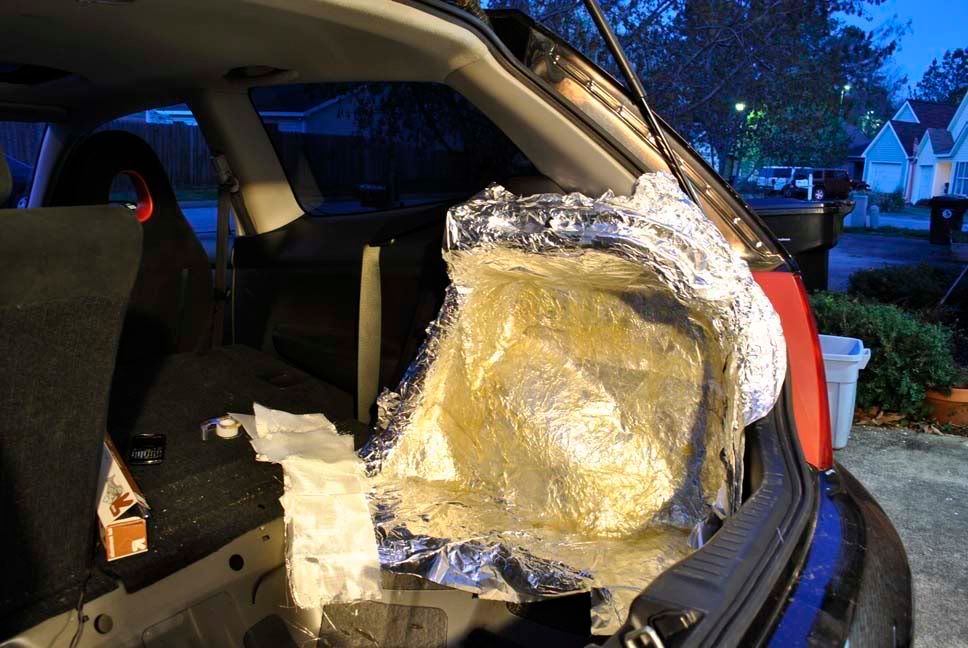
I probably should have read up on some instructions first, but I ended up just diving right in. I went and got some 'glass, resin, sponge brushes, and aluminum foil.
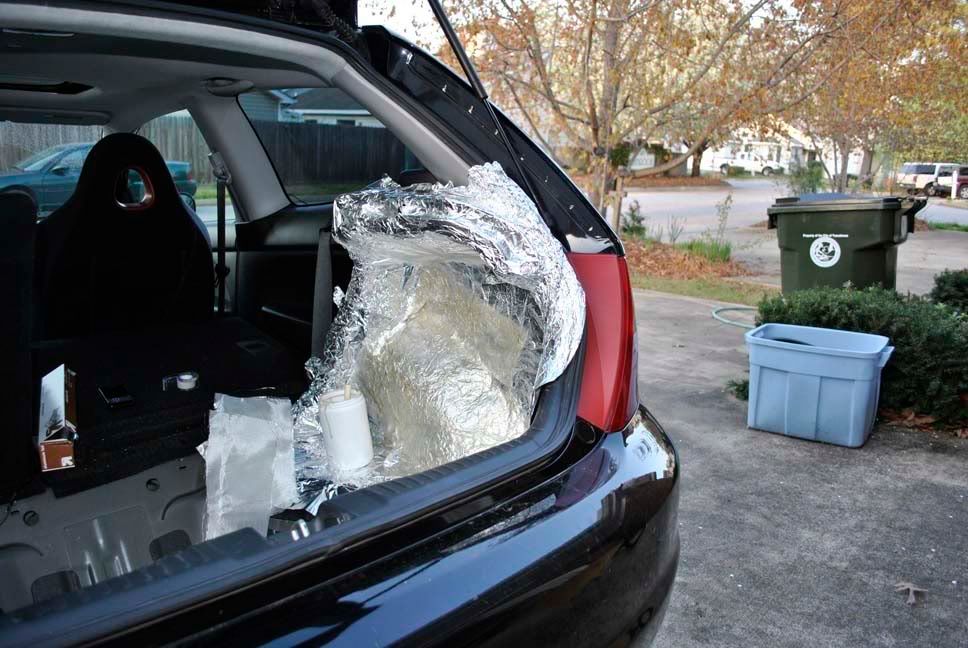
After I got all my foil in there, I just started laying the fg in, and sticking it up everywhere. If you've never used it before, it kinda works like paper-mache. In hindsight, I probably should have used some sort of mold release so that I didn't have to pick all that foil out of the back when I pulled it out, but oh well. I ended up spray painting over the first layer with black so you can't see it from the outside.
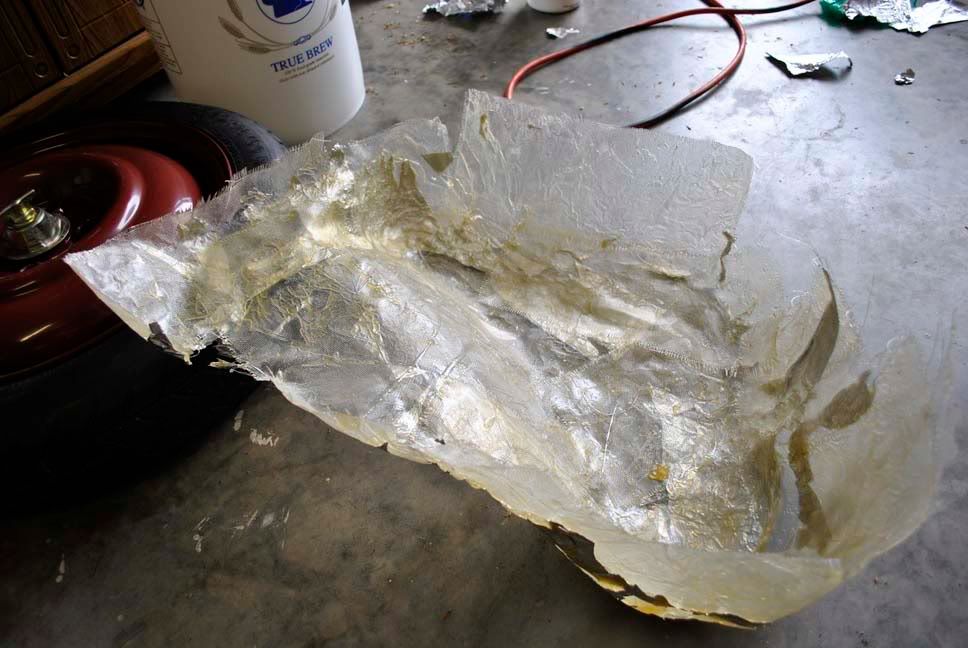
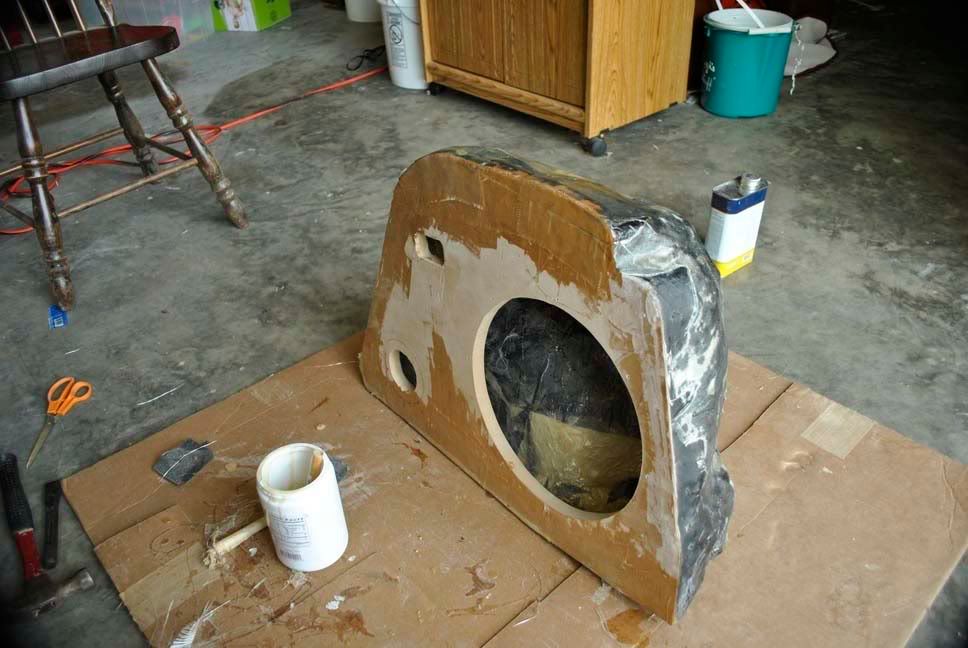
Once it got dried out, I just pulled the whole thing out.
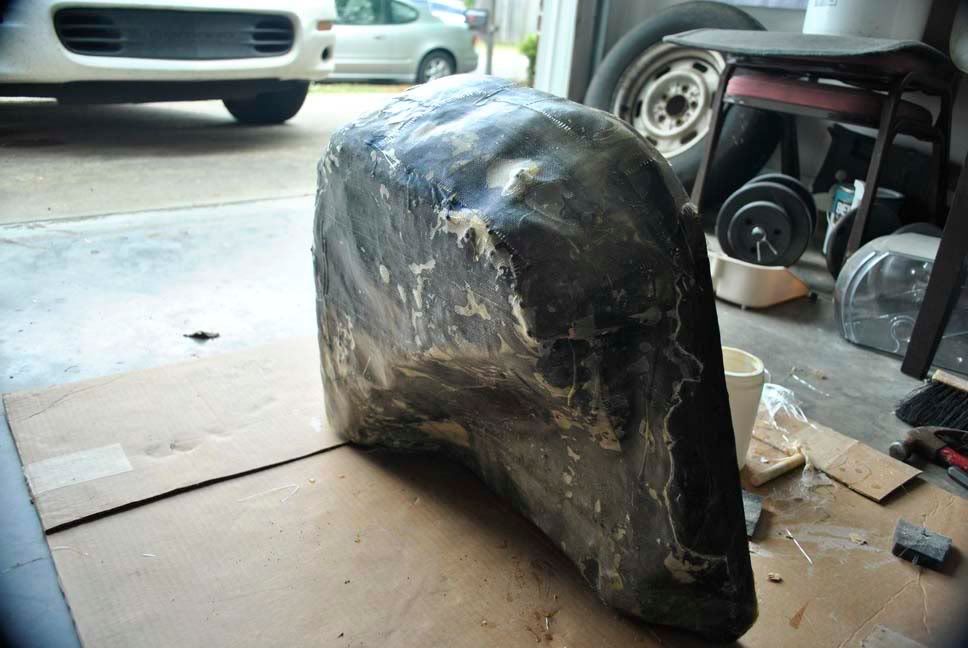
Now there are some missing pictures here, but basically next I just filled in the gaps and finished out the basic shape. Then I laid it out on my piece of MDF and traced the shape for the front piece. After cutting this out, I laid the glass out around the edges to secure the front and back pieces. I did this over several days, making sure all the holes were filled, and that I had a good seal around all the edges. Then I went back and laid another layer on the back to strengthen it up.
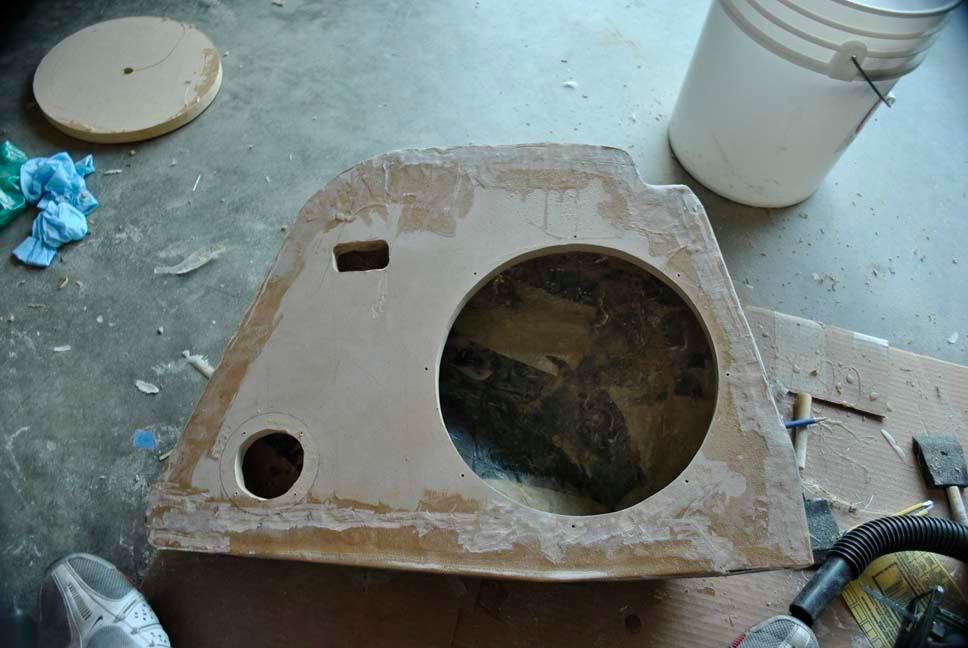
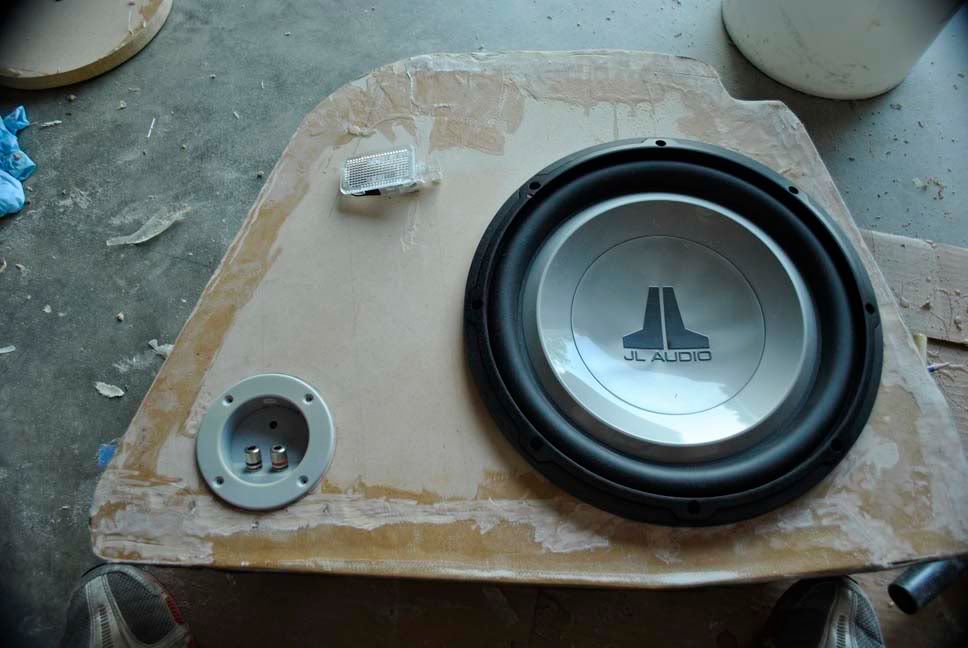
Then I went about cutting the speaker, terminal, and courtesy light holes. Oh, I wanted to keep my trunk light, so I made a hole for the original light to snap in there. I don't have it wired yet, that's one of the details I have to finish out here in the next few days.
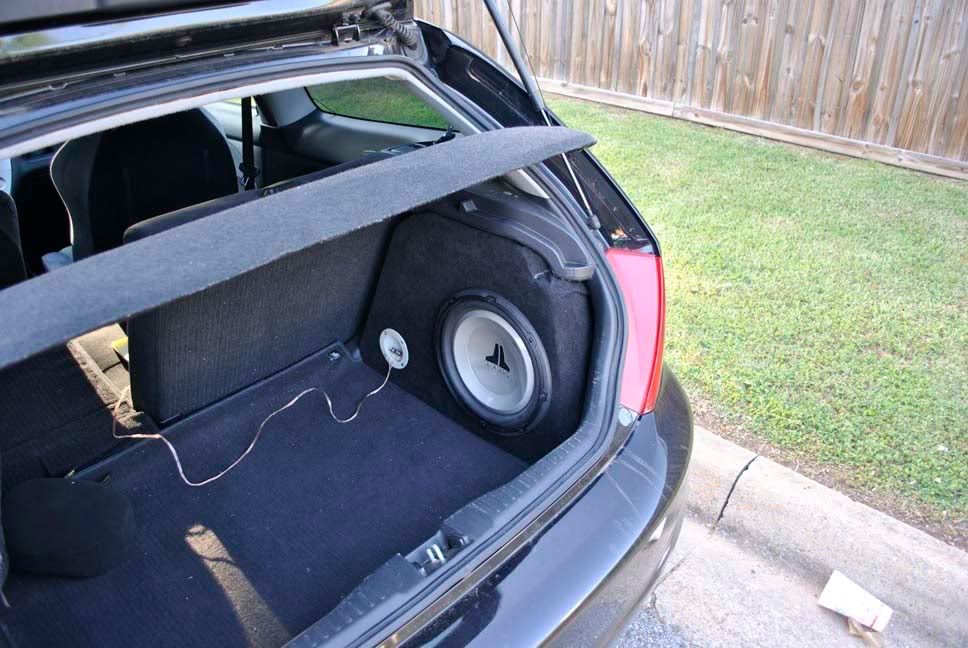
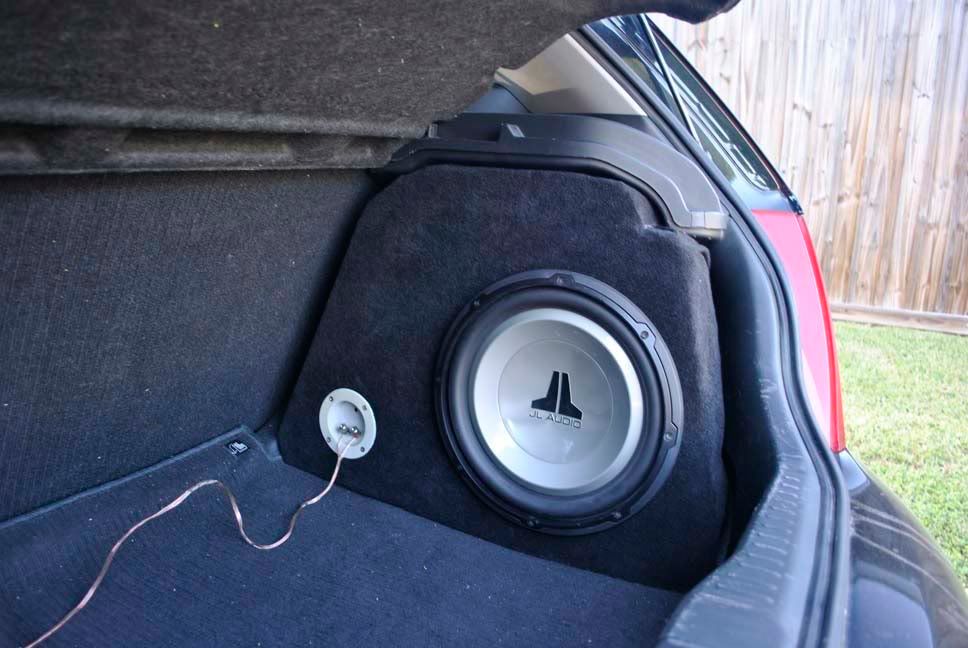
The carpet job I did here kinda sucks. I used 3M spray glue to hold it down, which I've used on several simpler, square boxes. This curvy thing was a bit of a challenge, and I really have no clue what I'm doing here, haha. I still have another equal-sized piece of carpet, so I'll have to take another whack at it. Also, I will probably paint that plastic terminal piece so it doesn't stand out so much.
The light hole is still under that carpet, I haven't cut a hole for it yet, so it's not really sealed yet. But anyway, I'll update when I actually finish it.
Any opinions?

 Reply With Quote


Bookmarks